
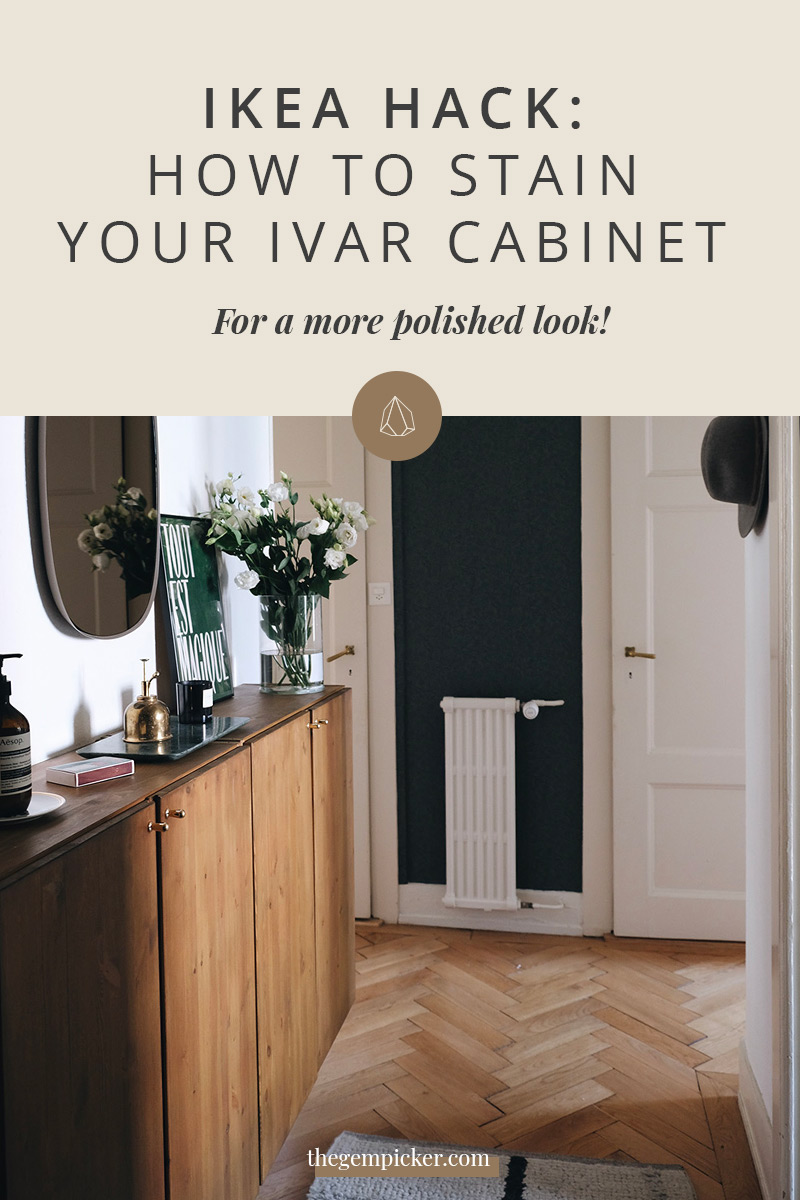
Probably one of the most hacked IKEA pieces of all time, the Ivar cabinet has seen it all. From painting it to adding legs, it’s a very versatile piece of furniture which is certainly why it’s so popular. Staining the IKEA Ivar cabinet, on the other hand, might be a little less popular but it’s a really good way to just enhance it a bit.
However, when you first see it in the IKEA showroom, it doesn’t look like much. It’s hard to believe that the result can be as stunning as what you see on Pinterest. But since it’s made out of raw solid pine and in a pretty basic shape, it’s an easy piece to paint or stain yourself.
Stain Ivar: Why?
Wood stain is a great option if you want to add character to your Ivar cabinet because it lets the veins of the wood show through. Moreover, darker wood has a sort of natural elegance. Staining the IKEA Ivar cabinet also gives it a kind of timeless feel.
In brief:
>So do stain Ivar if you are looking for a more elegant and timeless look while keeping the warm feeling of the wood.
>Paint it if you want a more modern and sleek result.
>Leave it raw if you are looking for a Scandinavian/hygge vibe.
Which size of cabinet to choose?
You first need to choose the size of your Ivar cabinet. There art two different dimensions to choose from:
It really depends on what you are going to do with it. The narrow one is more suitable for a hallway or small spaces. While the deeper one is a better fit for larger rooms like a dining room or a living room.
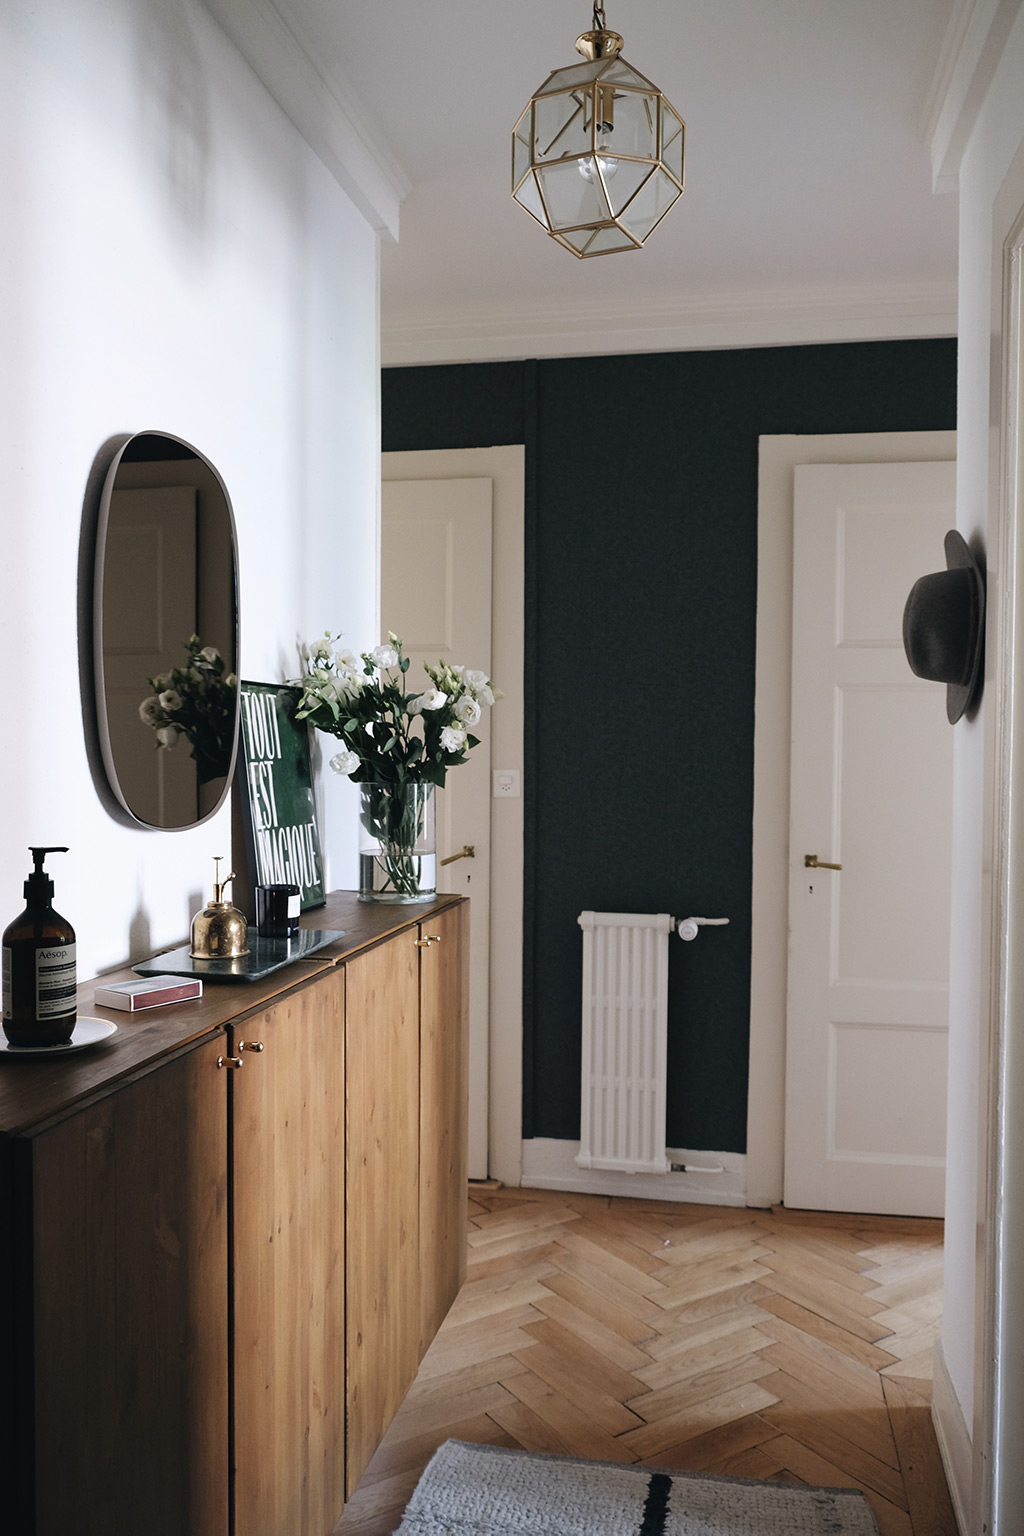
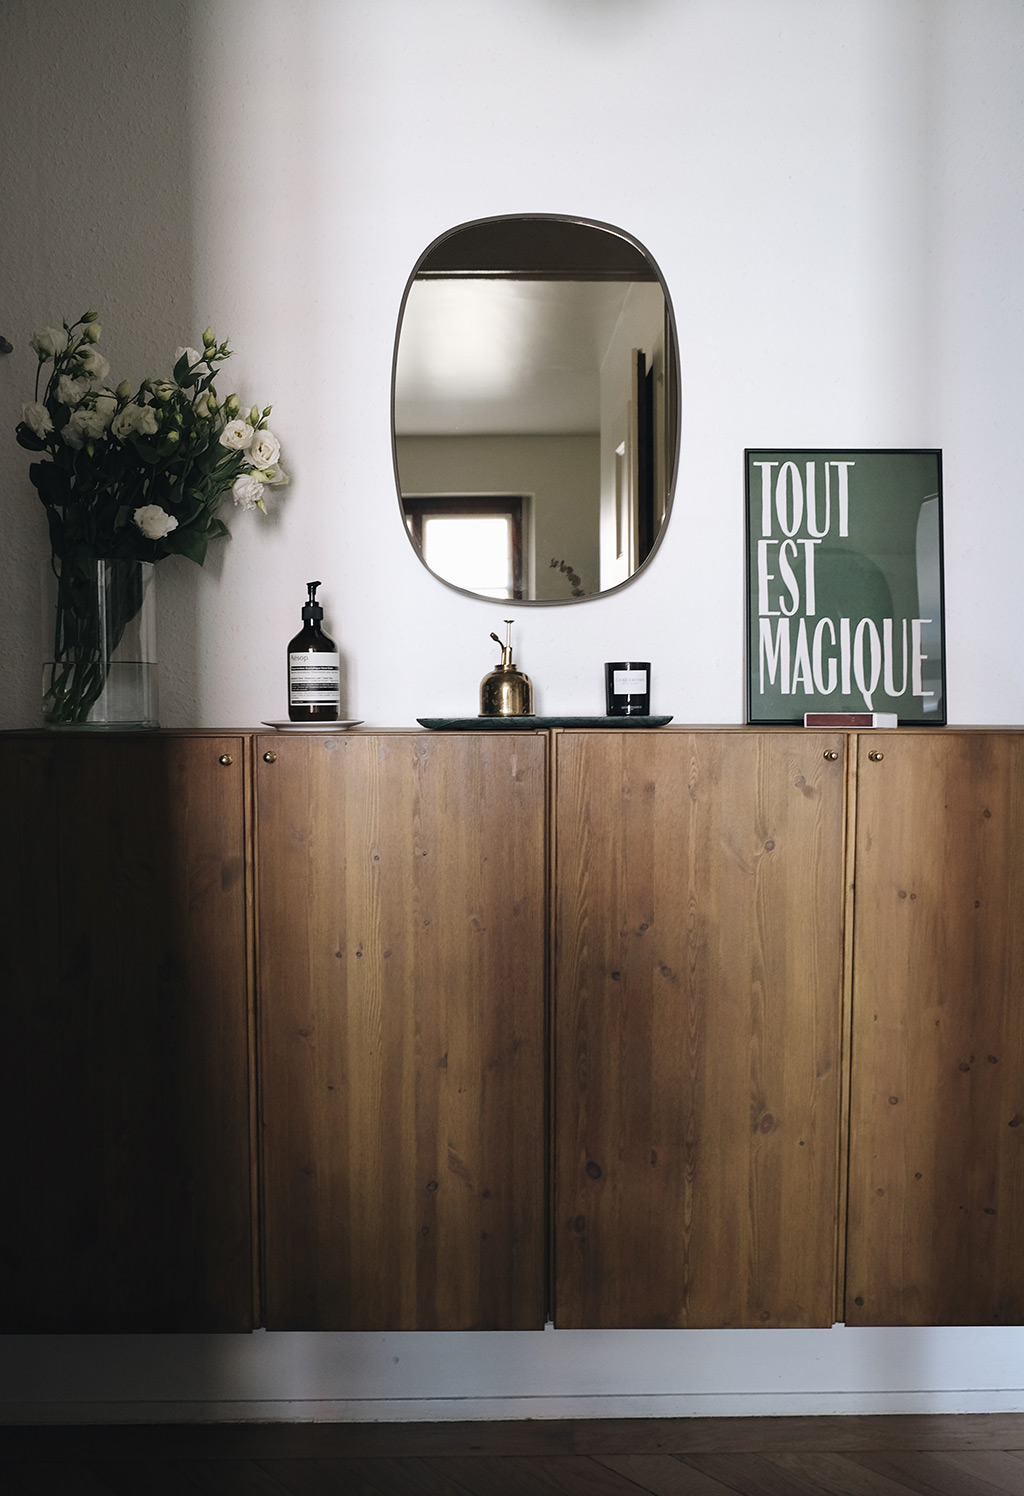
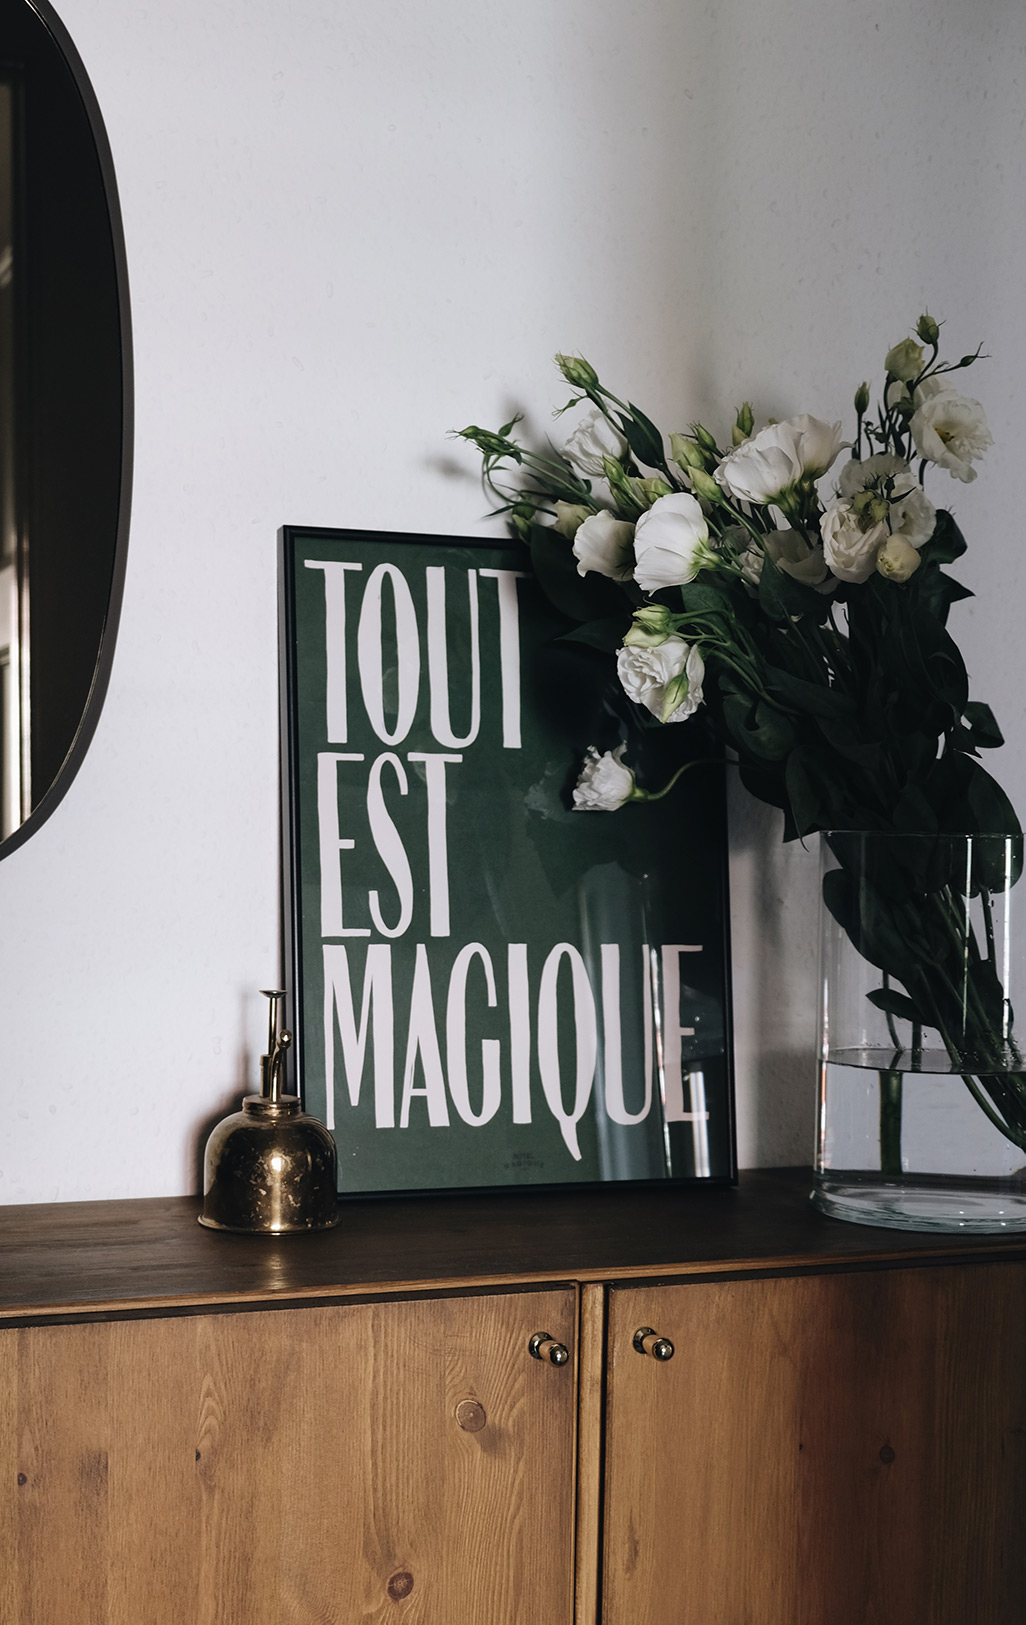
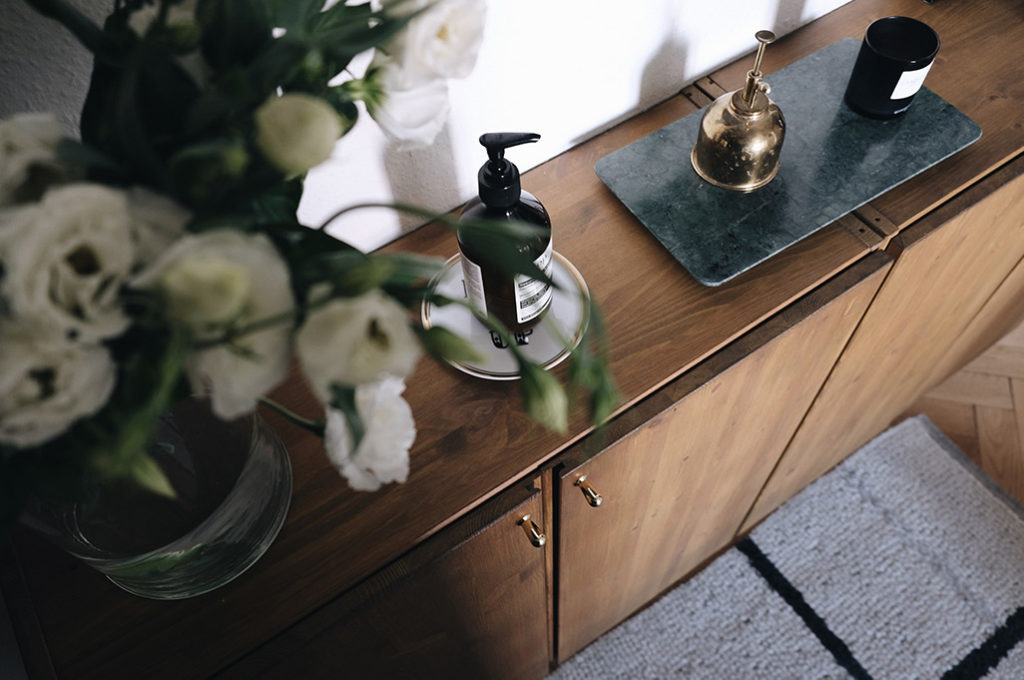
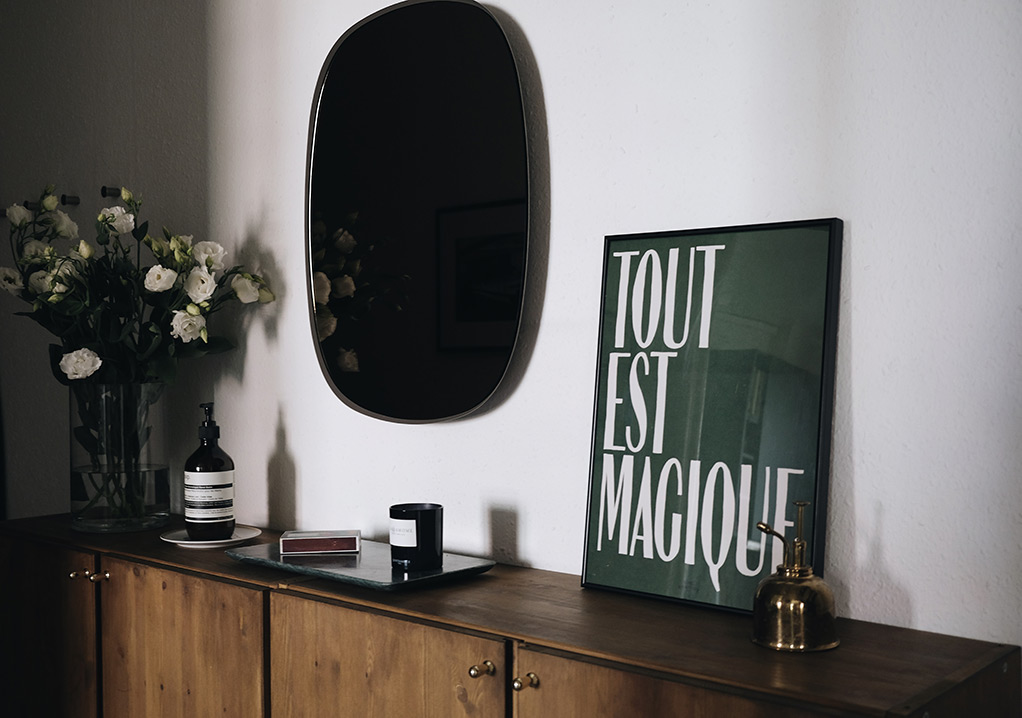
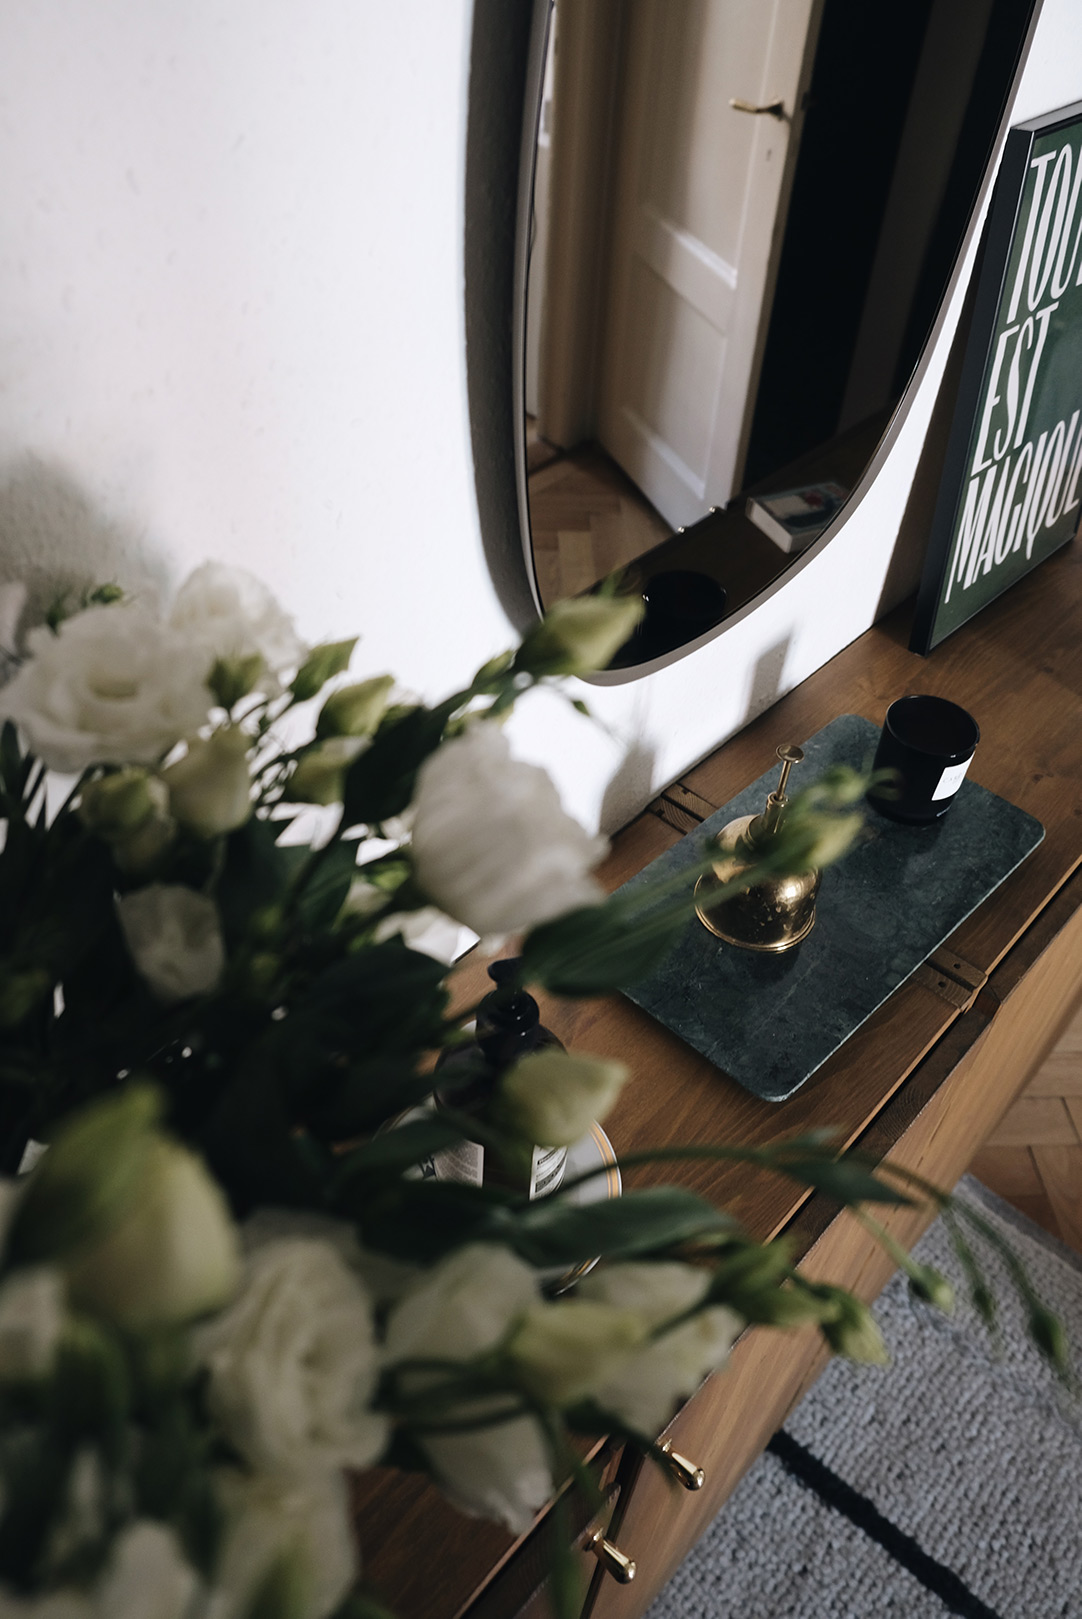
I used it in my hallway as an entryway cabinet to store everything related to the entryway. I bought two pairs of cabinets as I needed more storage. Of course, you can have more than that, 3, or 4 cabinets side by side or even one above the other. There are a lot of creative ways to use the IVAR cabinet.
>>check out 8 creative ways to use Ivar cabinets<<
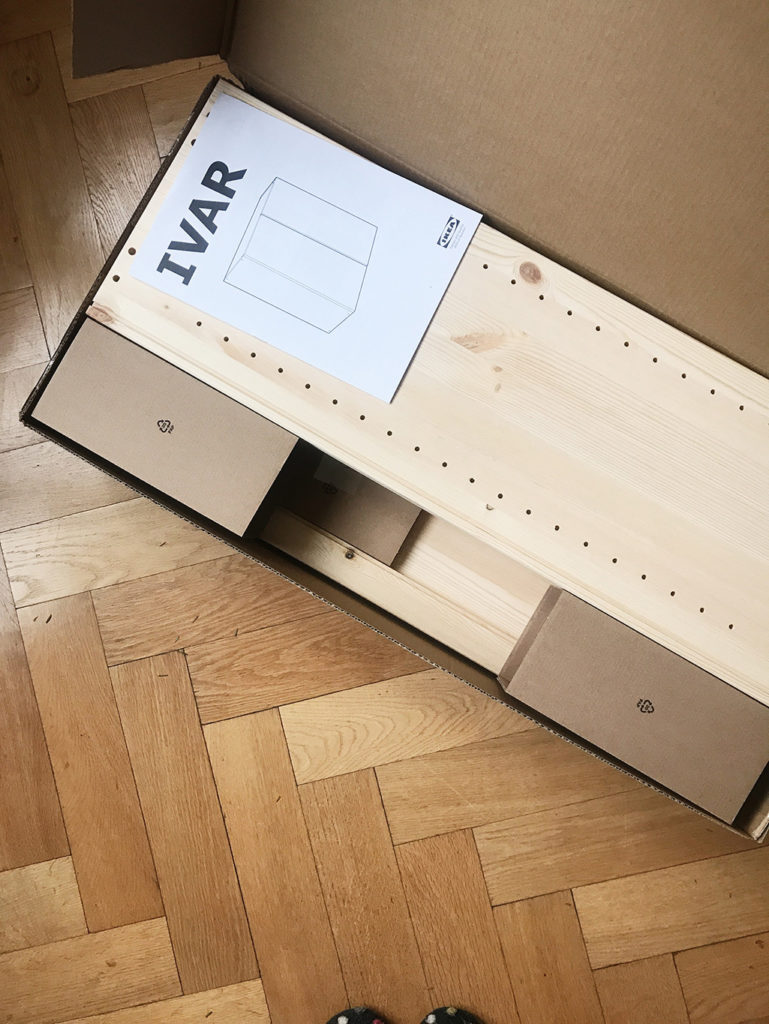
Once you have bought the cabinets, you are all set to start staining! So let’s see how to do this:
How to stain Ivar cabinet
Tip: build your Ivar cabinet after staining it so you can really make sure every little corner is done.
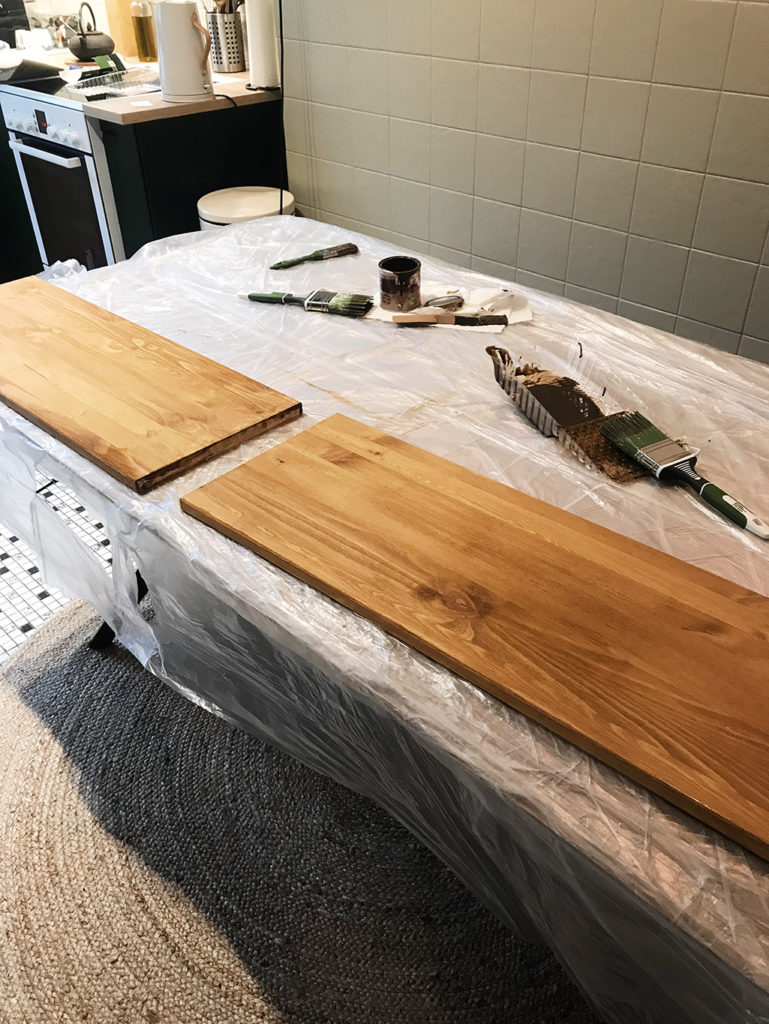
1. Choose a stain
Of course, your first challenge will reside in choosing the right shade of wood stain. Stains are often named after the type of wood they are trying to mimic. So this is already a good clue. However, there is no guarantee that the result will be to your liking. I would advise testing it first on the inside of the cabinet.
N.B. I’ve used a stain called « chêne rustic mat » (rustic mat oak) from the brand V33. Here is a similar option from Home Depot.
But really test it first to see if it’s what you had in mind.
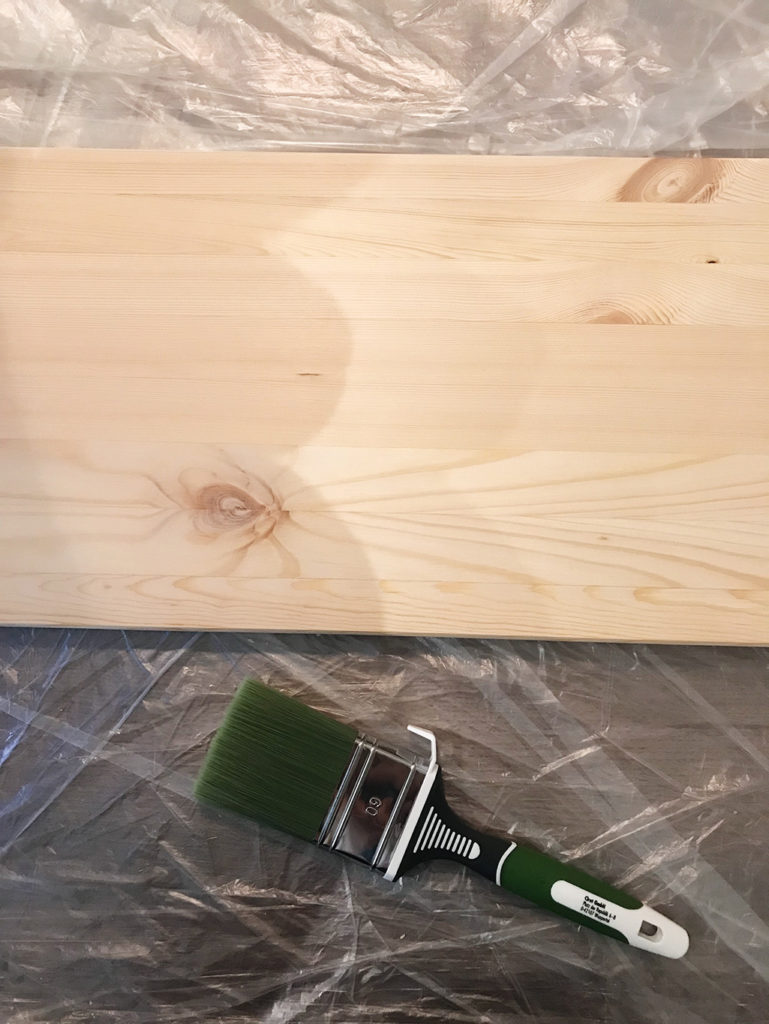
2. lightly sand each wooden panel
Once you have chosen your stain, you can start sanding each part of the cabinet. You don’t need to put a lot of effort, the idea is just to make the wood more receptive to stain. Always sand in the direction of the wood veins.
N.B. Choose a type of sandpaper with a fairly fine grit ( 220 ). As long as your sandpaper grit is between 120 -240 you should be fine.
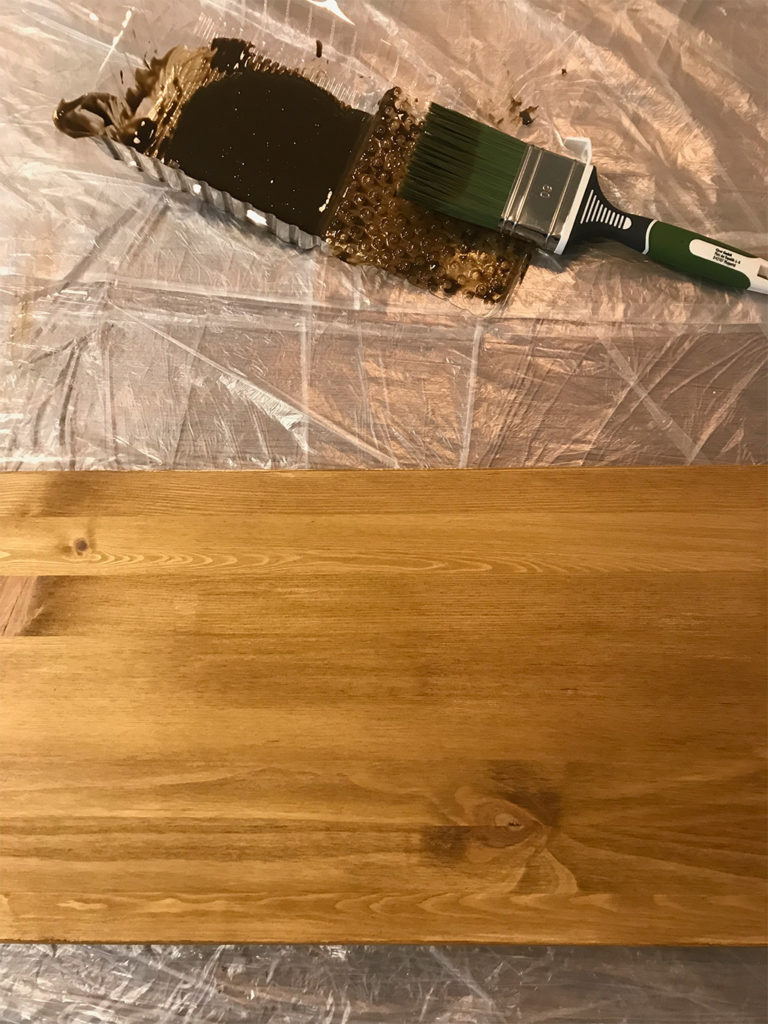
3. Apply the first coat of wood stain on your Ivar
Once you are done, you can start applying the first coat of wood stain. I’ve used a synthetic bristle brush just like these perfect set but you can also use a piece of cloth or foam pad. It will depend on the type of stain you choose (ask your local DIY shop for advice). In any case, try to spread the substance well to avoid streaks.
If you are happy with the tint of the wood, you can stop there and skip to step 6.
4. Let your stain Ivar dry and lightly sand it a second time
Allow drying for about 20 min after the first application. Then repeat the sandpapering step. The idea is just to remove any residue or clumps in order to prepare the surface for the second coat.
5. Add the second coat of stain
Then you can apply a second coat of wood stain to obtain a deeper shade. Just repeat step 3. (I did two coats because one coat was too light for my taste).
6. build it
Once all the parts are dry, you can get down to assembling the cabinet. Don’t wait too long once your cabinets are dry as wood wrapping could occur.
Tip: I would advise staining even the inside of the cabinets. I didn’t do it and it kind of bugs me each time I open it. Or you can also paint the inside in a suitable color just like point 8 in this article.
7. Enjoy the result
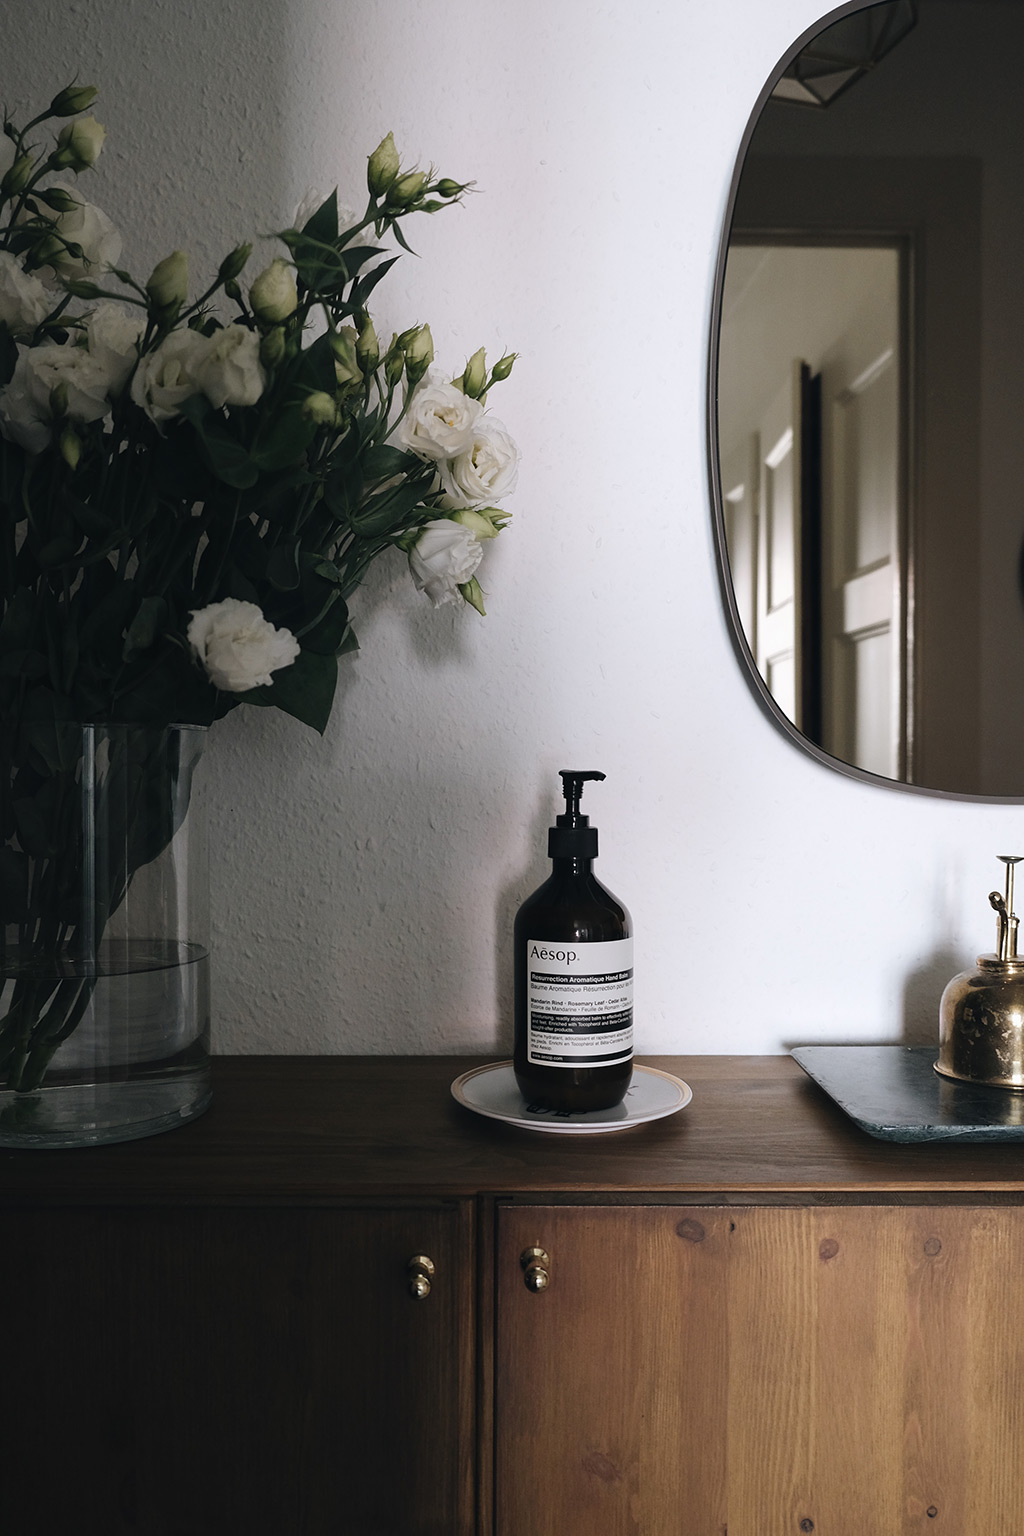
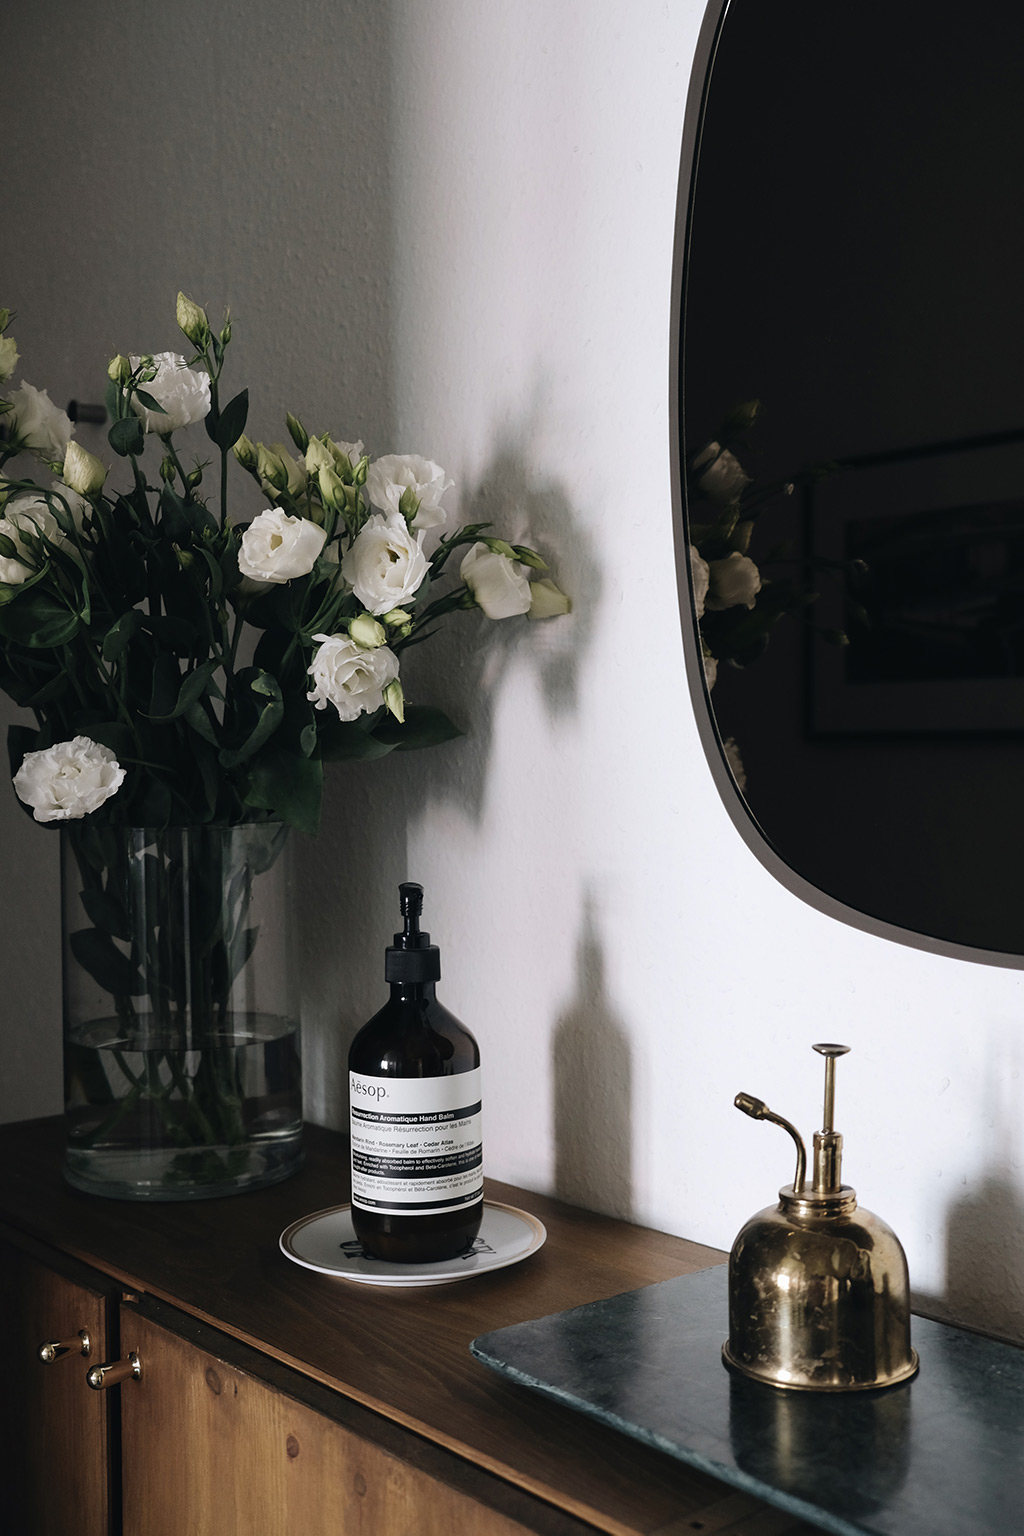


Love this and thanks for sharing the process. My partner is starting sanding and staining as I type! Wondering where your mirror and the little knobs are from? Thanks for your post!
I am putting the Ivar shelving in a cedar storage closet. Could I rub the shelves w cedar oil?
Hi, I’m not sure I fully understand the aim of your question. What are you trying to achieve?
Hi – I love this hack so much and am in the process of doing it myself! I did run into a challenge though – the wood has started cupping to the point where I don’t see how I can fit them together. Any advice on how to fix that / did you run into this challenge?
Hi Kirsten, so sorry to hear that. I have never encountered this issue myself (I’ve just done this hack again back in January for my new apartment and it went smoothly). I would suppose that the problem could come from maybe the humidity in the room. Did you wait a long time to assemble the cabinets after staining the parts? You might have heard about wood wrapping which occurs when the moisture content of different parts of a piece of wood changes. it causes the deformation of the wood. Here is a wiki how on how to unwrap wood https://www.wikihow.com/Unwarp-Wood
Yay! you just made my day. So happy that you love this DIY ! Thank you for the feedback.
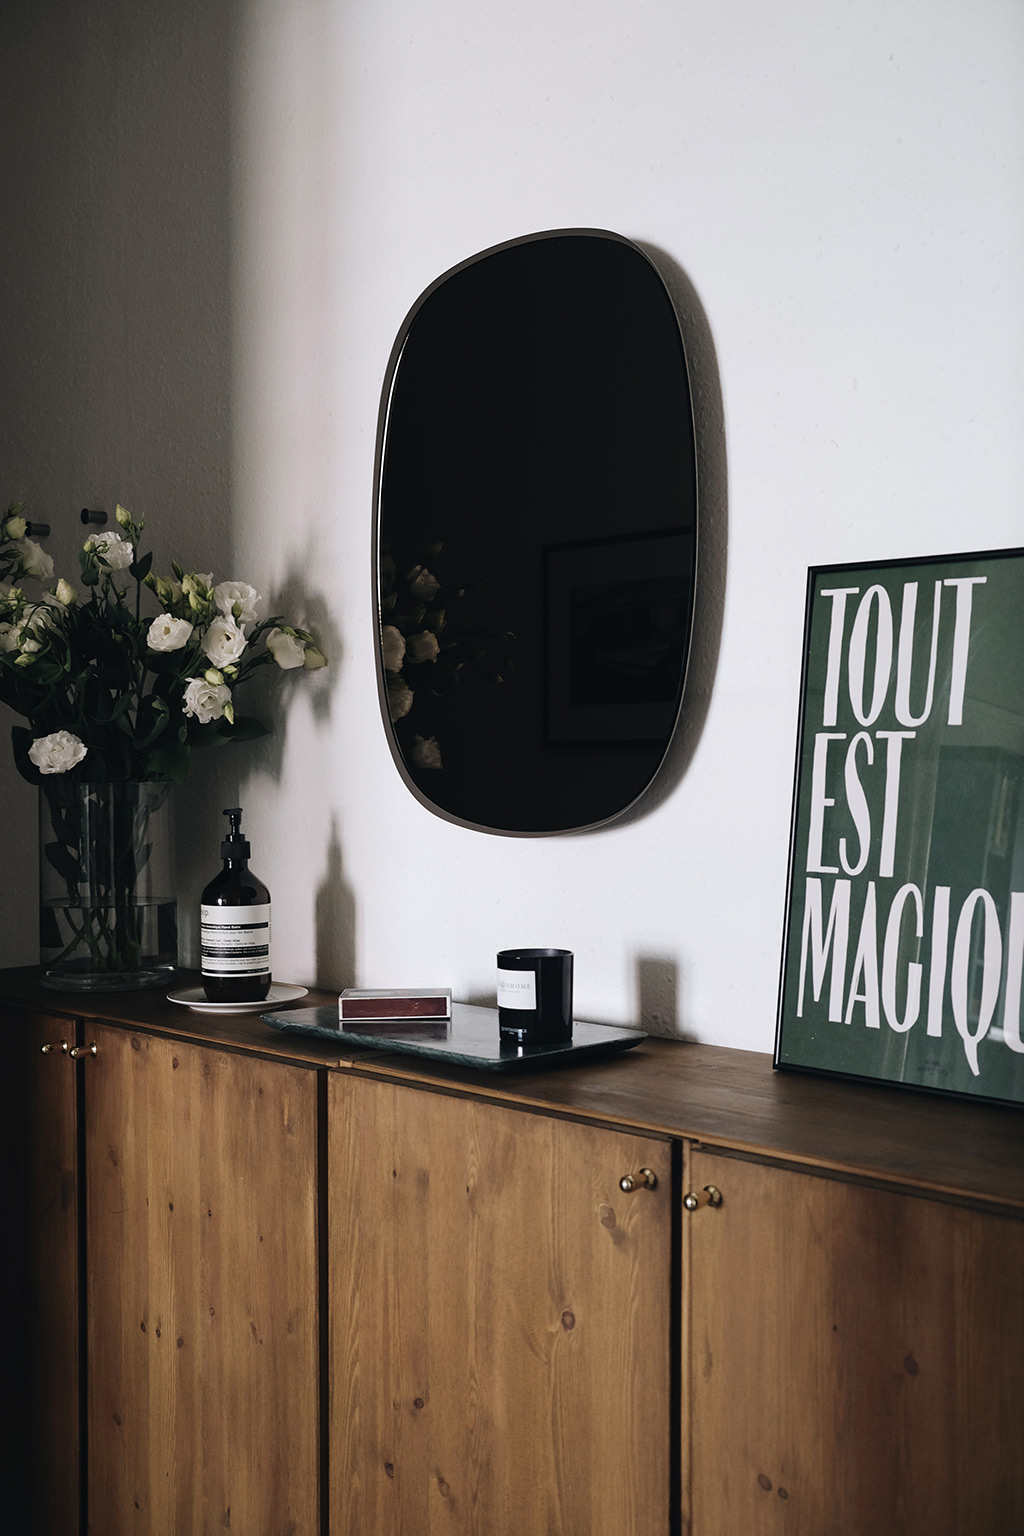
Hi! Where did you find these knobs from? tying to search online and not finding anything like them. thank you! 🙂
Hi Nikki,
You wouldn’t believe it but it’s actually from IKEA as well. It’s called Bagganas but they have more than one door knobs that has this name so here is the link to mine : https://www.ikea.com/ch/fr/p/bagganaes-bouton-couleur-laiton-60338409/
hope this helps.
OMG I am flabbergasted, how amazing! I am totally ripping off your entire DIY, I’ve been looking for a narrow cabinet for our home office for what feels like forever, this is everything I was looking for! 🙂 Thank you so much!
[…] up-cycled drawers | Ikea cabinet hack […]
Hi, thanks so much for the hack. How did you hang the cabinet on the wall?
Hi there, thanks for reaching out. Glad you like this hack! The Ikea instruction manual explains how to do this. Basically, there is a wooden bar inside the cabinet with two holes for inserting screws to hang it on the wall. Just make sure you choose the right fixing pins and screws according to the type of wall you have. Check with your local hardware store, they will surely be able to tell you what to take. Hope this helps
[…] people. You can find all sorts of IKEA hack out there. I myself wrote about a few I tried such as staining my IVAR cabinet or hacking my IKEA sofa. A good and easy way to update your IKEA furniture though is to […]
[…] if you want to give your peg rail a darker wood color as I did. Check out this article about how to stain your Ivar cabinet. It’s basically the same […]
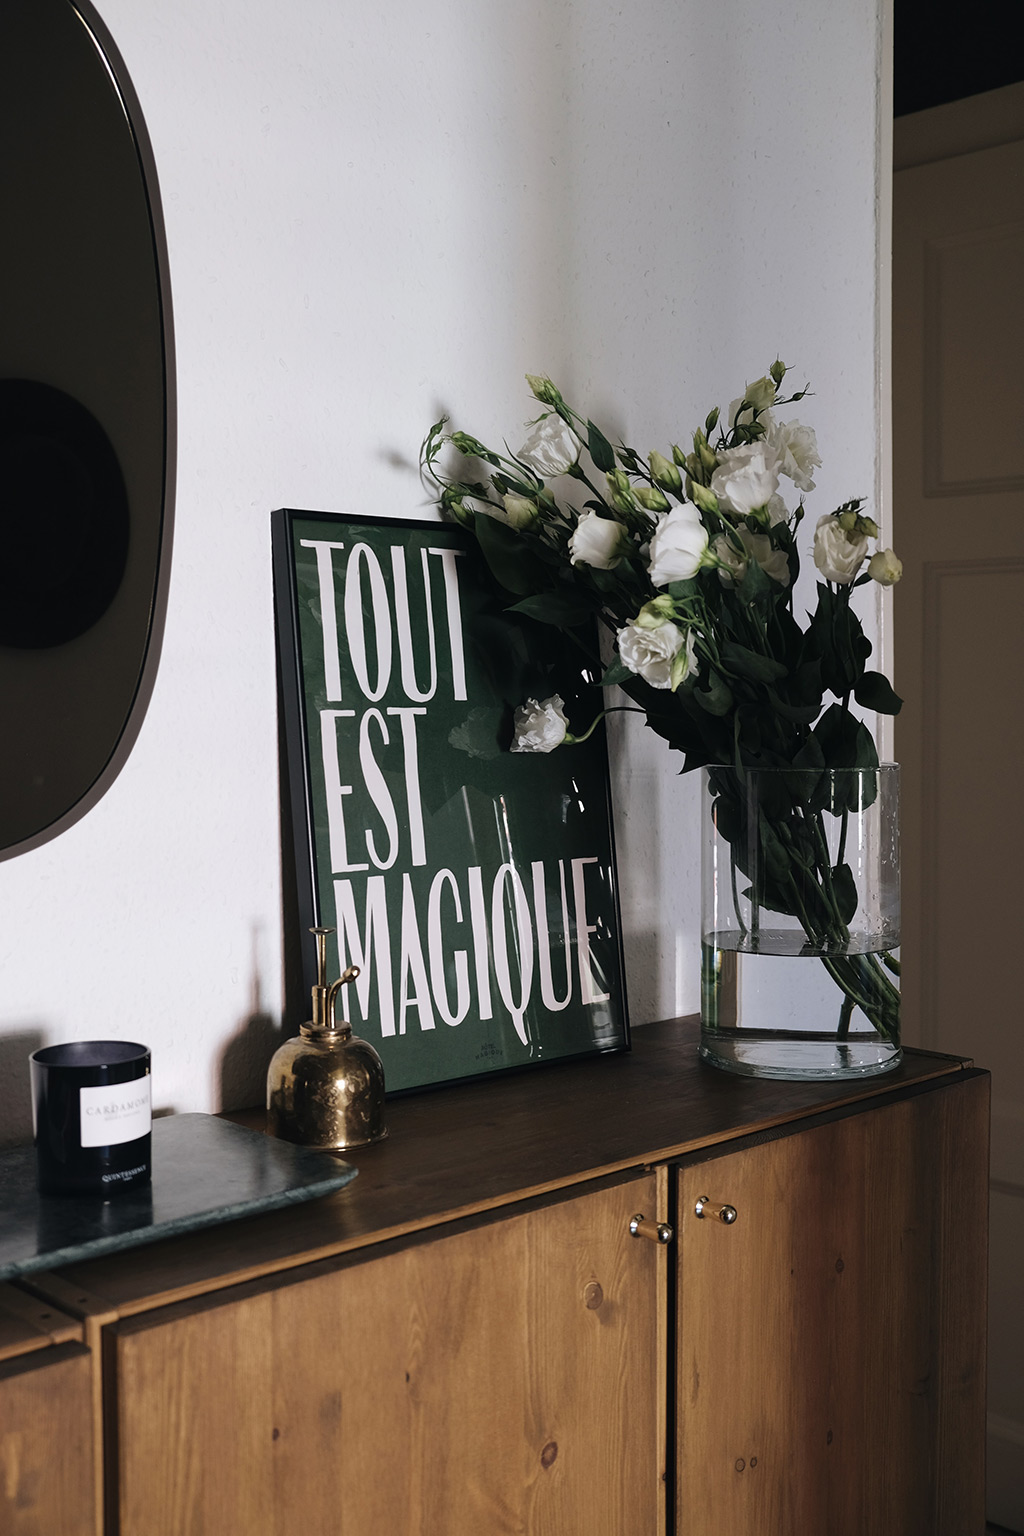
You did great. I love it. I have the same cabinet and i was looking something like this. Hey, may i know from where is that gold dispenser or what’s that?!
Hi Albu,
Thank you for your nice comment. The brass mist sprayer is from Haws and it’s to humidify the plants. It’s a really cool gadget.
Here is a link to the exact product ( FYI it’s an affiliate link this means that if you buy from this link I’ll get a small commission but it doesn’t change the price for you and it helps me keep doing what I do 😉 https://rstyle.me/+ZnqG7E79swwk1AhwAS7bmw
Hello, Could you tell me what item you added on top of the cabinet, please? Some Fixed shelves ?
Thanks in advance
Hi Philip, Thank you for your comment. I’m not entirely sure I understand your question but I’ll try to answer you. There is no fixed shelves on top of the cabinet, the wooden board above is actually part of the cabinet itself. Let me know if I didn’t get what you meant.
I hear there is a gap between the doors on the Ivar knowns as the ‘Ivar Gap’. Yours don’t seem to have that. Did you do something to alter this? Thanks!
Hi Kimberly, thank you for bringing that up. Yes, there is a small gap between the doors on the ivar cabinet.
Hopefully, there is a way to remove this spacing that does not require altering the cabinet. There are small screws on the doors that allow you to manage this space depending on whether you tighten them more or less. I have to admit that it was not the easiest mechanism to understand, but it only needs to be done once.
[…] ancient or as if it was a wood of another essence, I decided to apply a slightly darker wood stain. Check out the step by step guide in this article. I also really like the effect of putting only one layer of paint (or colored wood stain maybe) so […]