Are you looking for a way to transform your plain, ordinary bookcase into a stunning centerpiece? Look no further than the power of wallpaper. In this article, we will explore how wallpaper can instantly elevate the look of your IKEA Billy bookcase.
From choosing the perfect wallpaper to applying it with precision, I will guide you through each step to help you create a truly remarkable piece of furniture just like mine. Get ready to take your bookcase to the next level and discover the transformative magic of wallpaper.
Here are the steps in order to wallpaper the back of your Billy bookcase :
- Choosing the Perfect Wallpaper for your Bookcase
- Pair your Wallpaper with Paint
- Prepare the back of the bookcase
- Determining the wallpaper you’ll need for wallpaper with repeats
- Preparing your wallpaper strips
- Cutting your wallpaper
- Apply the Wallpaper
- Drying time
N.B. If you need more information on how to paint your IKEA furniture, I have written an article about it. The steps I followed for this Billy bookcase are the same as I detailed in the article.
Another DIY Project with IKEA Furniture
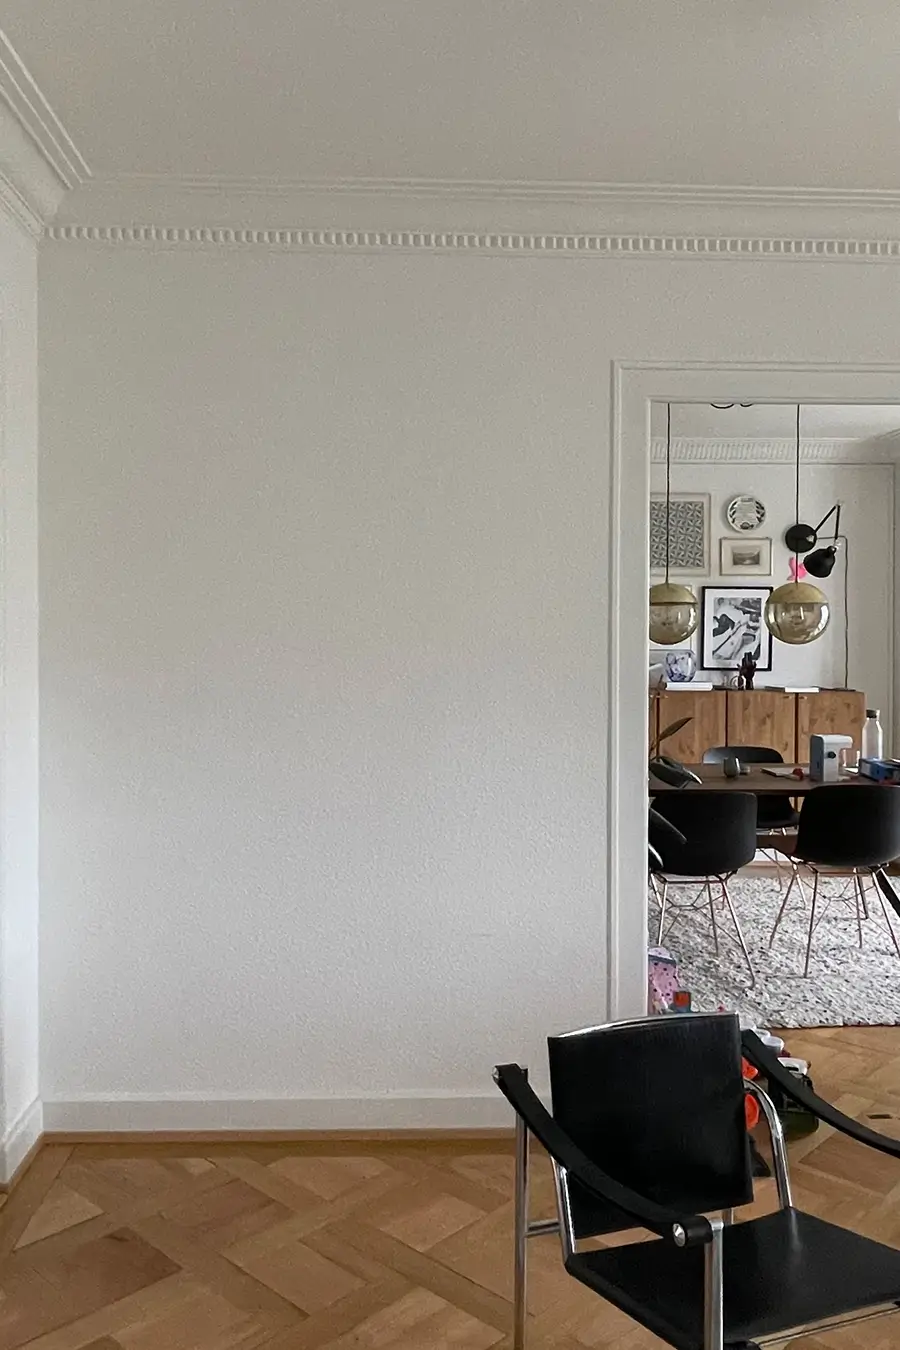
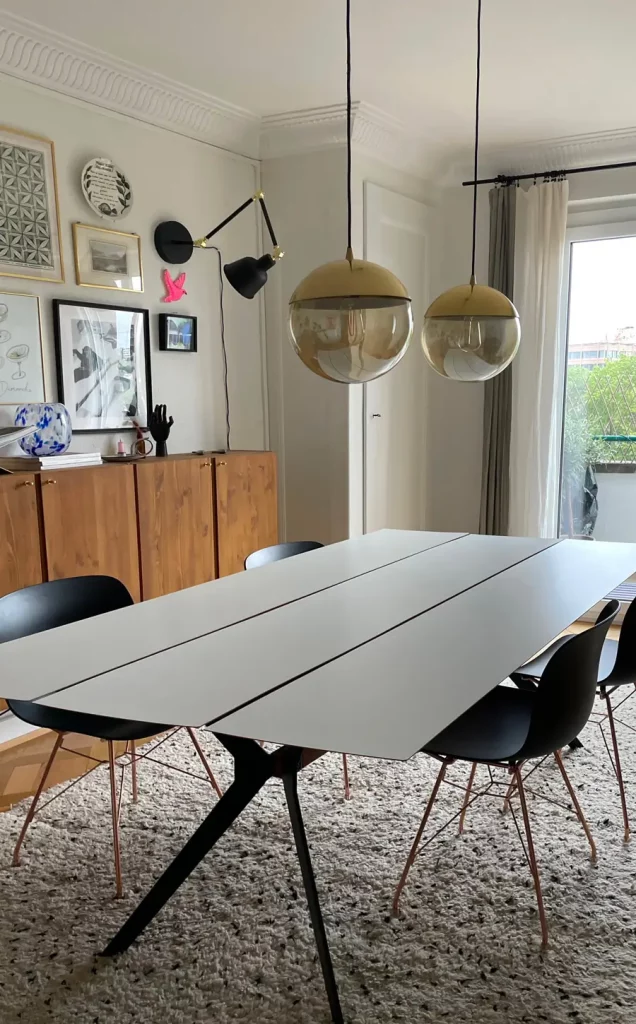
This DIY project had been sitting in my mind for a long while. At first, I envisioned a custom-made bookcase that would cover the whole wall between the dining room and living room. But as we rent this apartment that was not something I was ready to do in a place I don’t own. So I tried to find another less expensive and easier way to transform this sad little white wall between my dining room and living room.
That’s usually when I turn to IKEA for solutions. It has kind of become second nature for me for three simple reasons: Practicality, affordability, and versatility of their products.
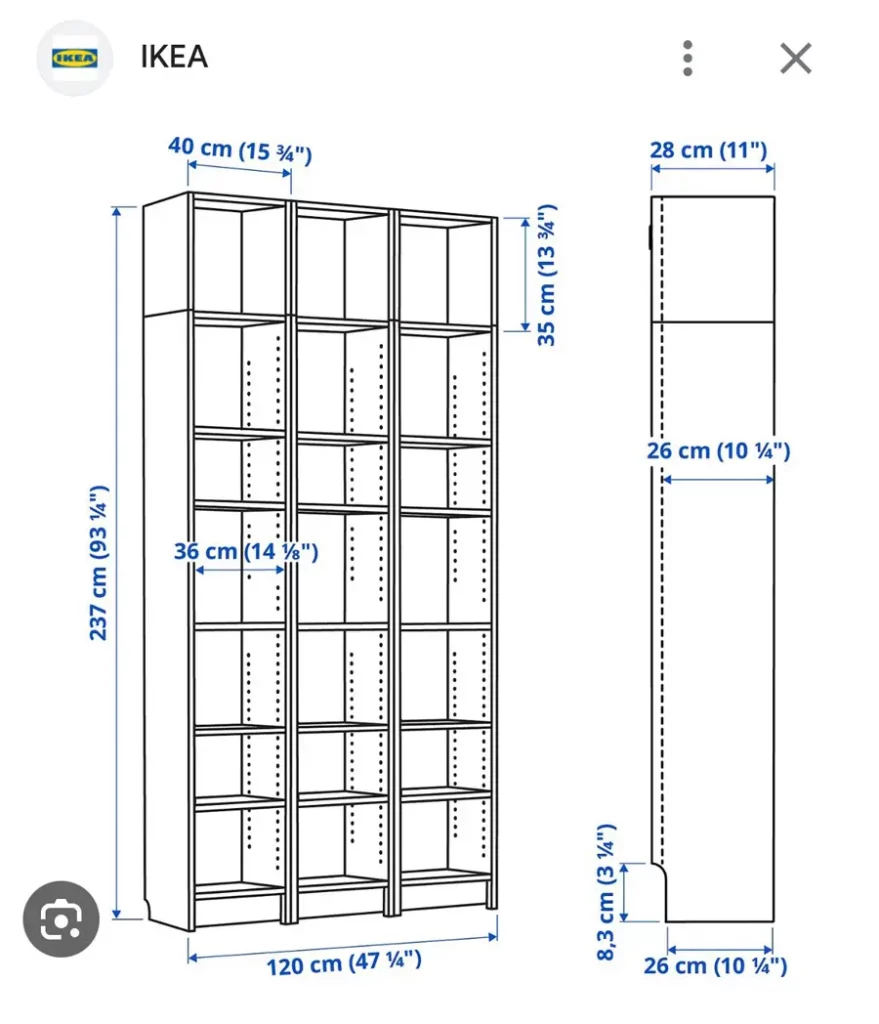
And that’s when I decided to go for 3 of this Billy bookcase model with 3 toppers (see image on the left). I knew I would probably paint it just as I did for my vanity corner with the Eket furniture but I also wanted to test my hand at something new and I knew exactly what: Wallpapering furniture.
1. Choosing the Perfect Wallpaper for your Bookcase
For me, this whole project actually started with the wallpaper because I already knew which wallpaper I wanted to use. But if you don’t really have a wallpaper in mind yet, you might want to consider these key points:
- The overall color palette in the room
Choose a wallpaper that makes sense with the rest of your room color palette or, on the contrary, if you are starting from scratch, let this wallpaper be the guideline for the entire room. If you haven’t defined your room’s color palette yet, this step-by-step method will help you do it before you commit to a wallpaper. - Ask yourself do I want to go bold or subtle?
Choose a pattern that fits your answer. I would encourage you to go bold as it is wallpaper inside a bookcase and not in an entire room so it’s a nice way to experiment with bolder patterns that is not too scary.
If you are interested, I have listed a few Scandinavian wallpaper brands with exquisite patterns in this article. I found my wallpaper on one of these websites.
Woven or non-woven wallpaper?
When it comes to choosing the perfect wallpaper for the back of your billy bookcase, there is also one important factor to consider: the type of wallpaper you select. With a wide variety of options available, understanding the differences between non-woven and woven wallpaper is essential.
Non-Woven Wallpaper
Non-woven wallpaper, also known as paste-the-wall wallpaper, is a popular choice for its ease of application. As the name suggests, this type of wallpaper requires applying adhesive directly to the wall before affixing the paper. This method allows for easier repositioning and removal, making it a practical option. Non-woven wallpaper also tends to be more resistant to tearing, making it a durable choice for high-traffic areas.
Woven Wallpaper
Woven wallpaper typically consists of two or more layers of paper. This type of wallpaper is made from interwoven natural fibers or threads, giving it a distinct texture and depth. The paste is applied to the wallpaper during the application process, requiring a specific soaking time before it can be applied to the wall. While it may require more effort to install, the end result is often considered a more tactile and visually striking finish.
Truth be told, I personally wanted to go with the easiest solution that’s why I chose non-woven wallpaper. Considering the wide range of choices available for non-woven wallpaper these days, I would not suggest selecting woven wallpaper unless you have a specific design in mind that can only be achieved with it.
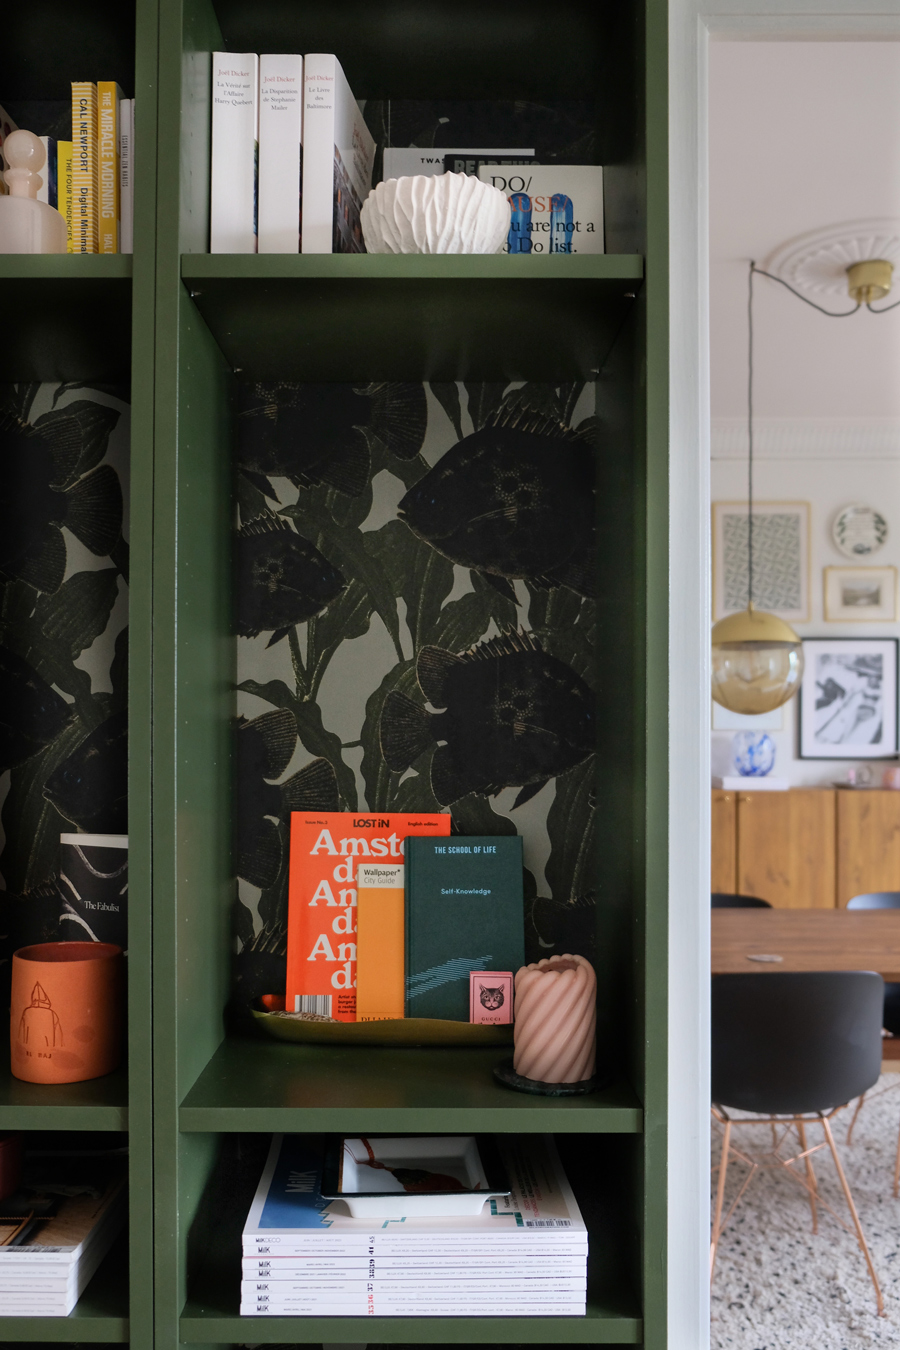
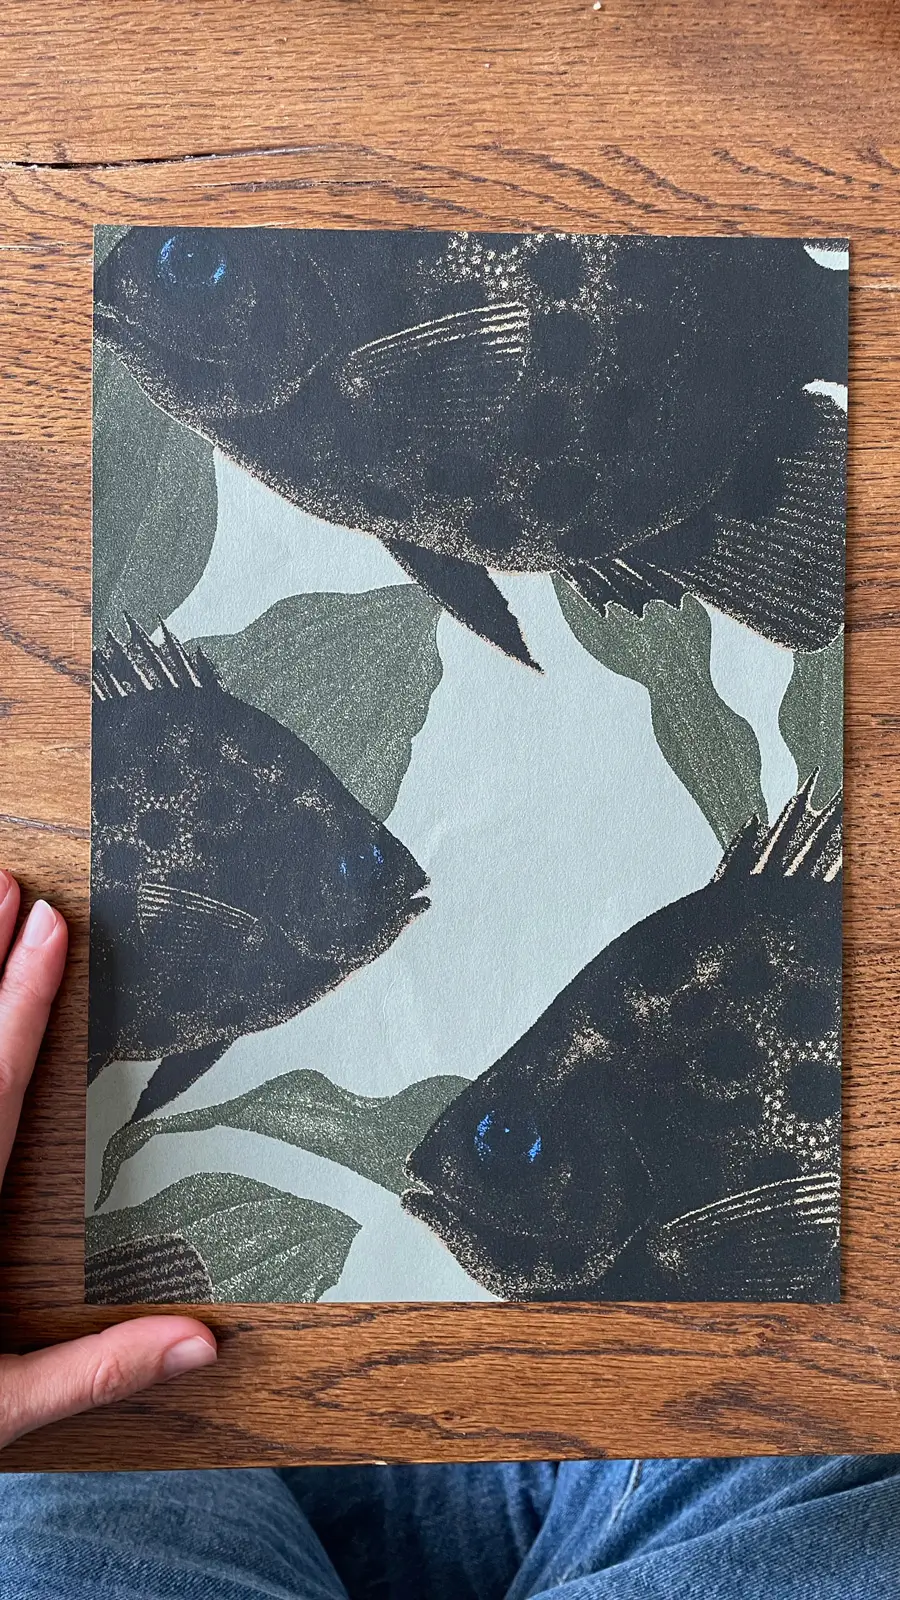
I chose a wallpaper by Studio Lisa Bengtsson called HÅKAN. I immediately fell in love with this curious pattern and knew I would have to have it somewhere.
For my fellow Swiss citizens, and Europeans I bought it on the German website MEINWAND and it all went very smoothly. But you can get it from various websites depending on where you are in the world.
2. Pair your Wallpaper with Paint
Even though you can totally realize this DIY without painting the Billy. I found that adding wallpaper without paint to the the Billy bookcase could look a bit unfinished. So I would encourage you to do both to ensure a cohesive and full-of-flair piece.
Pairing wallpaper with paint is truly a fantastic way to add depth and dimension to your bookcase. By combining different colors and patterns, you can create a visually stunning piece that reflects your personal style.
One popular technique is to paint the bookcase with a color that complements the wallpaper. This can create a striking contrast and make the wallpaper stand out even more. Alternatively, you can choose a paint color that matches the patterns of the wallpaper for a more cohesive look.
I went with the more cohesive look option as I wanted this bookshelf to blend nicely with the rest of the living room.
To select a color that complements my wallpaper, I simply compared my wallpaper sample with my RAL color palette and chose the one that was the closest to the color I picked from the wallpaper.
You can do this with any color palette that suits you. I like RAL for its accuracy and the fact that almost any paint or DIY shop can make it for you.
Once you’ve selected your paint colors, it’s time to get to work. You could start by painting the different parts of the Billy or start by wallpapering the back of the Billy. It really doesn’t matter.
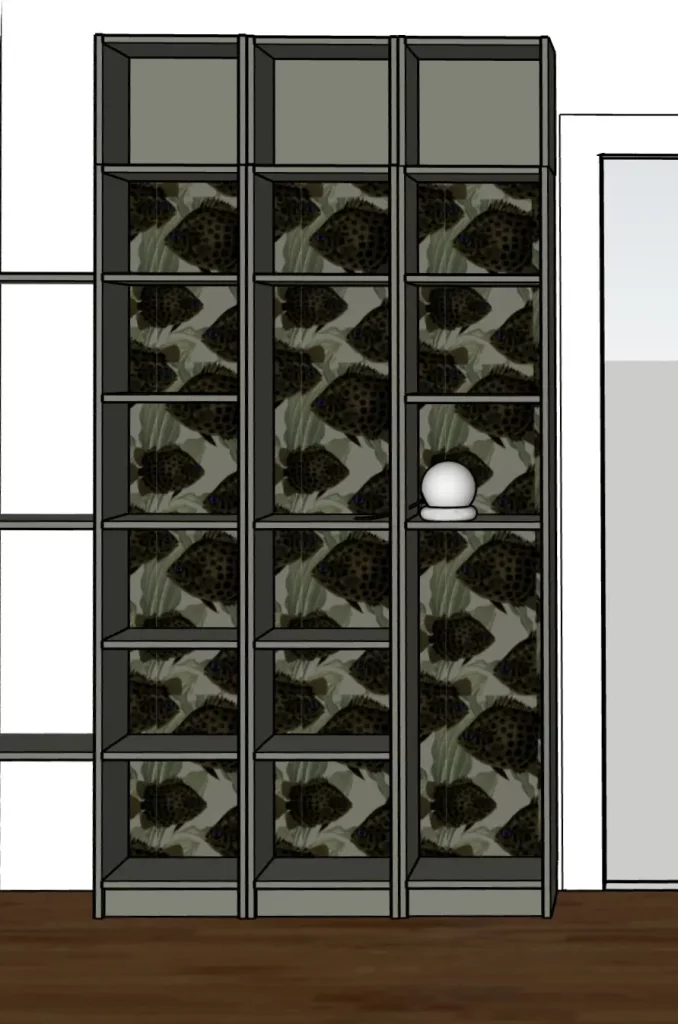
{Image on the left: My sketchup plan of this DIY to make sure it was looking as good as I thought it would.}
WALLPAPER AND PAINT REFERENCE
The color I chose for the Billy bookcase is RAL 6003
The wallpaper is called HAKAN by Studio Lisa Bengtsson
Don’t know where to look for a wallpaper ? Check out this article
For clarity’s sake, this article is only about the steps you need to follow to wallpaper the back of the Billy. But you can learn about all the steps to paint your IKEA furniture in this article.
3. Prepare the back of the bookcase
Once you’ve made your decision on the type of wallpaper, it’s time to prepare your bookcase for its stylish makeover. Preparing your bookcase is an essential step that will ensure the wallpaper adheres properly and achieves the desired look. This process involves cleaning the back of the billy bookcase on which you’ll be adding the wallpaper, lightly sanding any surfaces to create a smooth base, and applying a wallpaper primer.
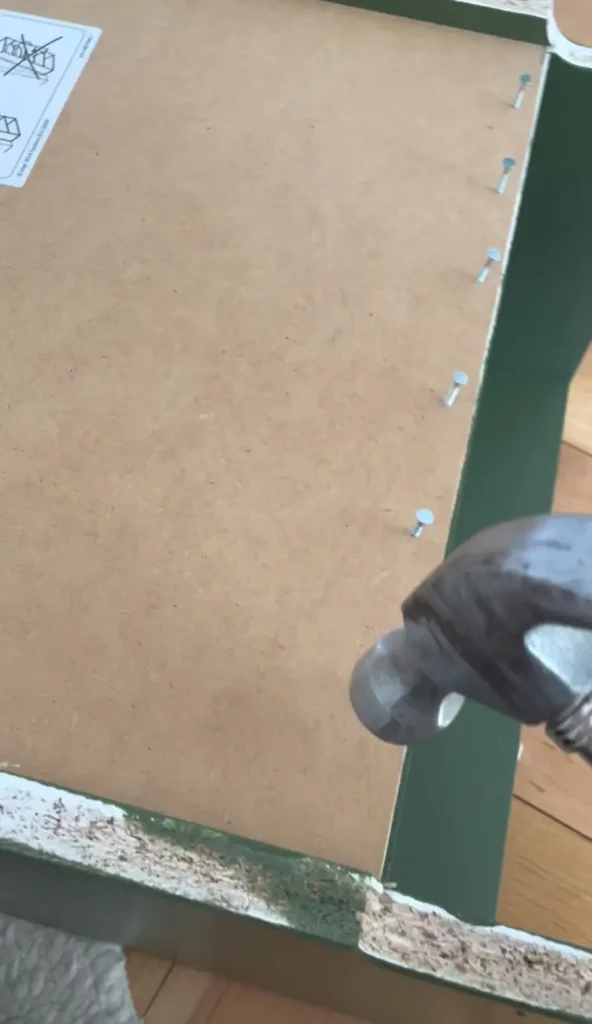
The only part of the Billy bookcase we’ll use in this DIY is the back of the Billy as the other parts are not going to be wallpapered.
Cleaning the back of the bookcase
Using a mild detergent solution and a clean cloth, wipe down the back panels.
Sanding the back of the bookcase
Once your bookcase is clean it’s time to lightly sand the surface. This step will help ensure proper adhesion of the wallpaper. Use a light-grit sandpaper to roughen the surface. This step shouldn’t be too long.
{picture of sanding}
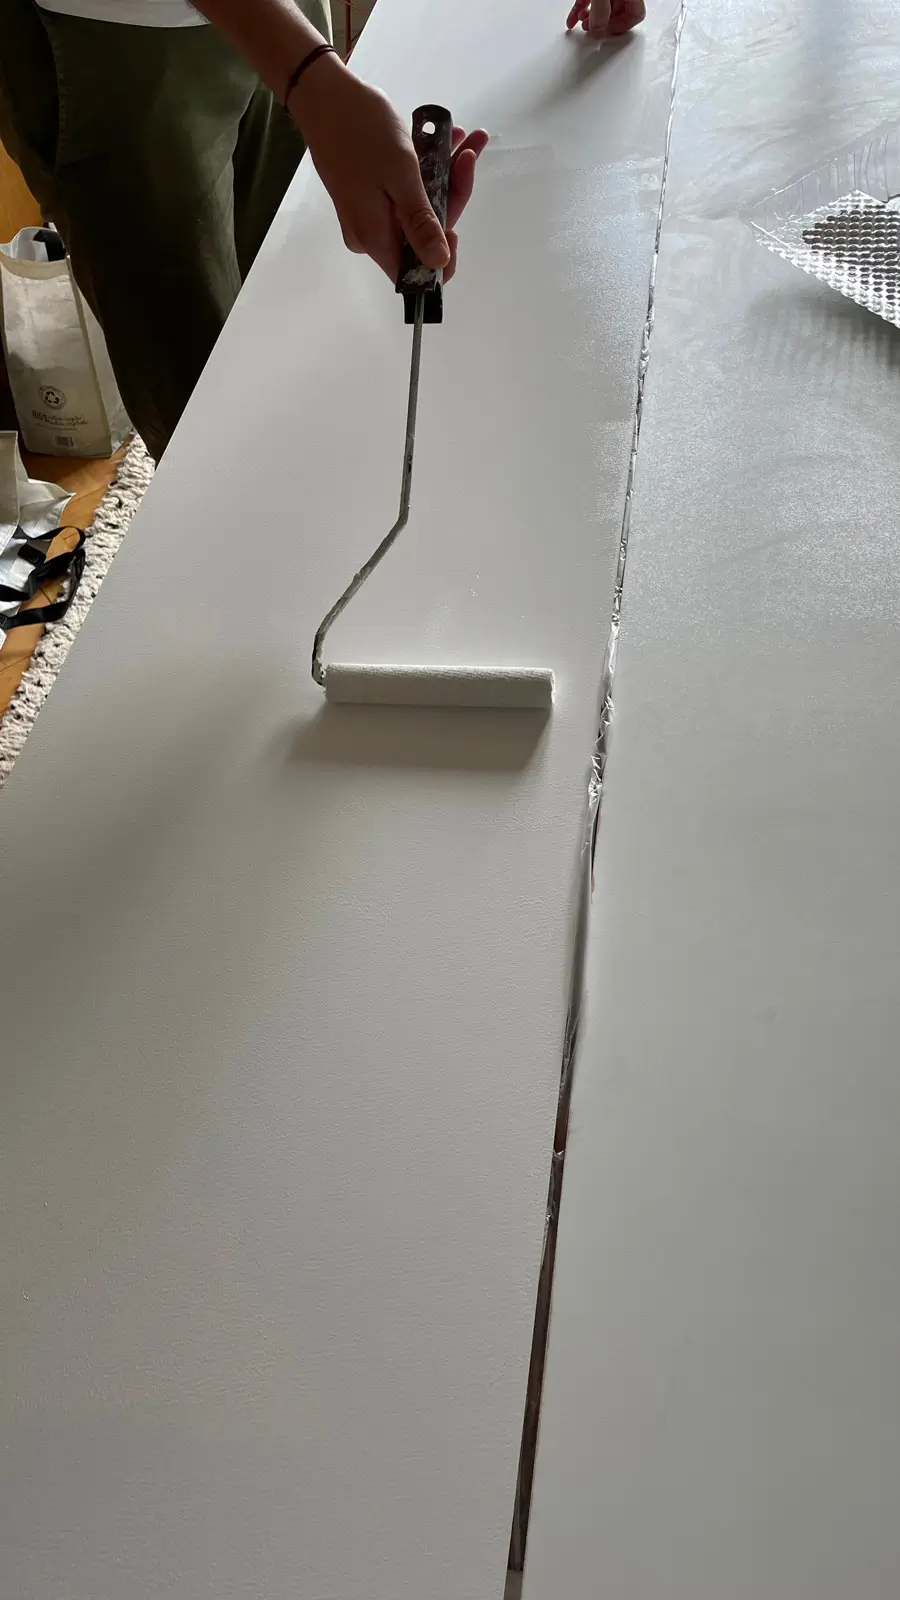
Priming the surface
Since the wallpaper I chose was quite heavy, I applied a wallpaper primer to ensure its strong adhesion to the surface. Wallpaper primer is used to fill pores in absorbent surfaces, resulting in a smoother surface for positioning the wallpaper. Apply the primer with a roller, make sure you have covered the entire surface, and let it dry for 24 hours.
{picture of priming}
These three steps may appear optional, but I initially attempted to attach the wallpaper without sanding and priming the surface, resulting in it not adhering properly. Therefore, I would advise against skipping these steps, especially if you have a thick wallpaper like mine.
With your bookcase prepared and ready, you can now move on to the next step of transforming your IKEA Billy with wallpaper – preparing your strips of wallpaper.
4. Determining the amount and size of wallpaper you’ll need for a wallpaper with repeats
If, like me, you have chosen a wallpaper with repeating patterns, you will need to decide how much wallpaper you will require and how you will distribute it across the three billy back panels.
To calculate the amount of wallpaper you’ll need, you first have to understand the concept of wallpaper repeats. Wallpaper repeats refer to the pattern that repeats itself along the length of a roll. This repetition is important to consider when determining how much wallpaper you’ll need, as it affects the amount of material required to cover your surface.
My primary concern was ensuring that the pattern would align when the three billy bookcases were placed side by side and my secondary concern was to make my life easier.
Please note that I did not account for the width of the vertical board separating each billy. I believed that factoring it in would overly complicate matters for a negligible difference in the final outcome, and I have no regrets about this decision.
Calculating the number of repeats needed for the billy
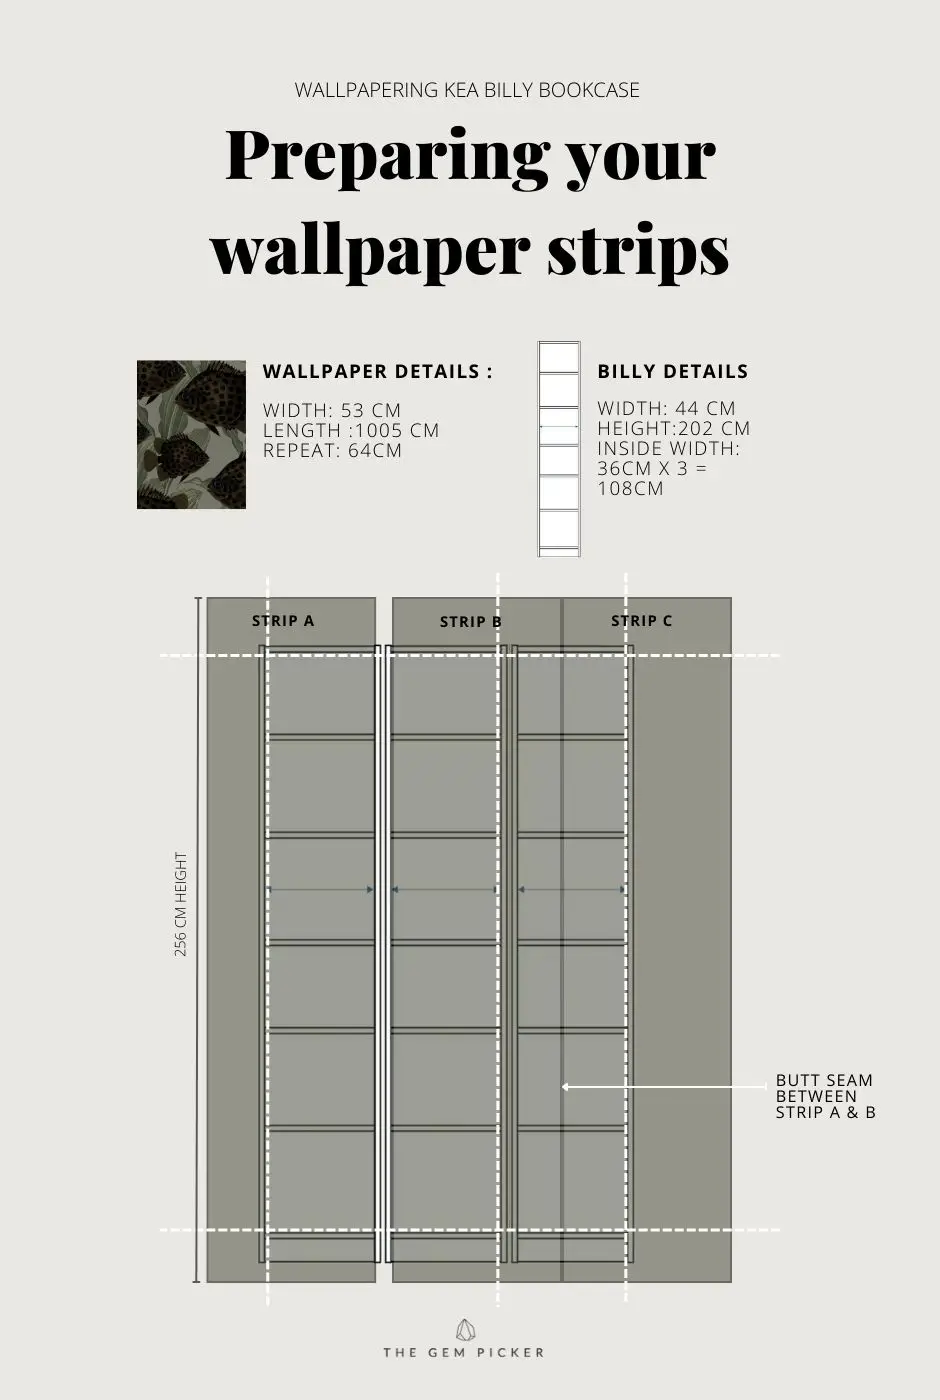
My pattern repeats every 64cm along the roll and the roll has a width of 53cm and a length of 10.05 meters. First I need to know how many repeats I need to cover the length of my billy bookcase.
202 cm (height of the Billy) divided by 64cm (repeat) = 3,15625 rounded up 4 patterns for each Billy.
So for each billy back of 202 cm in length, I need 4 patterns >> 4 (patterns) x 64 (repeat)cm = 256cm.
256 cm is the wallpaper length I need to cover one back of the Billy bookcase.
Now that I know the length of my wallpaper strip, I can work out the number of wallpaper strips I’ll need.
The total width of the 3 billy backs put side by side is 108cm. My wallpaper is 53cm in width. I could have used only two strips of wallpaper but I would have been short of 2cm so I have to cut 3 wallpaper strips of 53cm x 256cm each.
My pattern repeats every 64cm along the roll and the roll has a width of 53cm and a length of 10.05 meters. First I need to know how many repeats I need to cover the length of my billy bookcase.
202 cm (height of the Billy) divided by 64cm (repeat) = 3,15625 rounded up 4 patterns for each Billy.
So for each billy back of 202 cm in length, I need 4 patterns >> 4 (patterns) x 64 (repeat)cm = 256cm.
Now that I know the length of my wallpaper strip, I can work out the number of wallpaper strips I’ll need.
The total width of the 3 billy backs put side by side is 108cm. My wallpaper is 53cm in width. I could have used only two strips of wallpaper but I would have been short of 2cm so I have to cut 3 wallpaper strips of 53cm x 256cm each.
IMPORTANT NUMBERS
256 cm is the wallpaper length I need to cover one back of the Billy bookcase.
I need 3x wallpaper strips of 53cm x 256cm each
Placing the wallpaper strips
The next step is to find a strategy for positioning them in such a way as to minimize difficult cuts (in particular by avoiding the need to cut the strips lengthwise) and trying to avoid as much as possible butted seams in the middle of a billy back while still respecting the pattern.
This is how I decided to place the panels :
You’ll probably notice that there is a lot of wallpaper waste. But as I’m not planning to use this wallpaper on a wall or in a room, my goal was really to make it easier for me and to ensure that the result would look neat.
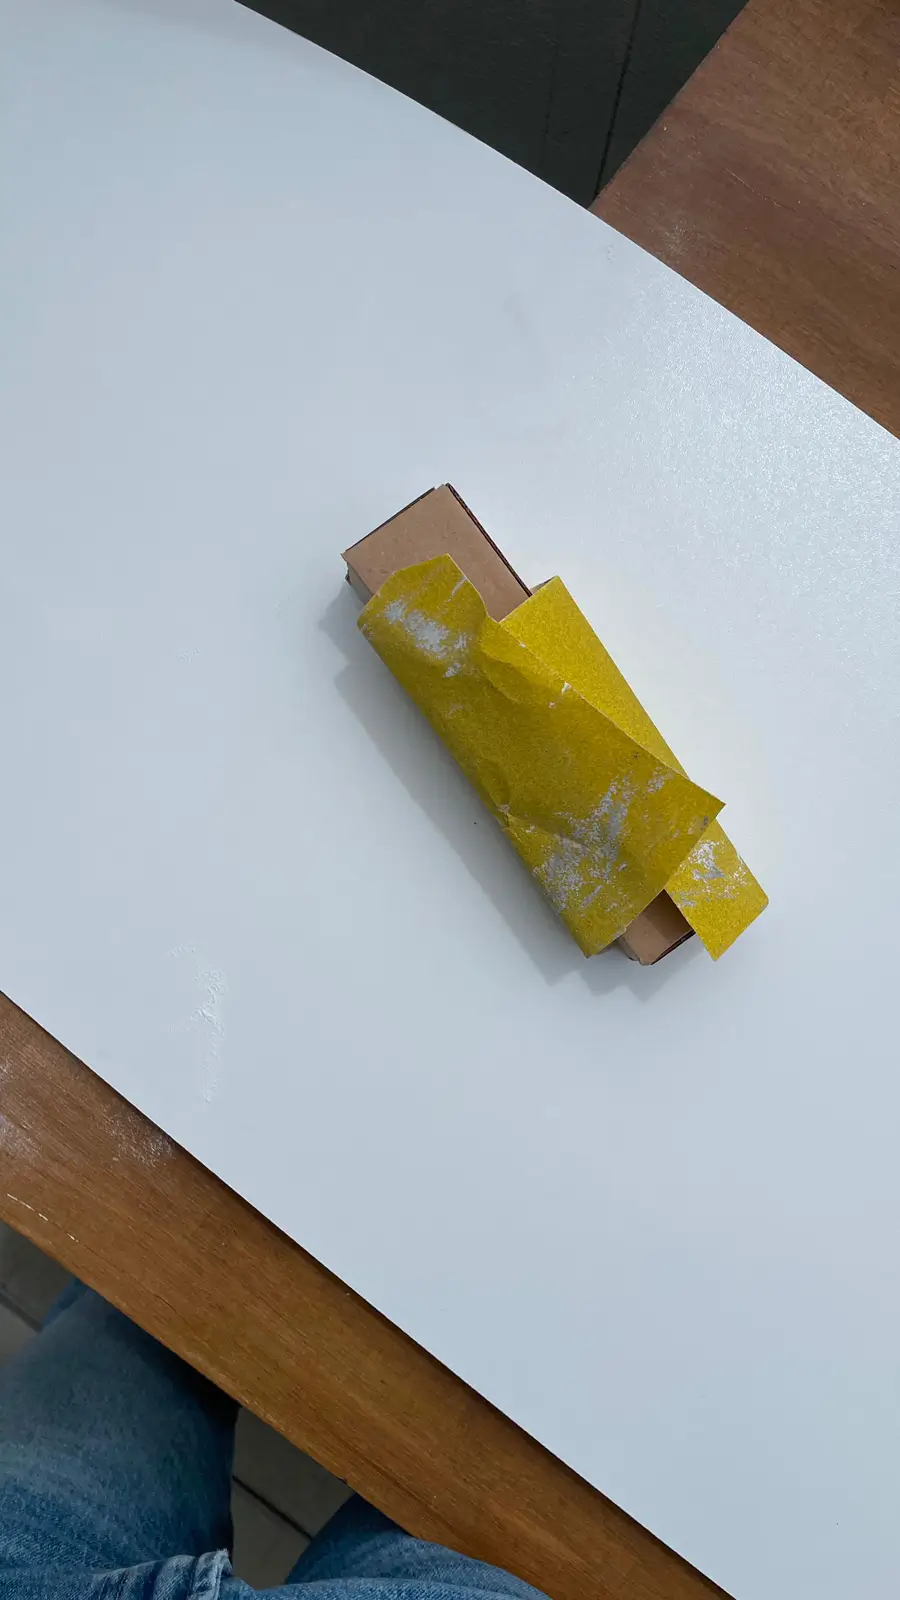
5. Preparing your wallpaper strips
To begin preparing your strips of wallpaper, gather all the necessary materials. You will need :
- the roll of wallpaper
- a ruler or measuring tape,
- a pencil or marker,
- and a sharp pair of scissors or a craft knife.
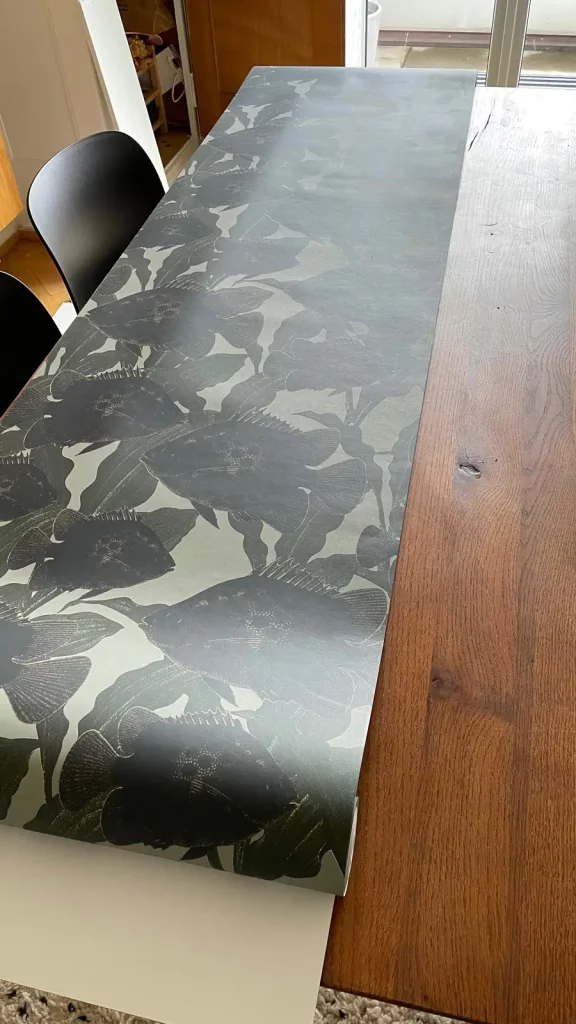
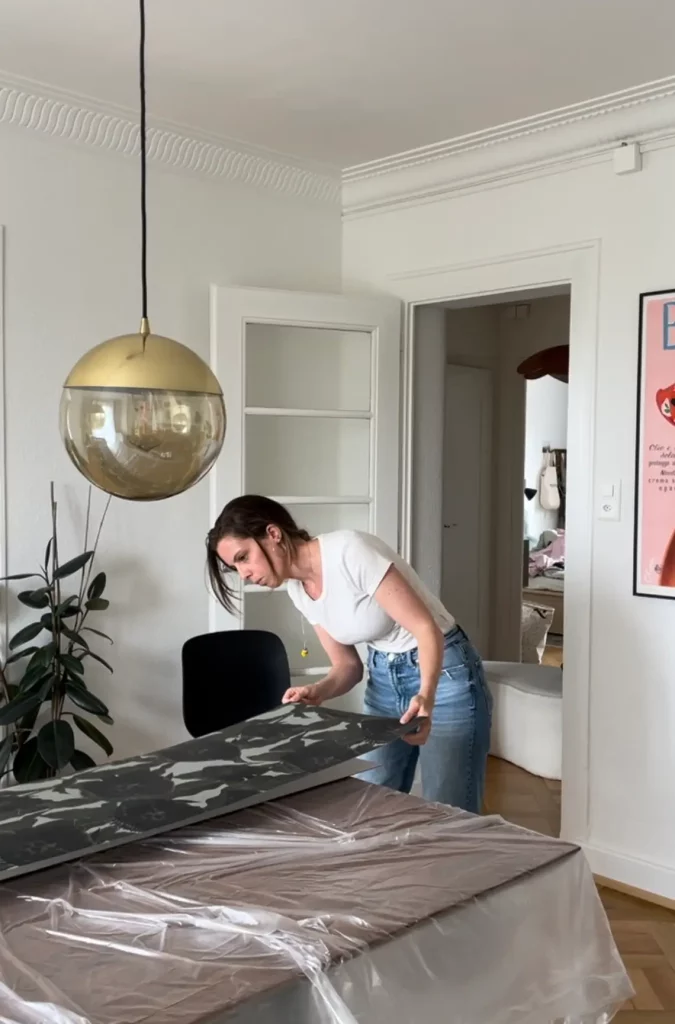
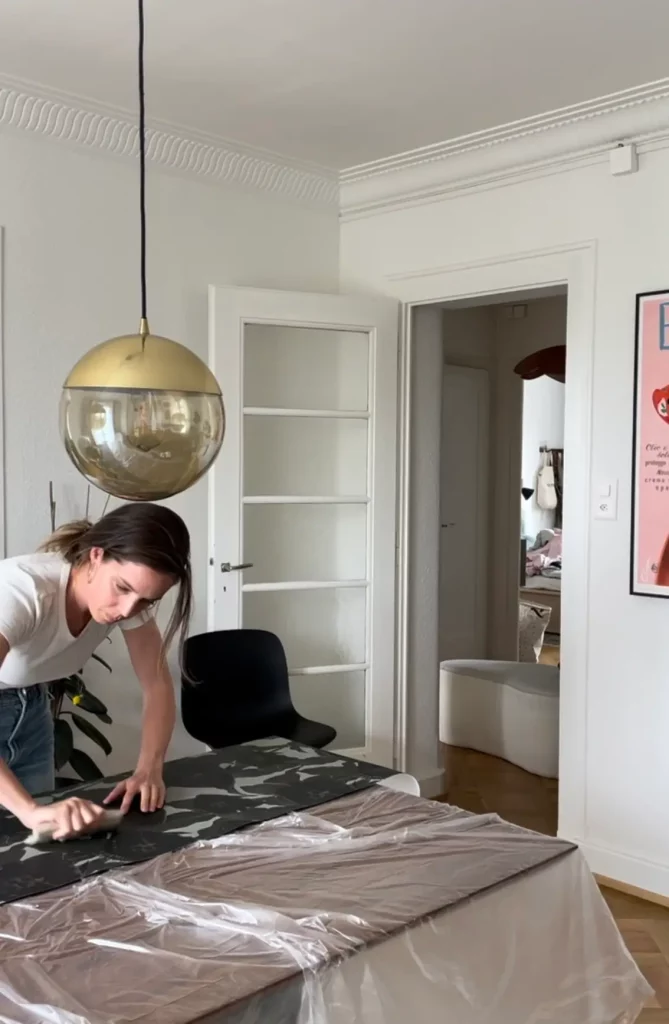
Make sure you have ample space to work in, preferably a clean, flat surface where you can lay out the wallpaper easily. I used my dining room table.
Unroll a section of the wallpaper and lay it flat on your workspace. Use the ruler or measuring tape to mark the height (256 cm) of your first strip on the back of the wallpaper using a pencil or marker. Repeat this for the other two strips.
6. Cutting your wallpaper
Cutting your wallpaper is the next step in transforming your IKEA Billy bookcase into a statement piece. With the number of wallpaper strips calculated and the lengths determined, you are now ready to bring your vision to life.
Once you have marked the measurements, carefully cut your three strips of wallpaper using scissors or a craft knife. Your cuts don’t need to be so perfect as the edges will be cut in the end. Repeat this process for each strip of wallpaper you will need for your bookcase.
Once you have your three strips of 256cm x 53cm that match perfectly when they are side by side, I suggest you mark each strip with a letter to know where they are going to be placed (c.f. my drawing above). I marked my strips A, B, C and also added little marks to know where the edges of the Billy back should be so I can know where to position the strips when I glue them.
Strips A and C are easy as you won’t have to cut them lengthwise except to get rid of the excess paper after gluing them. But B is a bit tricker as you’ll have to cut this strip in two parts.
The good news is that the billy backs will be nailed to the bookcase structure, so a few millimeters of each sides of these back panels will be hidden by the bookshelf itself. Therefore, precise cuts on the edges won’t really matters. Still it’s always preferable to do a clean job but don’t put to much pressure on yourself.
With your wallpaper strips expertly cut, you’re now ready to move on to the exciting part: applying the wallpaper. Get ready to see your IKEA Billy bookcase transform into a personalized and eye-catching piece that reflects your unique style.
7. Apply the Wallpaper
Next, apply wallpaper paste or adhesive to the back of your wallpaper strip. Be sure to follow the manufacturer’s instructions for the specific product you are using. Some wallpapers may require you to let the paste sit for a few minutes before applying, while others may need to be applied immediately.


Once the paste is ready, carefully position the first strip of wallpaper onto the back of the Billy bookcase. Use the small marker marks you previously did to correctly position your wallpaper. Smooth it out with a wallpaper brush and a smoothing tool to remove any air bubbles or wrinkles. Repeat this process for each strip, ensuring that the patterns match up seamlessly.
As you work your way around the three backs of the bookcase, take your time and be gentle to avoid tearing or stretching the wallpaper. If you do make a mistake or need to adjust the positioning, don’t panic. Simply lift the edge of the wallpaper and reposition it as needed.
8. Drying time
After you’ve applied all the wallpaper strips and are happy with the results, allow the adhesive to dry completely.
This usually takes a few hours, but be sure to check the instructions for the specific product you used.
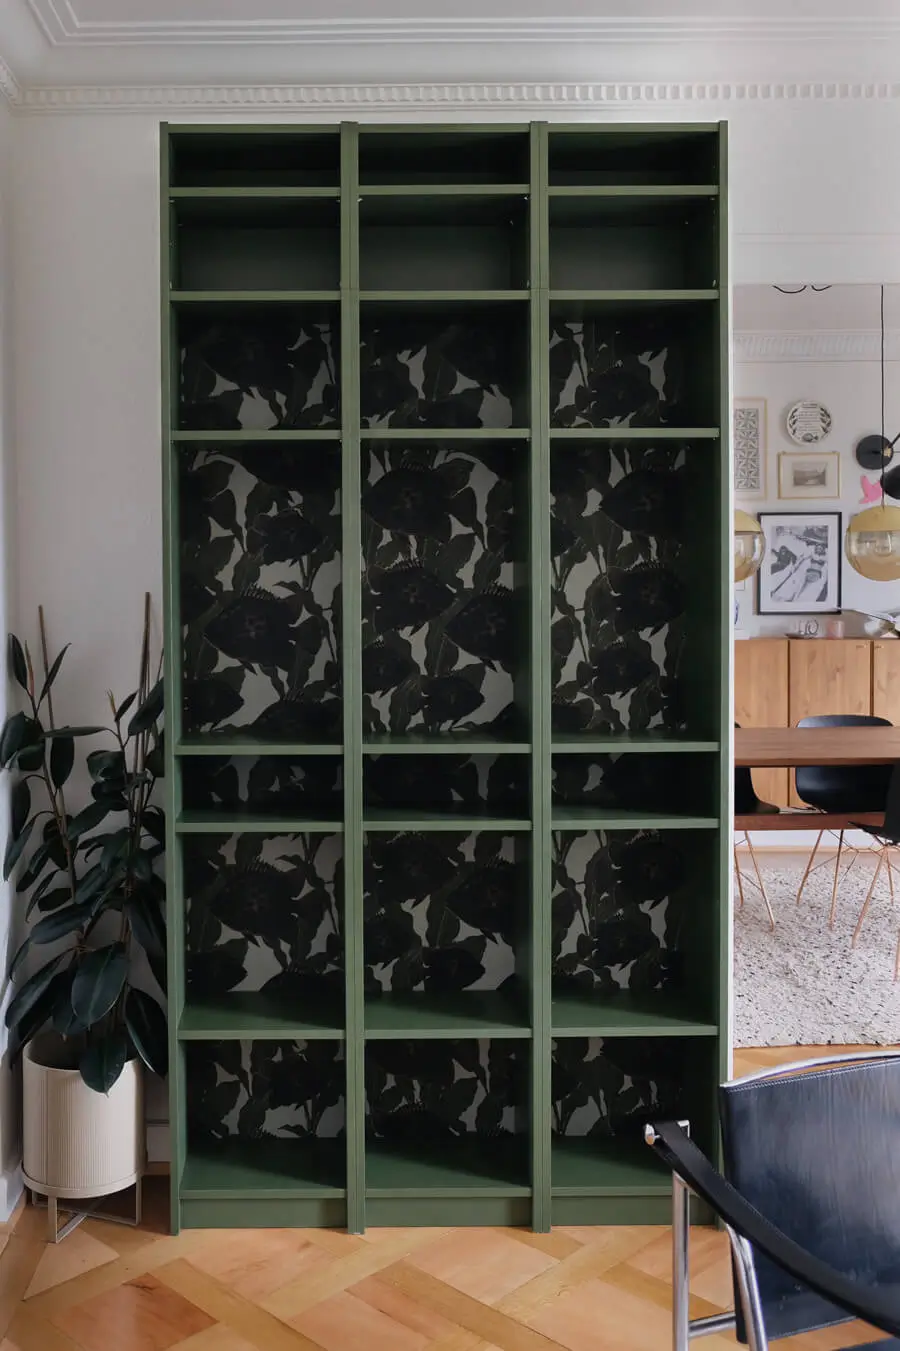
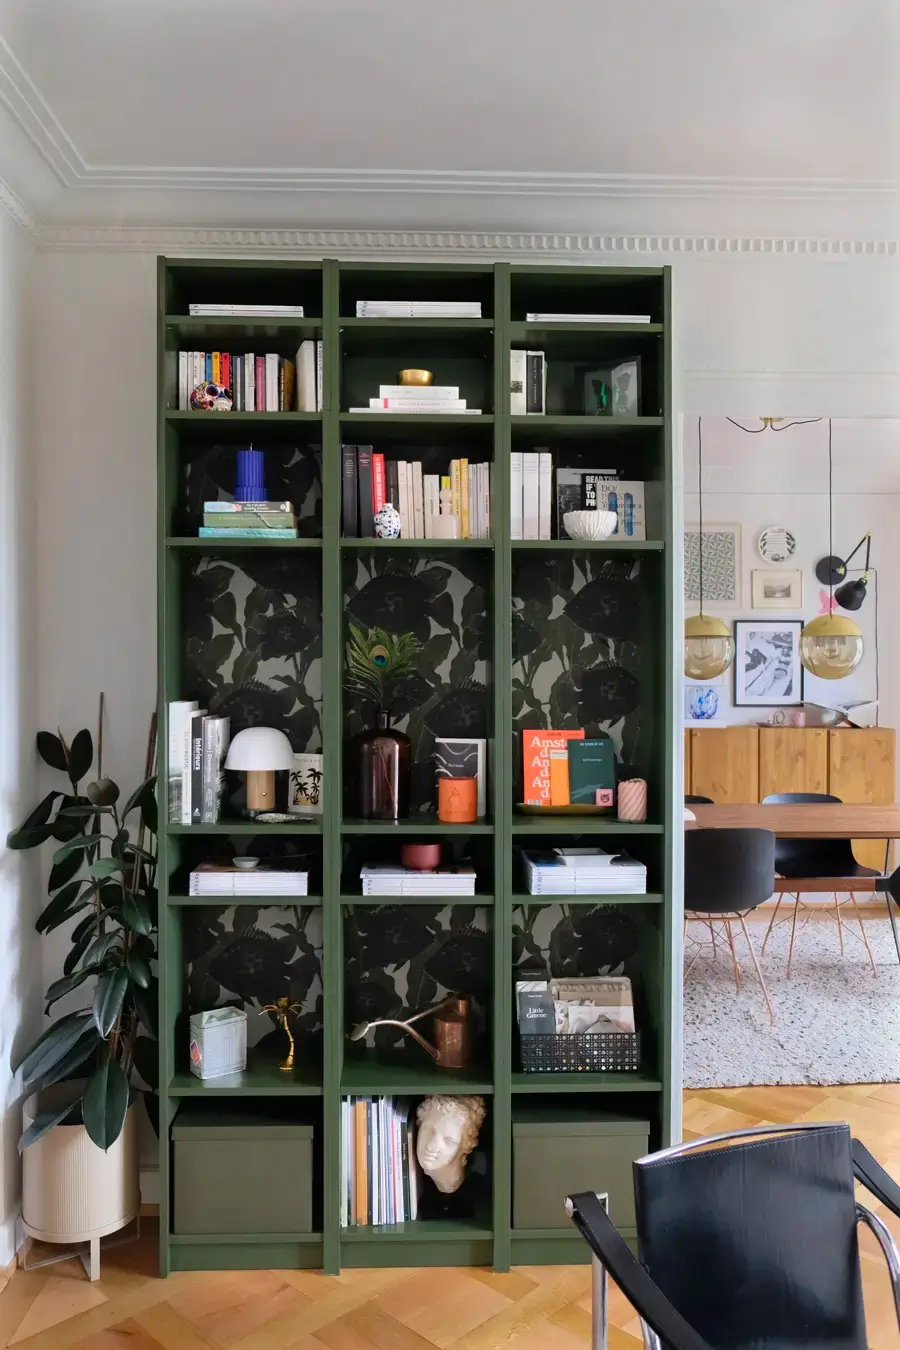
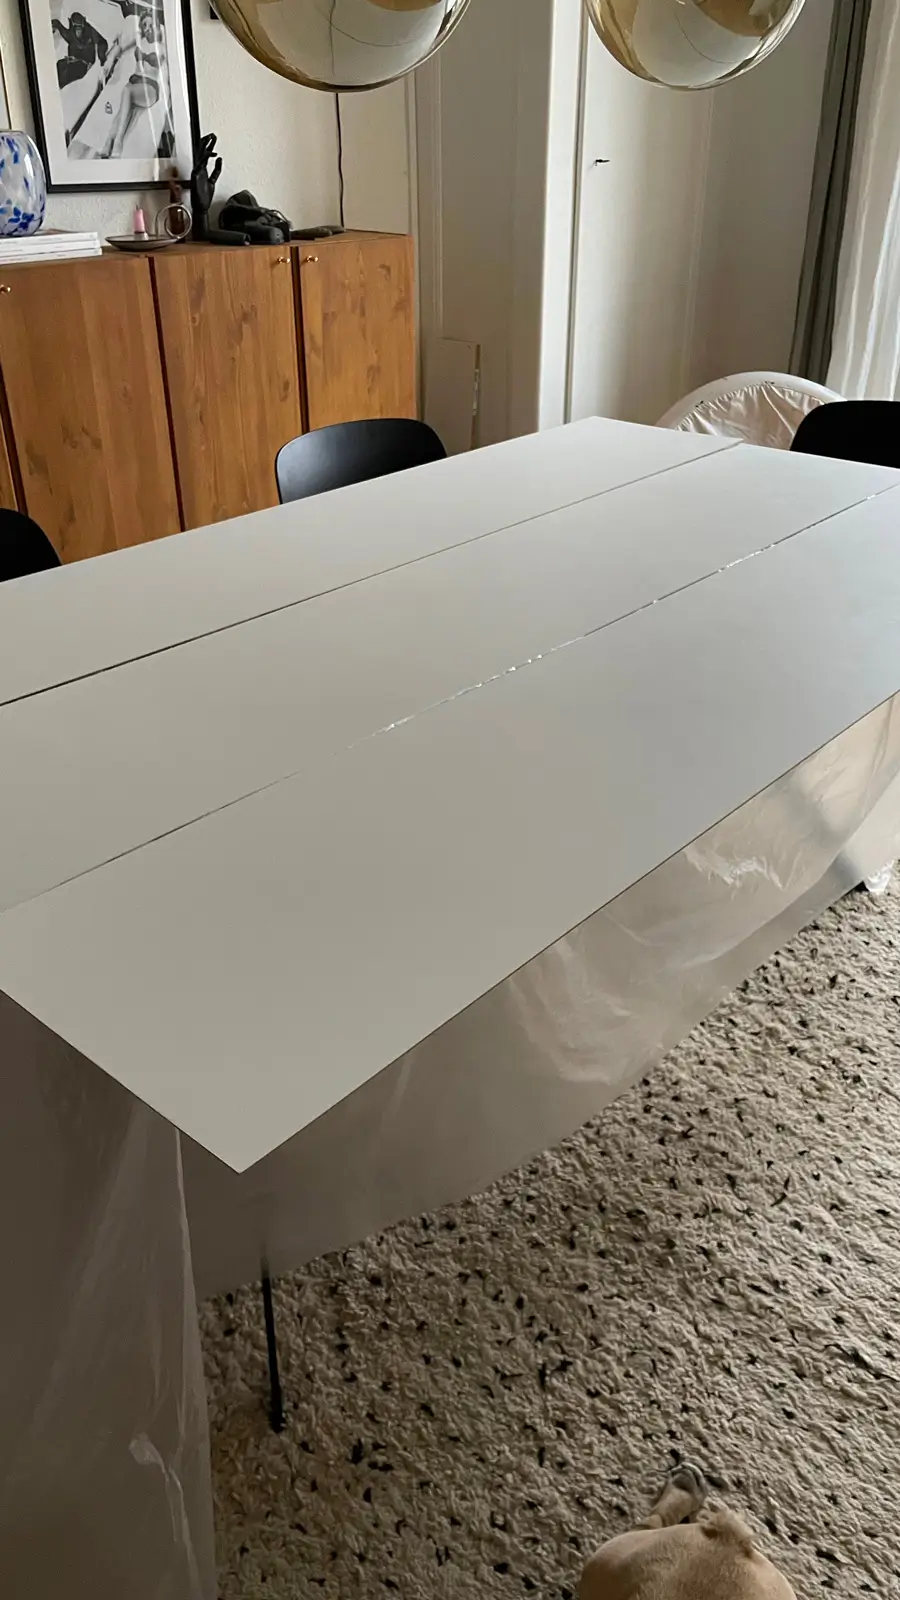
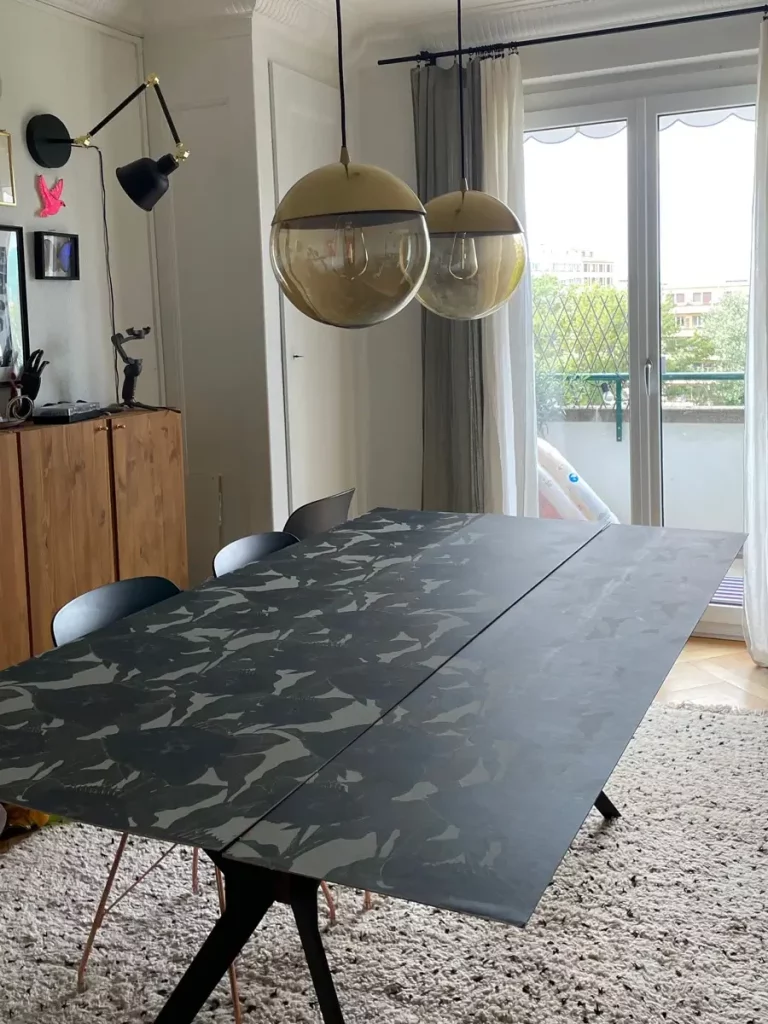
Then just cut the excess wallpaper left with a cuter or a pair of sharp scissors and you should arrive at a result just like the picture on the left.
Enjoy the result
Once you have both painted your Billy parts and wallpapered the backs, you just have to assemble it following IKEA’s user guide and then style it.
Enjoy the final result!