
*Disclosure: This article may contain affiliate links. Rest assured I only recommend products I use myself and all opinions expressed here are my own. I may earn a small commission when you click on the links that are at no additional cost to you. This helps me keep going. Thank you for your invaluable support.
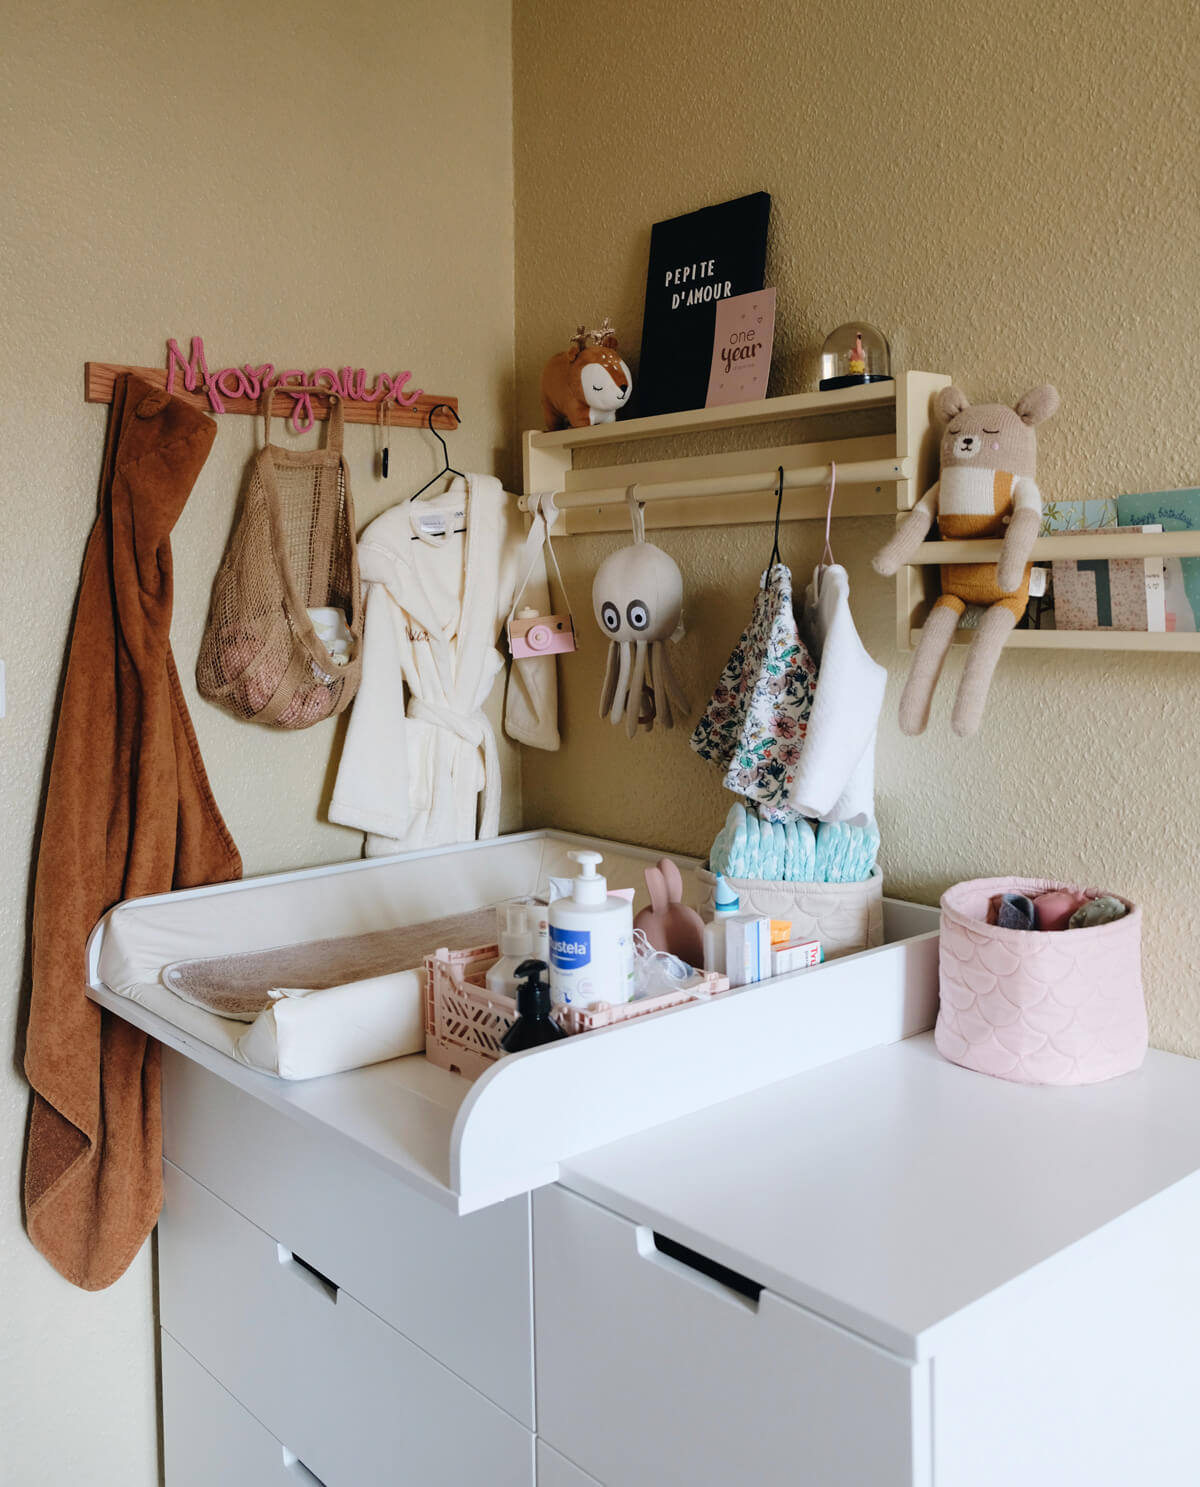
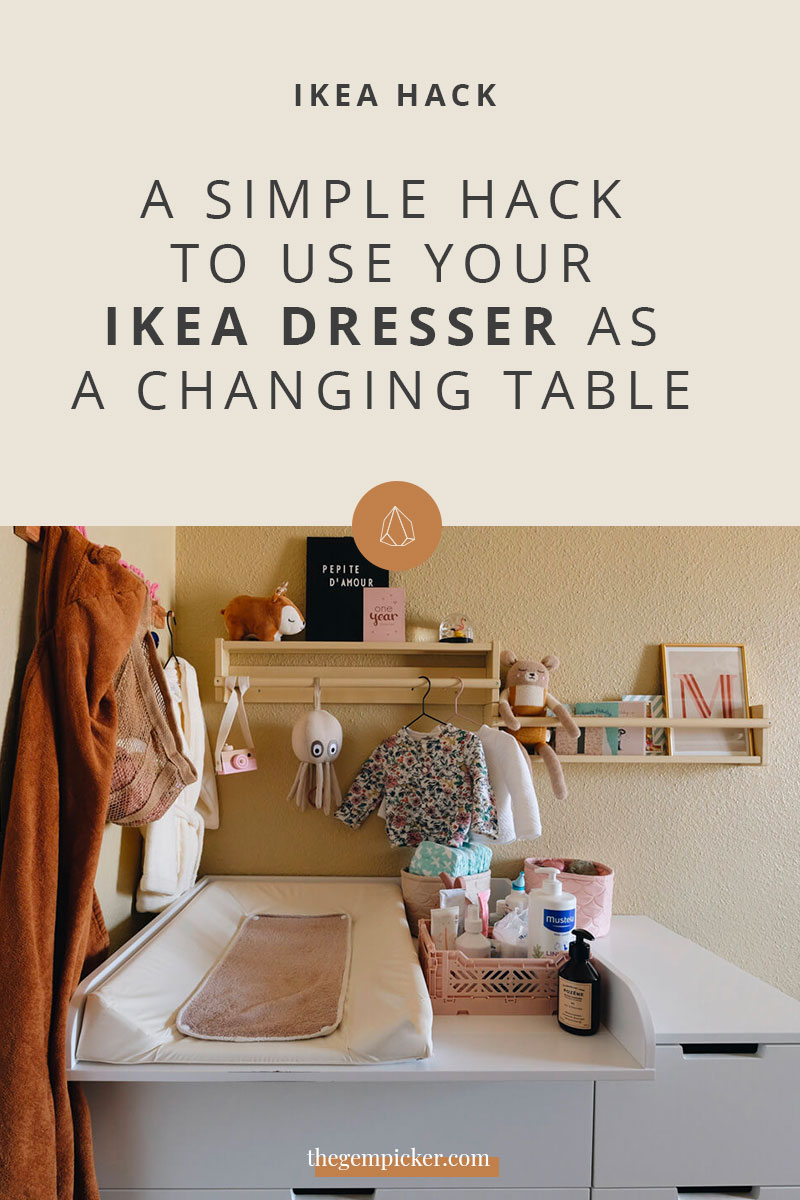
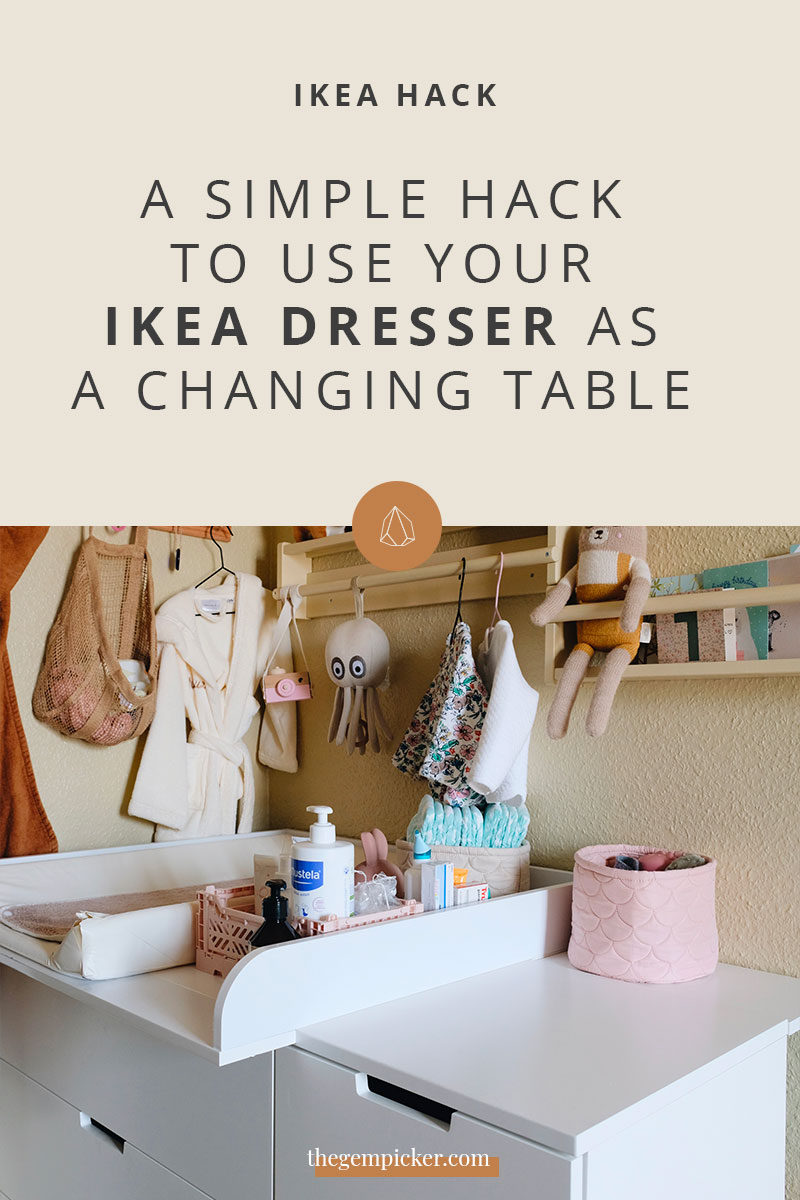
I turned my IKEA Nordli dresser into a fully functional changing table, zero permanent modifications, zero DIY skills needed. Three years later, the hack still holds up, and the dresser is now back to being a regular dresser without a single trace. Here’s exactly how I did it and what I used.
What you’ll need for this hack:
- A Puckdaddy changing topper for your IKEA dresser model (Malm / Hemnes / see all models)
- A changing mat
- Optional: custom legs (these Etsy legs) + storage cart (IKEA Vesken) or the space shelf by puckdaddy
The Changing Table Topper That Requires Zero DIY
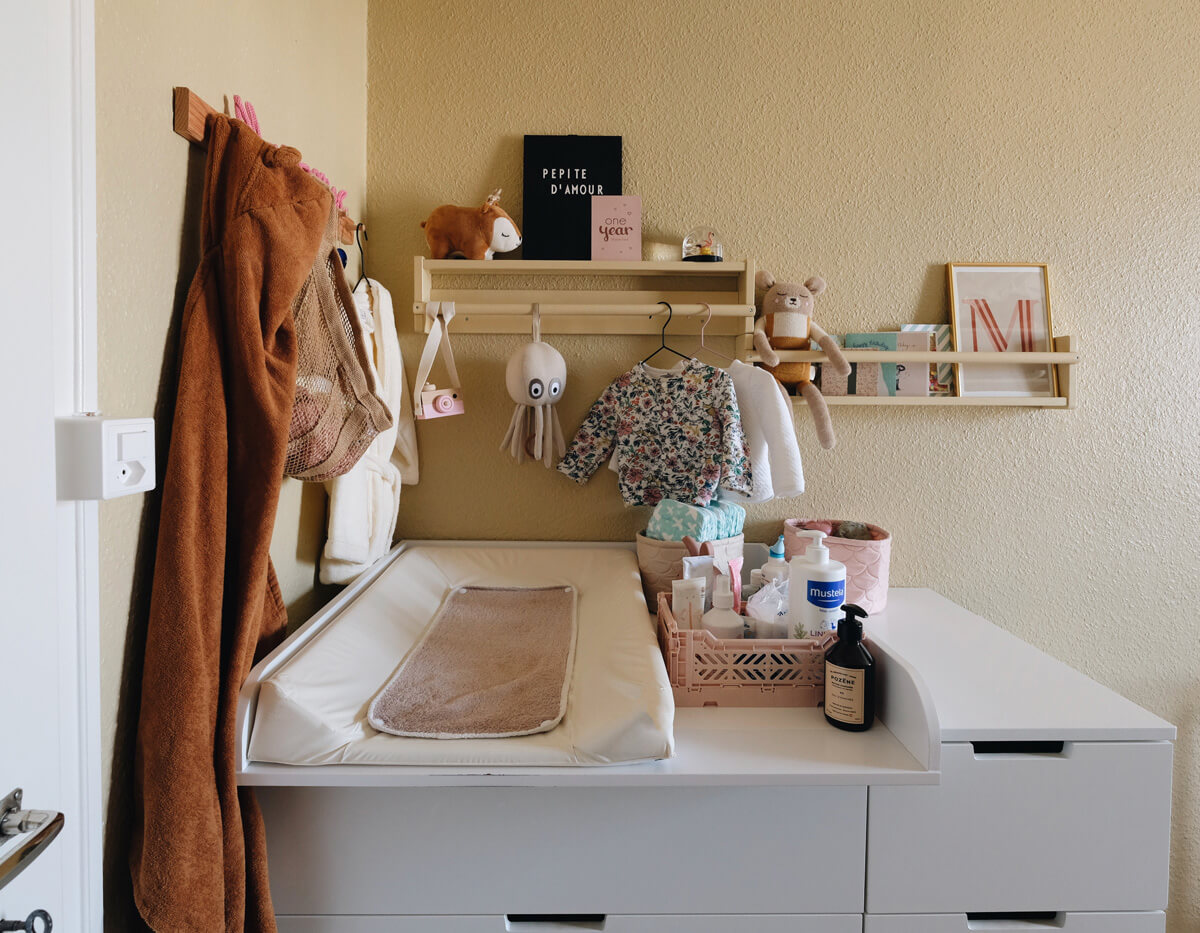
One of my concerns, was that I didn’t want to engage in a difficult DIY. I was 7 months pregnant and didn’t really have the energy for it. That’s when I found it. An easy and ready-made solution to use almost any IKEA dresser as a changing table: A pre-made changing topper that adapts to any IKEA chest of drawers. It’s a product made by Puckdaddy, a German company.
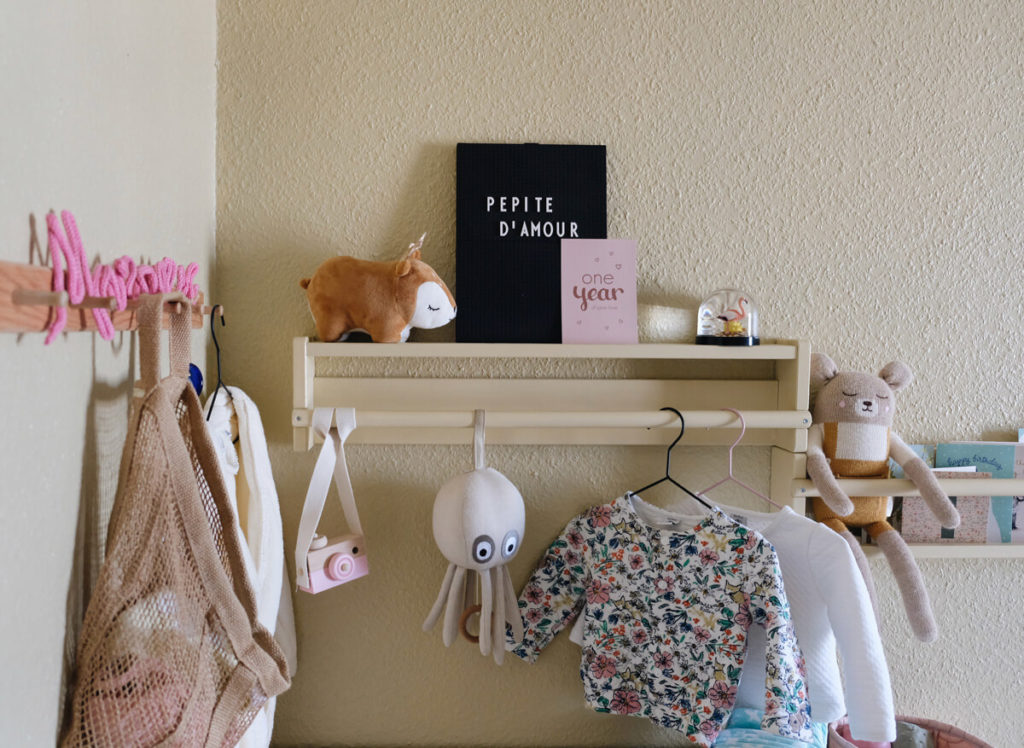

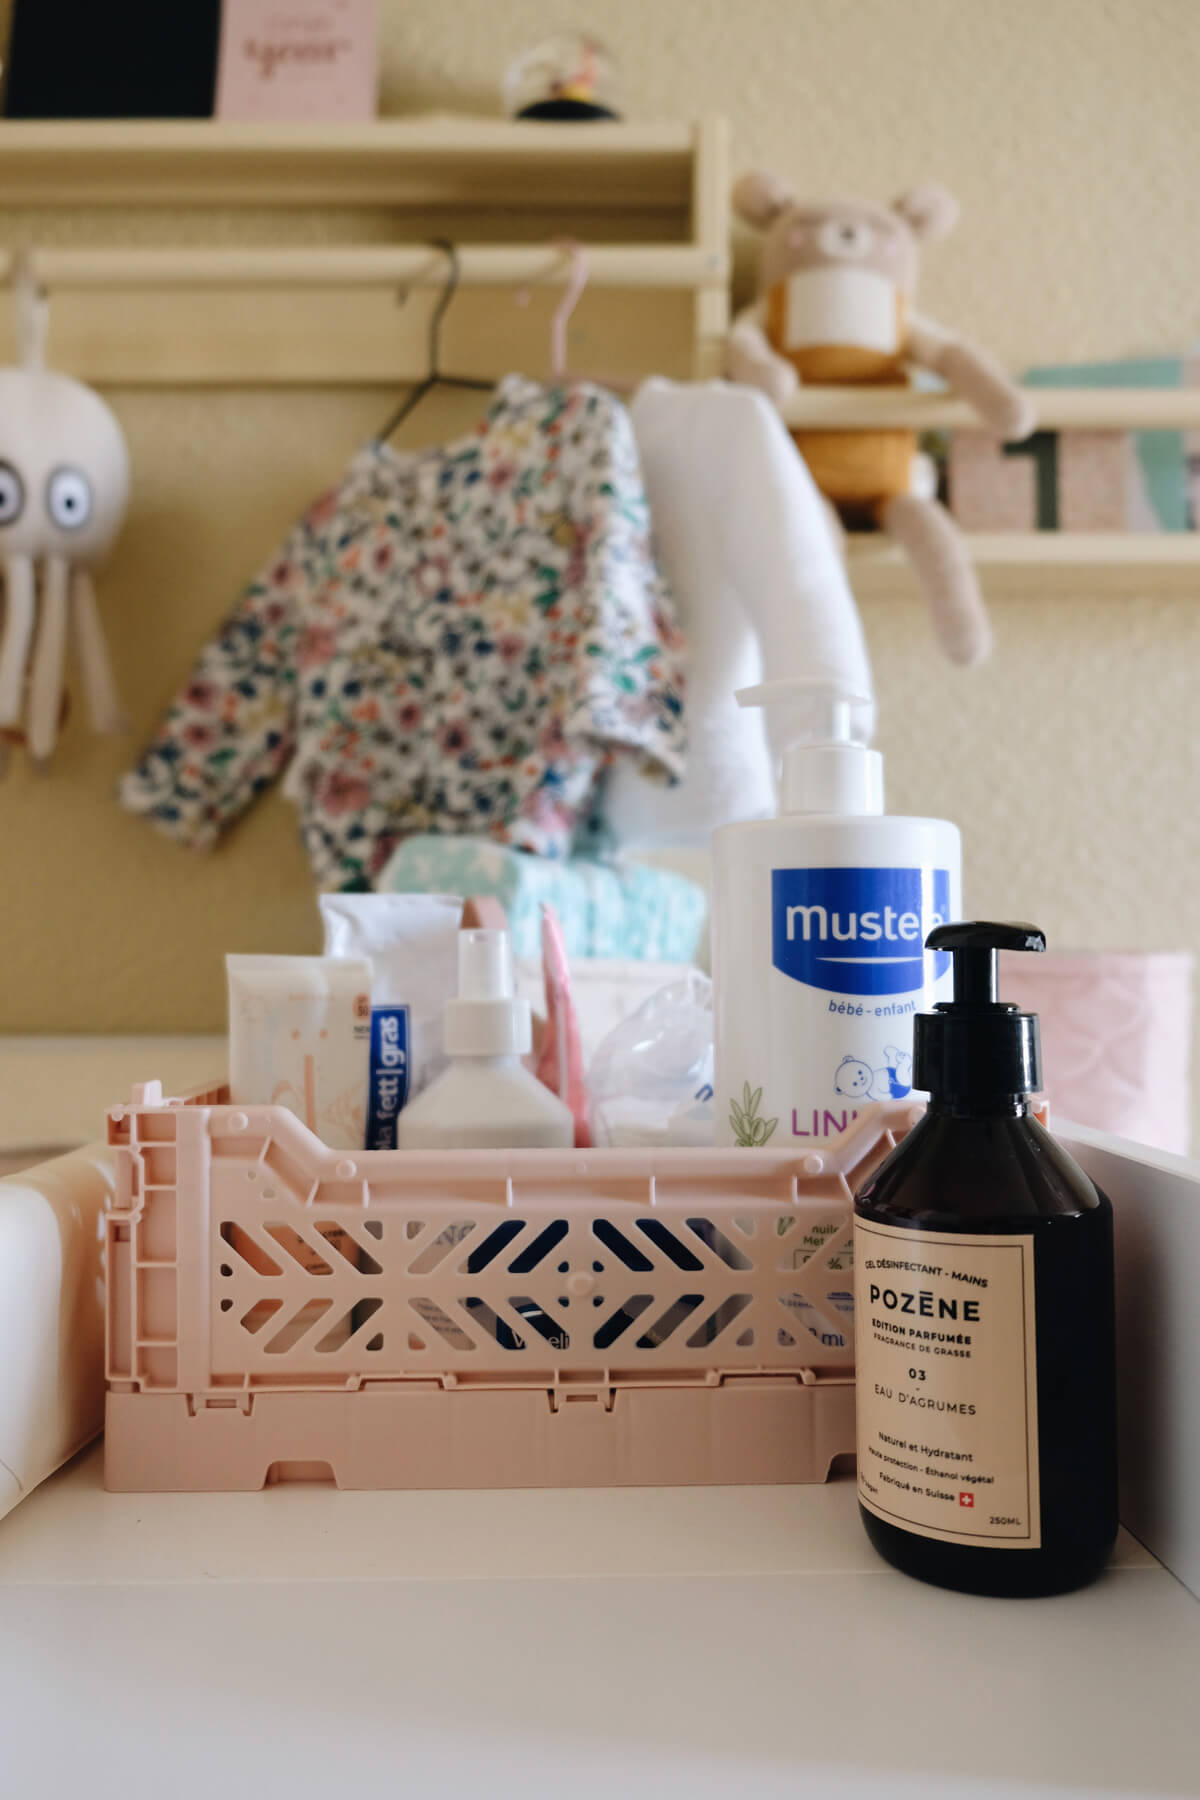
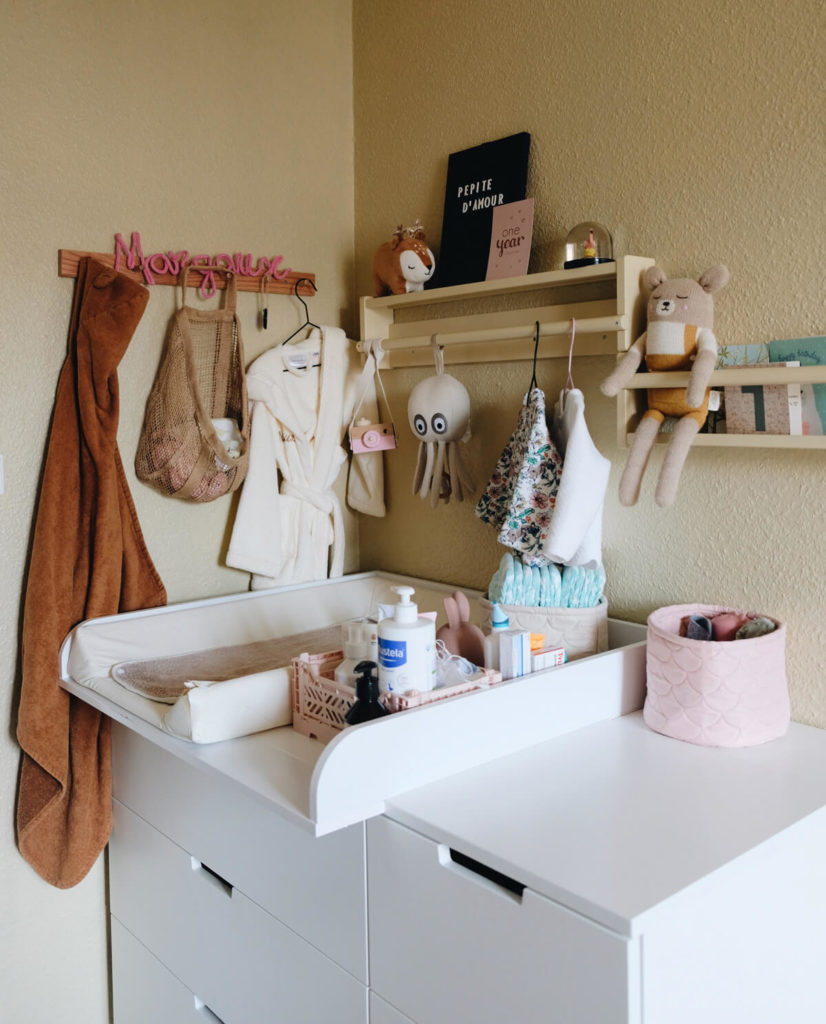
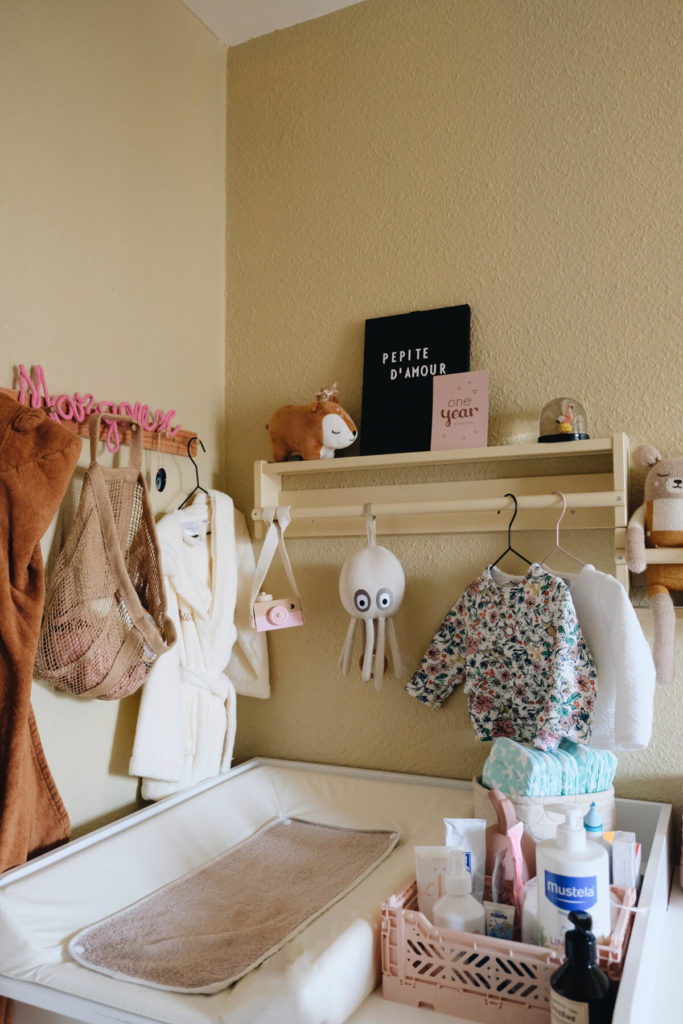
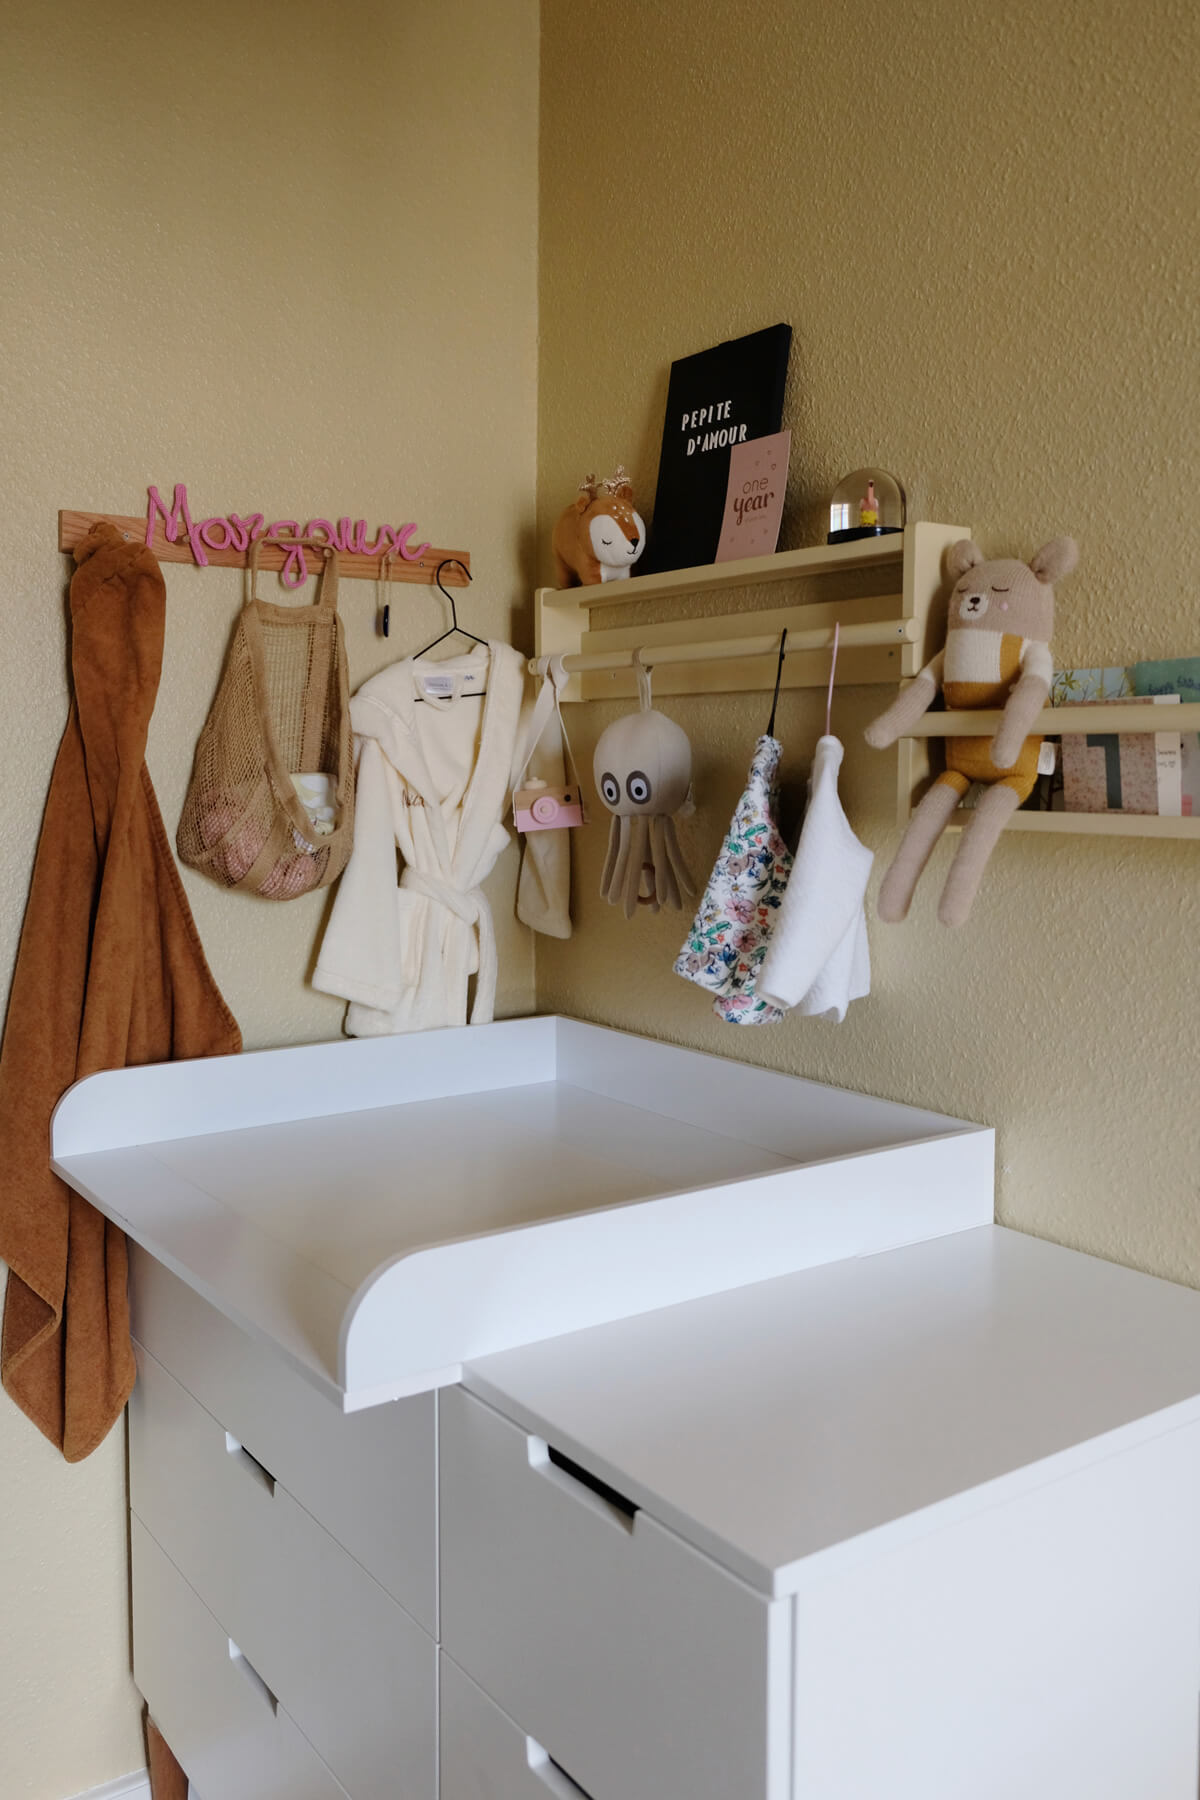
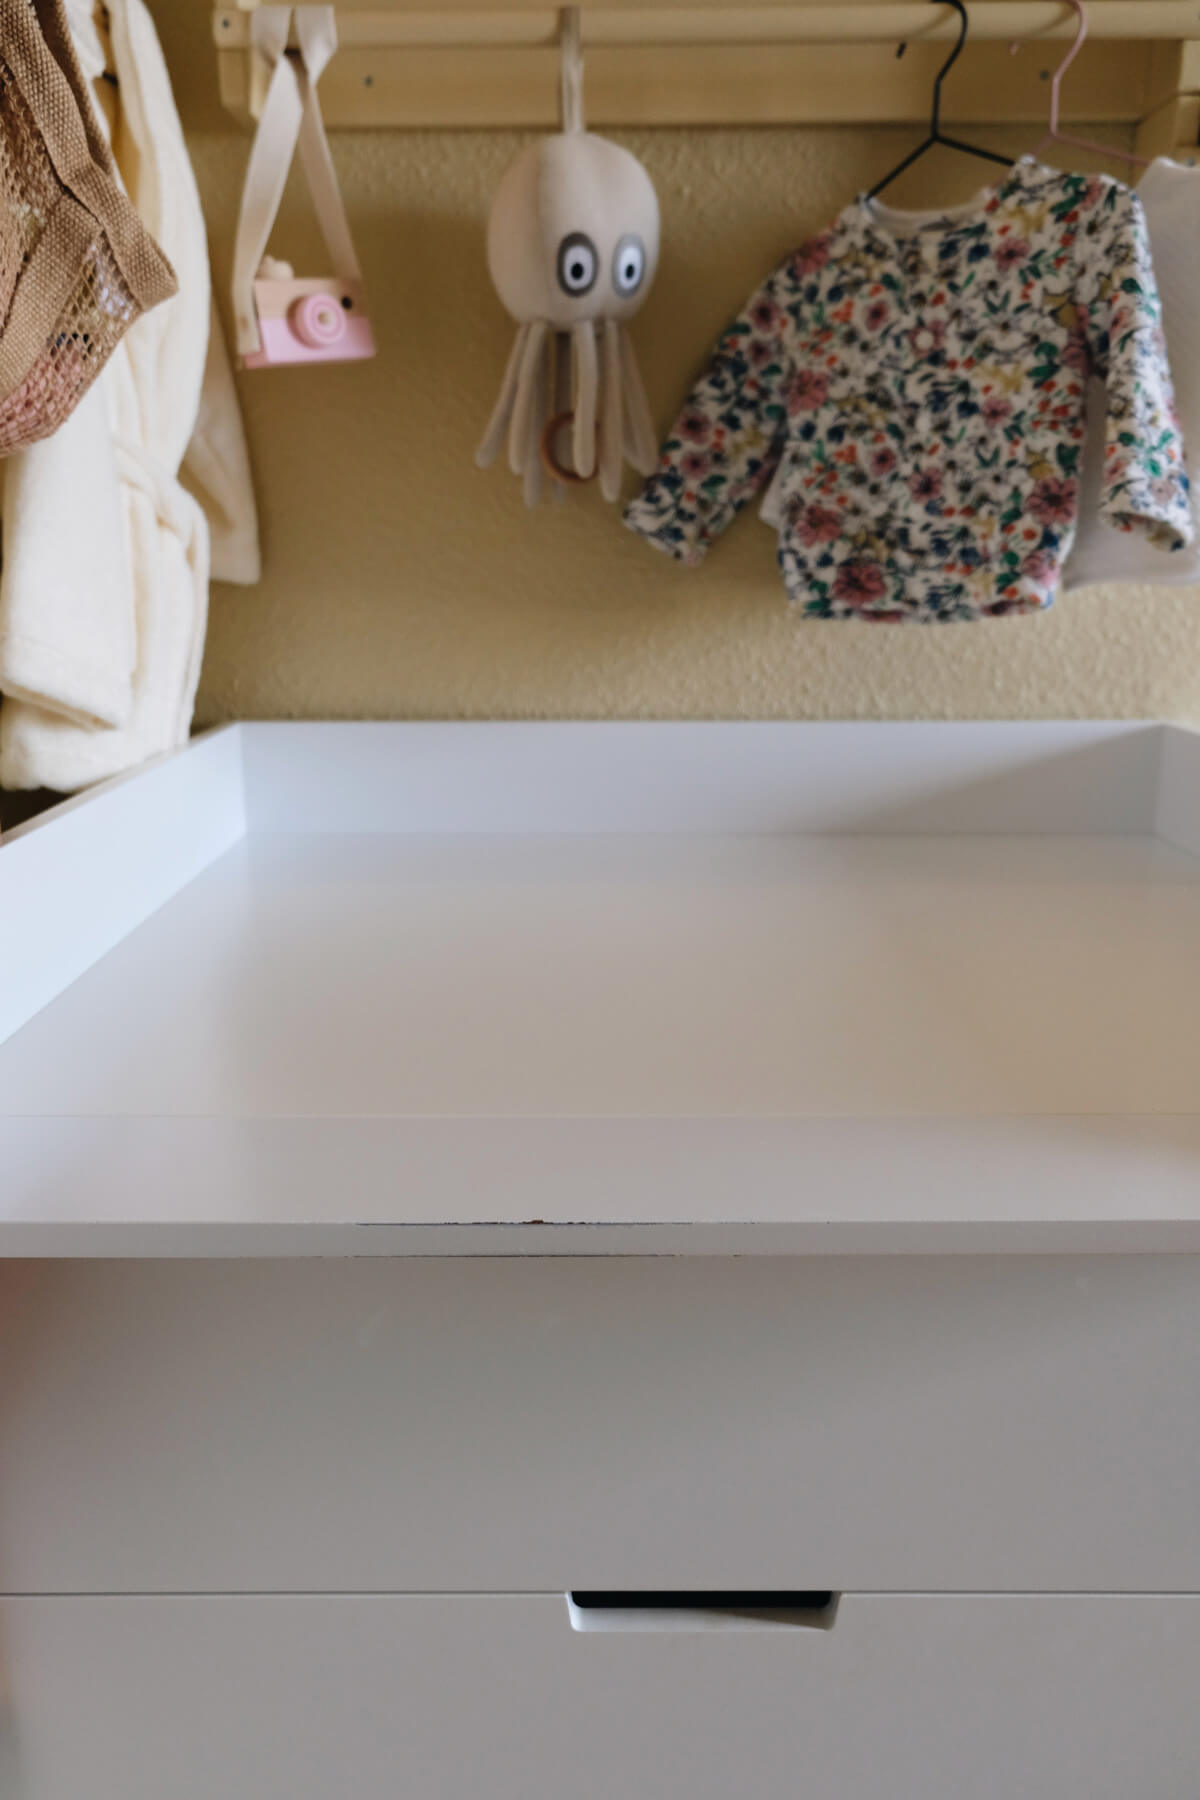
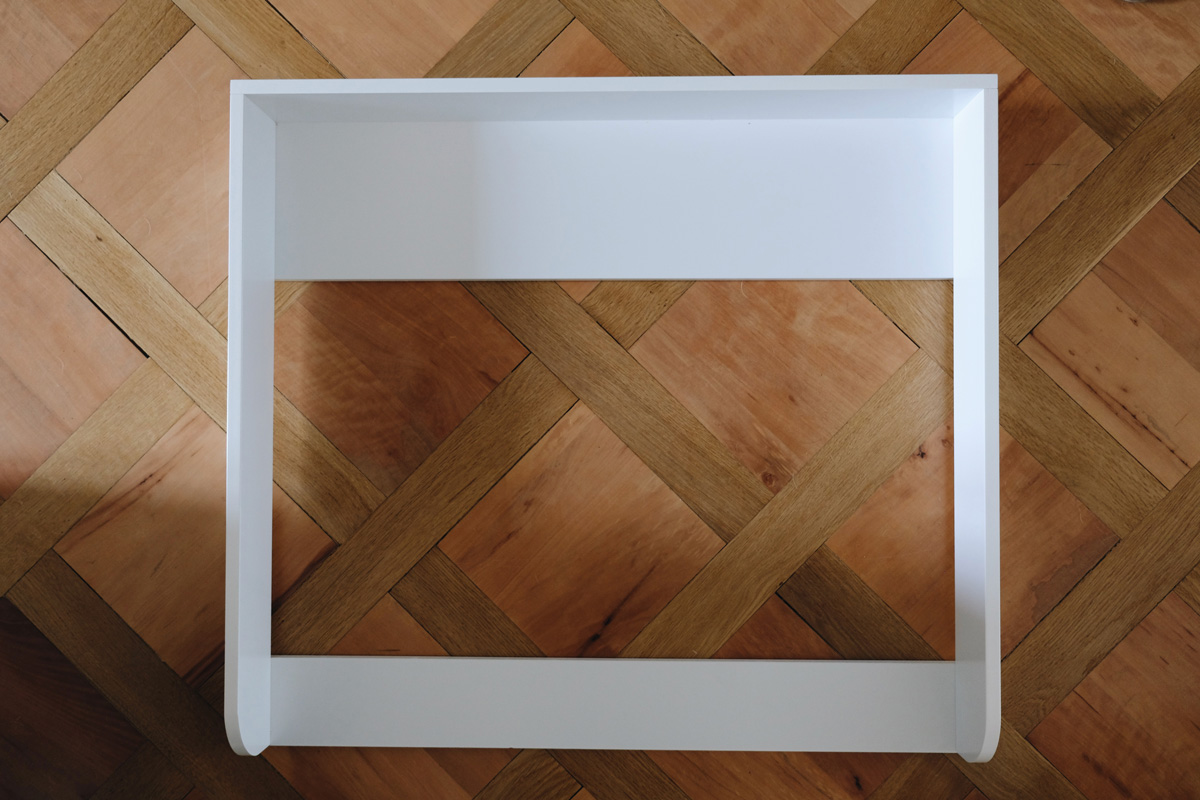
It’s really only a few pieces of wood (see below) that you assemble to create the structure that will frame the changing mat. It is strongly recommended to mount it on the wall to prevent slipping as the structure is just placed on the dresser. That’s probably the “hardest” part but it really is worth it.
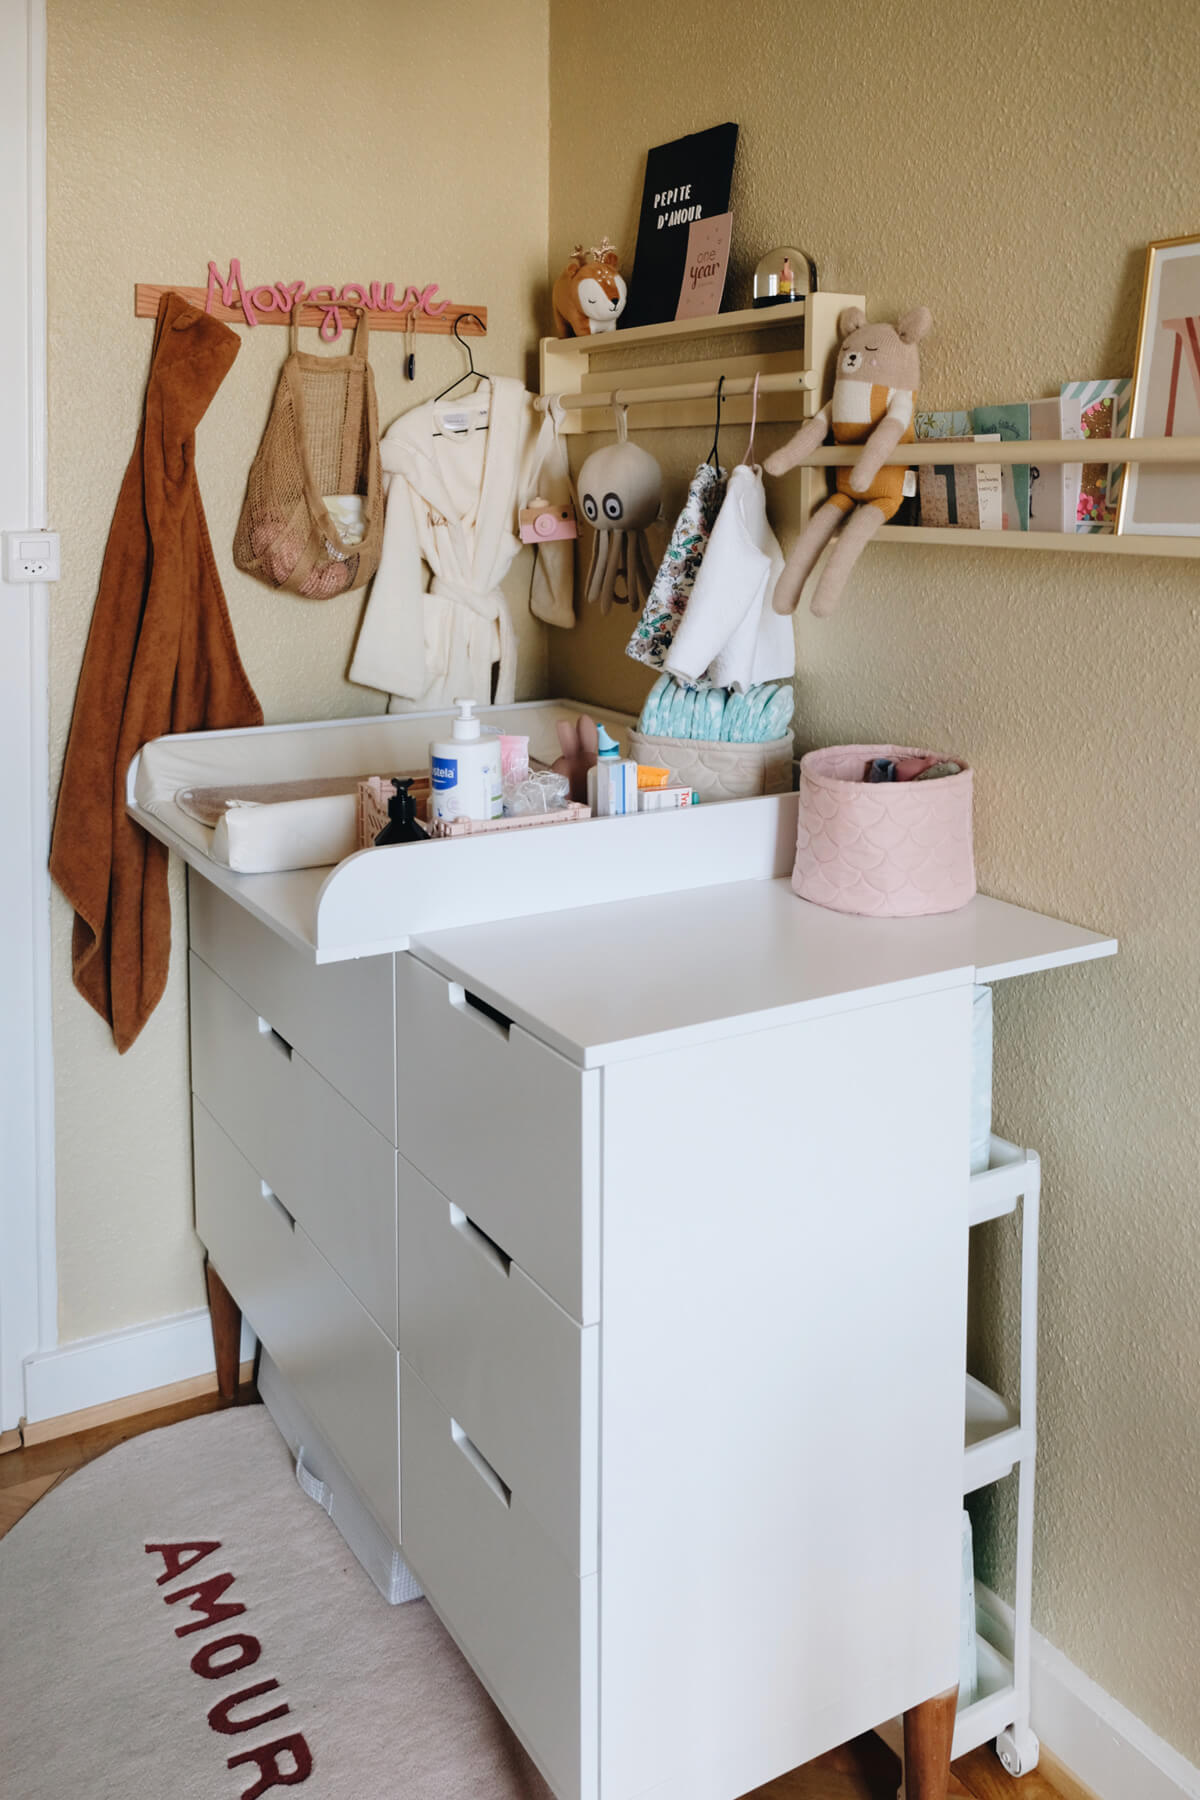
The model I used is the Ferdinand, a rounded changing topper designed specifically for the IKEA Nordli dresser (6 drawers, 120×47×76 cm). It’s unfortunately been discontinued since, but if you have a Nordli, the Malm topper is only 1 cm wider and works as a direct substitute. Just make sure to mount it to the wall, as the slight size difference means it won’t grip the edges as snugly as a model-specific fit.
Quick tip : My dresser is also mounted on legs (legs bought here on Etsy) as we needed it to be a little bit higher. A few nice-looking baskets (mine are from H&M Home similar here and here) to put the diapers and the baby care products and we were done!
If you are interested in swapping or adding legs to a piece of furniture you might want to have a look at where to find legs for your furniture.
Here are the links to the structure according to the model of the IKEA dresser you have :
Changing topper for IKEA MALM
Changing topper for IKEA Hemnes


What to Do With the Gap Behind the Dresser
One detail I hadn’t anticipated at first: the changing topper creates a small gap between the wall and the dresser, since it overhangs slightly at the back. Initially, I saw it as a minor flaw but it turned into a brilliant opportunity to maximize space.
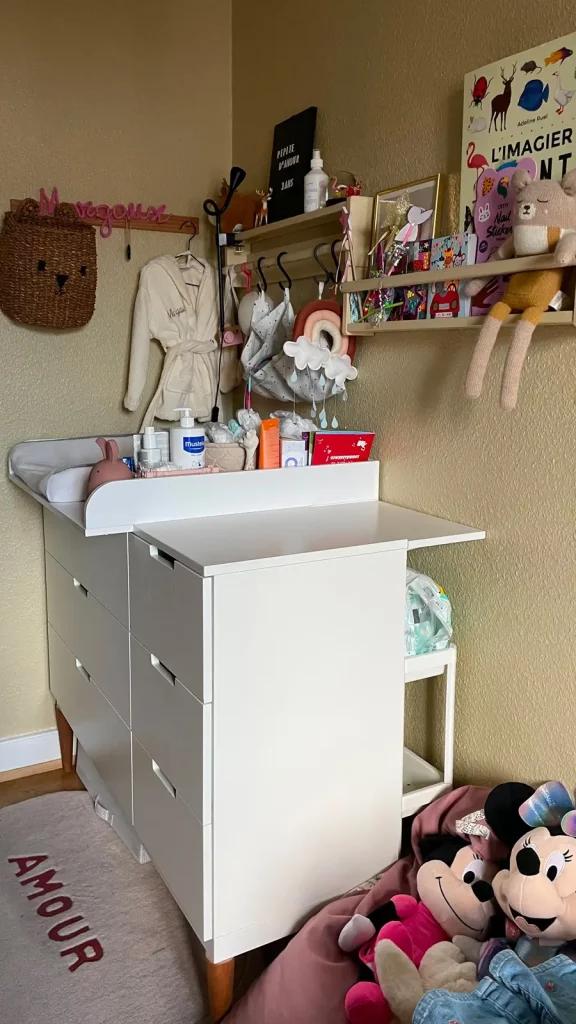
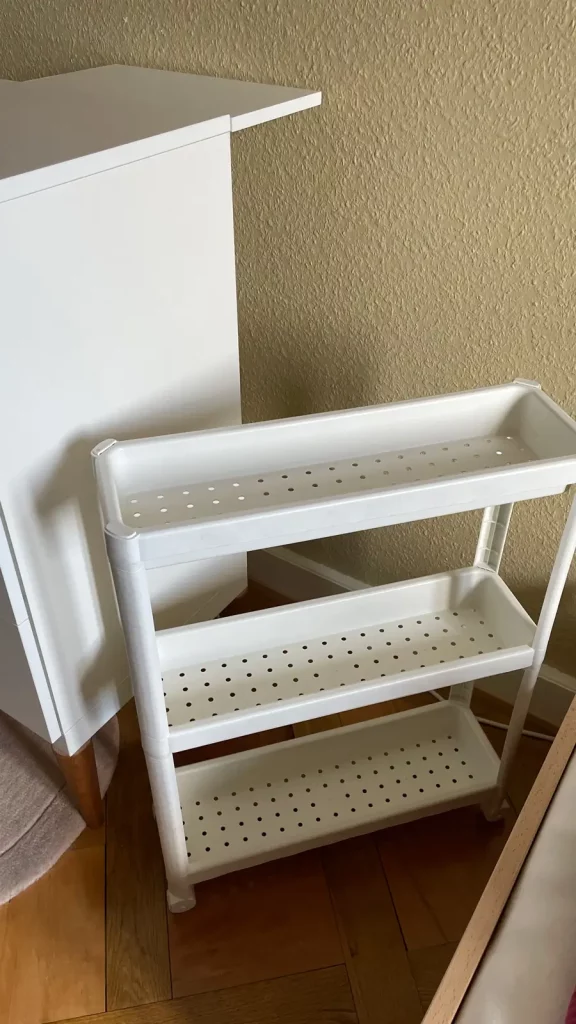
I slipped in a slim Vesken cart from IKEA and it fit perfectly. It became the ideal spot to store extra diapers, easy to reach, neatly tucked away.
If you’re looking for a more built-in, polished solution, Puckdaddy also offers a custom shelf made specifically to fill that gap. It aligns beautifully with dressers like Malm or Hemnes and provides both extra storage and a seamless finish.
➝ See the Puckdaddy shelf on Etsy
Honestly, after 3 years of using this changing table, I wouldn’t do anything different. I’m really happy with the result and the functionality. There were traces of wear but on the frame and not on the dresser.
The beauty of this solution is that when your child no longer needs to be changed, you can easily remove the frame. You’ll get your IKEA dresser back exactly as it was. So you are not stuck with an abnormally deep chest of drawers that you don’t really want anymore.
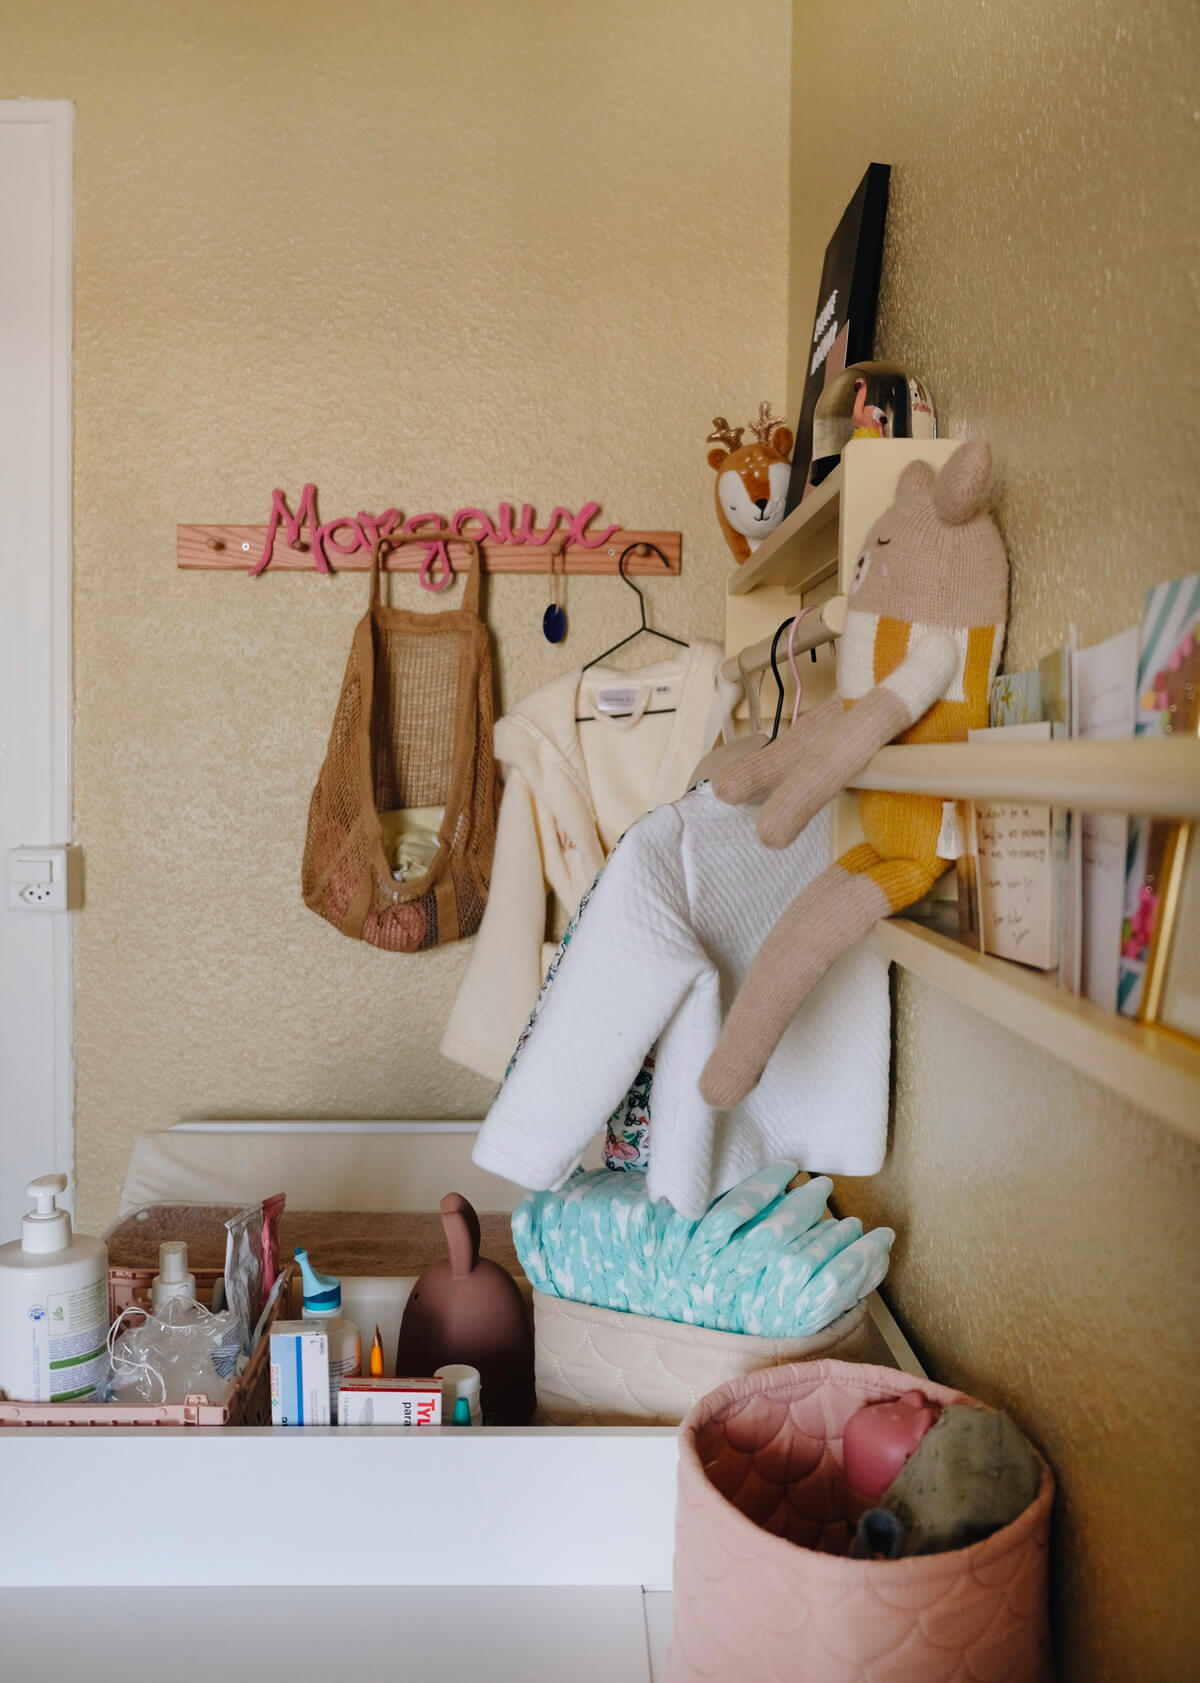
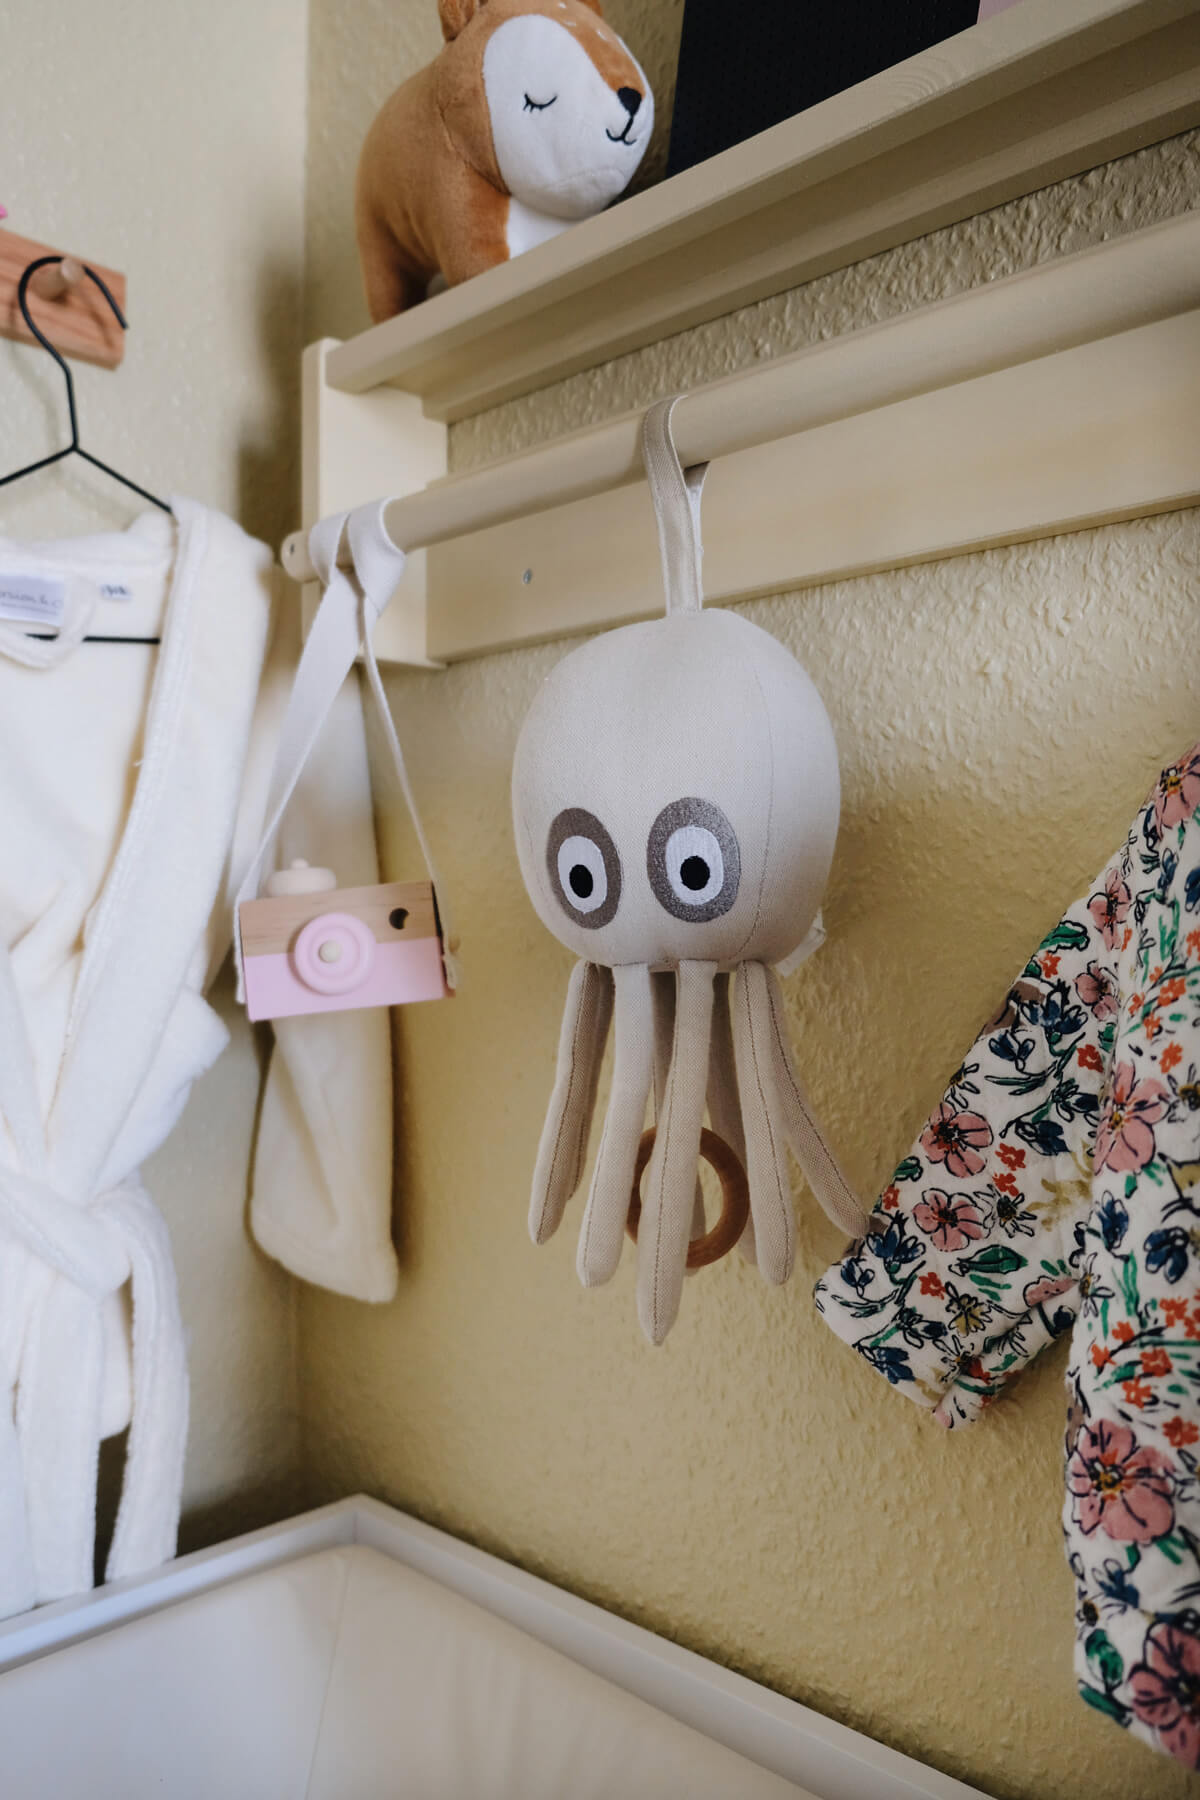
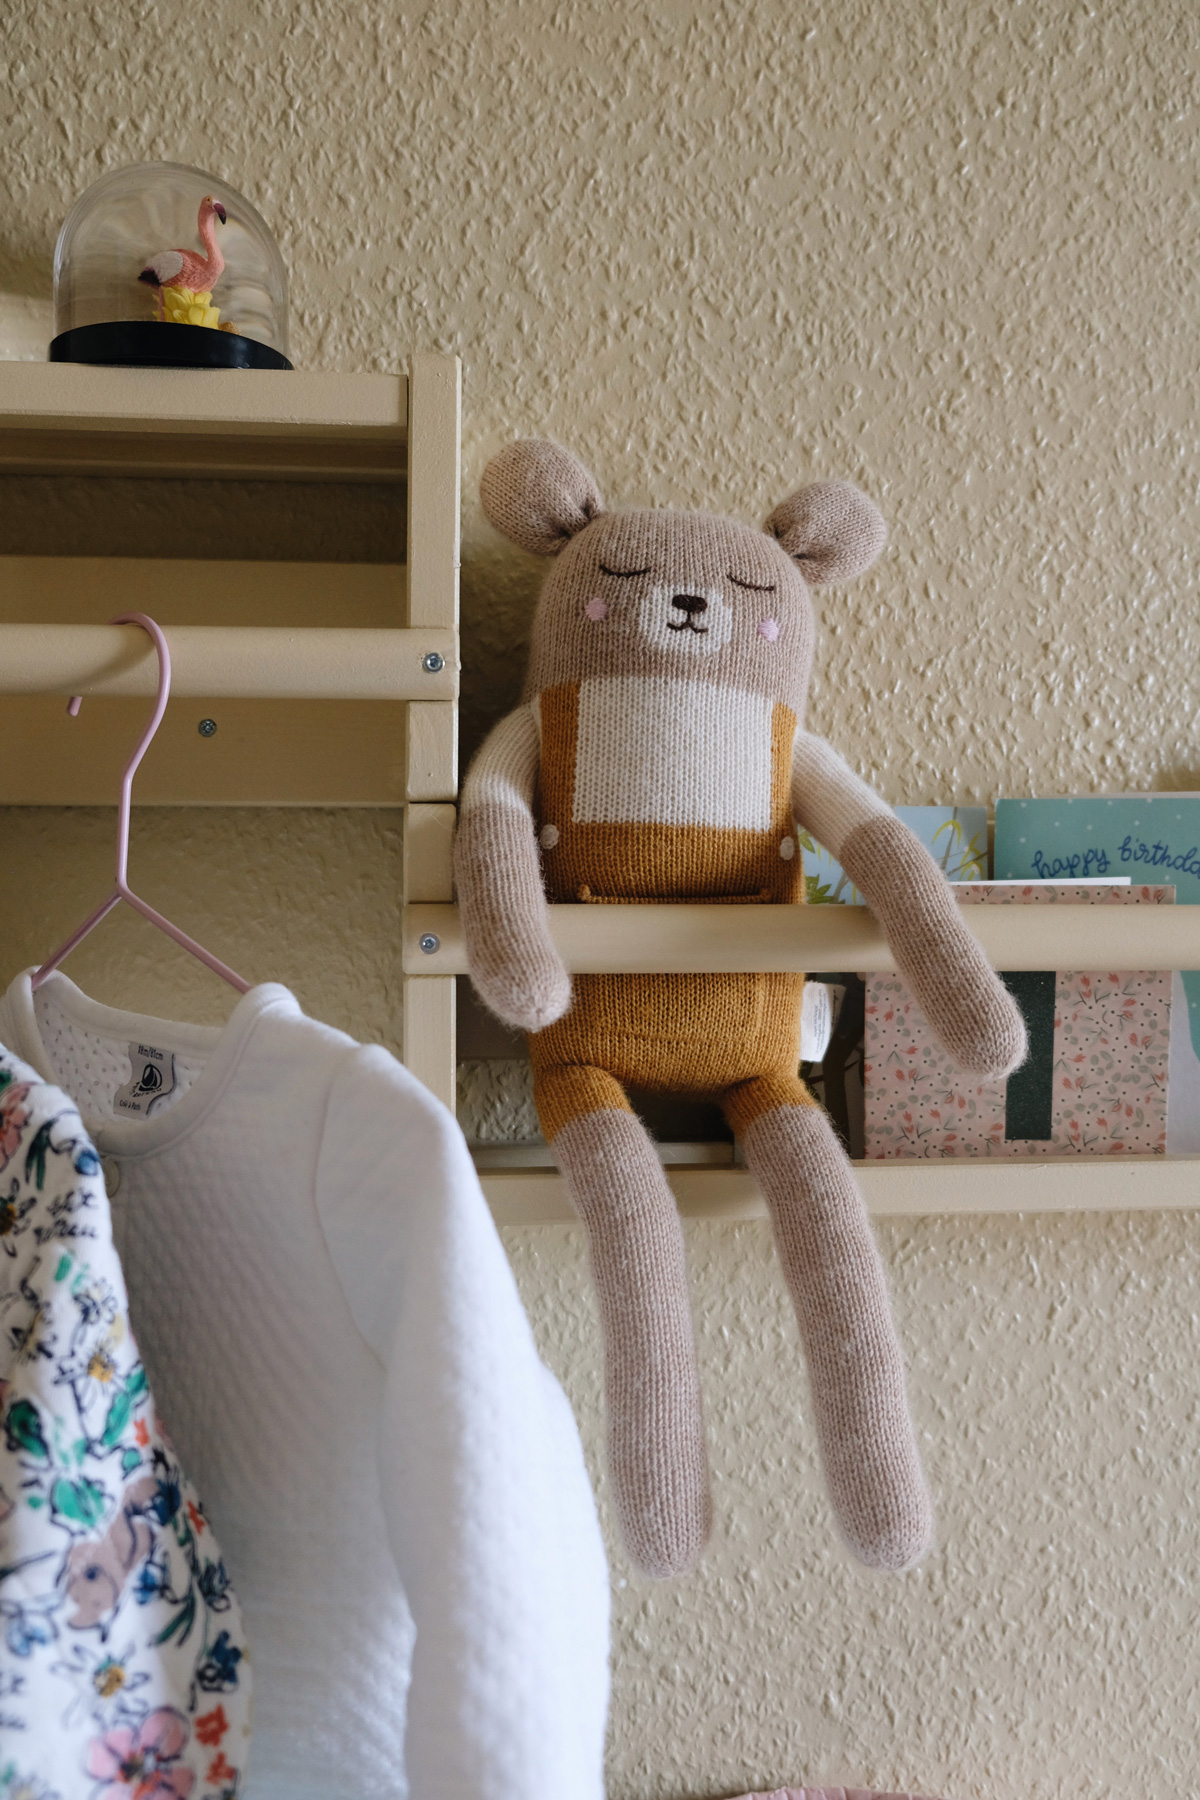
My Review After 3 Years With This IKEA Changing Table Topper
As I predicted, time has flown by and the day I turned my IKEA chest of drawers into a changing table seems like yesterday when in fact it was 3 years ago. Now that my daughter has grown up and no longer needs to be changed, it’s time to undo that DIY and turn that changing table back into the chest of drawers it originally was.
I just removed the changing table and the legs I’d added to make it the right height and it was done! I was also able to resell the changing table on Faceboook market, which made the whole operation almost costless.
There’s something incredibly rewarding about getting maximum use out of your furniture, especially when it’s so simple to do.
Here are some pictures of how it looks now :


A Note on Why Using an IKEA Dresser as a Changing Table Without Modifications Doesn’t Work
When I first started my research about using my Ikea dresser as a changing table, I found a lot of pictures of people just using their IKEA dresser in the length direction. Because in the end, the difference between a changing table and a dresser is simply the depth of the furniture. A standard dresser is usually not deep enough to put a changing mat on it and still be facing the drawers. So people seemed to use their dresser as changing table lengthwise. Well for me this seemed very odd and non-functional at all. Where would I put all the essentials for baby care if I don’t have space on the sides and can’t open the drawers easily? It surely looks really nice but to this day I still haven’t figured out how people make it work. So I kept looking for another solution.



Hi there! This is a great solution for transforming your dresser! We’re inspired. When you added the legs, did you add do any reinforcements to the bottom of the dresser?
Hi Rebekah, Thank you for your comment ! No I did not do any reinforcement to the bottom of the dresser. I simply bought wooden legs on etsy to bring it at the right height. The installing is also very simple as you only need to screw it to the bottom of the IKEA dresser (at least for the Nordli model). It worked well for us.
[…] has nappies, baby rash, cream, wipes, and anything else that you need for changing. You can even turn the baby’s dresser into a changing area or your dresser. If your room is functioning as the baby’s room, all you need to do is add a […]
Hi there! It looks really nice 🙂 May I ask where did you get the little trolley in the back from? I saw on the Puckdaddy website the furniture solution they offer which seems a bit expensive though. Your trolley seems more practical to me so wondering where it is from? 🙂 Thanks!
Hi Claudia,
Thank you for your comment ! it’s indeed very practical and honestly it works like a charm. The trolley is from Ikea it’s called Vesken and it’s the cheapest (around 15$). It fits perfectly back there.
Hello,
I bought the ikea drawer and puck daddy and also the trolley however how did you manage to remove the gap created on the side between the trolley and the wall due to the puck daddy nappy changer attachment? It seems like there is some added top wood.
Hi Maria,
Yes, that’s exactly what I did to close the unsightly gap. I cut a piece of top wood to the right size at my local DIY store, then secured it to the back of the chest of drawers using brackets and screws.
Hope this helps!
[…] Source: thegempicker.com […]