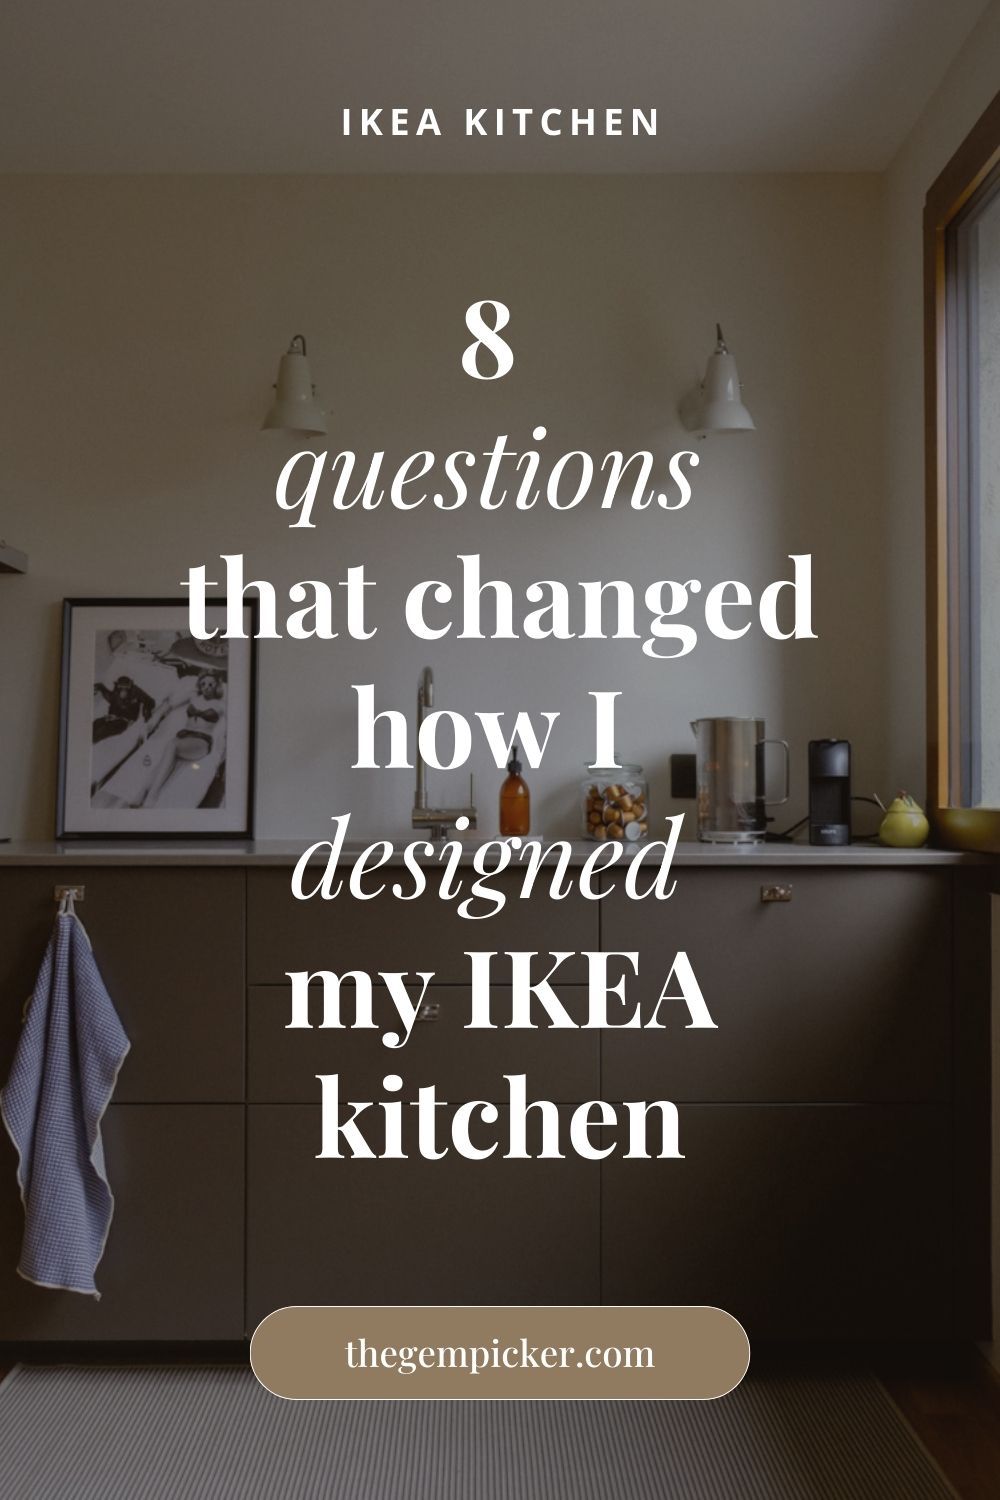
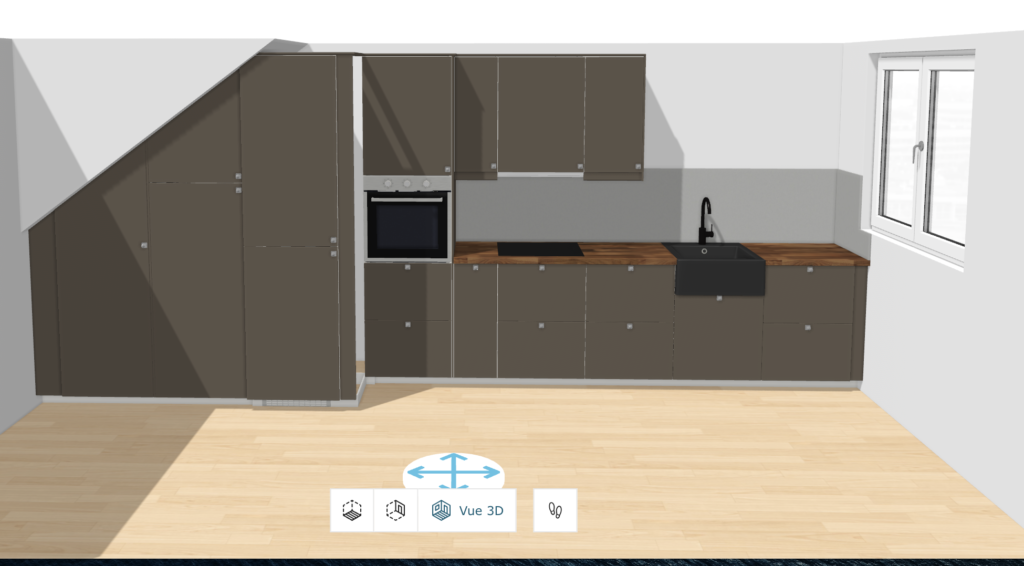
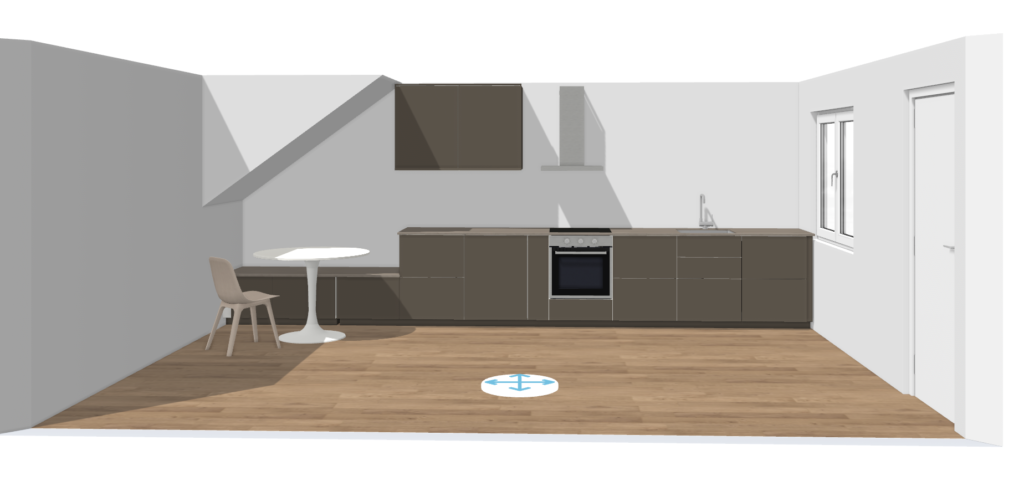
Let me be honest, when I first opened IKEA’s Kitchen Planner, I panicked a little.
I had a blank wall, no strict constraints, and a very flexible space to work with, which meant infinite options. And while the tool is brilliantly designed (not my first time using their planner ), it can’t answer the one question that really matters: what kind of kitchen do I actually need?
We chose IKEA because it made sense. It’s budget-friendly, reliable, and the design options are better than ever. But no tool, not even IKEA’s, can make the decisions for you. That’s only up to you.
After a lot of of dragging and dropping cabinets into different configurations, I realized I needed to pause and go deeper. Before I could design a layout, I needed to get clear on how this kitchen would serve us now, and potentially, in the future.
Table of Contents
- 1.Ask Yourself the Right Questions Before beginning the process of designing your IKEA kitchen
- 1.What is this kitchen really going to be used for?
- 2.How many people will actually use this kitchen — at the same time?
- 3.How fixed or flexible does this space need to be?
- 4.How much closed storage do I need and how much open space do I want?
- 5.Where does the natural light fall, and how do I want to use it?
- 6.What’s my relationship to cooking right now and is it changing?
- 7.What is one thing that annoys me in kitchens I’ve used before?
- 8.If my budget is limited, which design elements can I postpone without sacrificing function?
A little context:
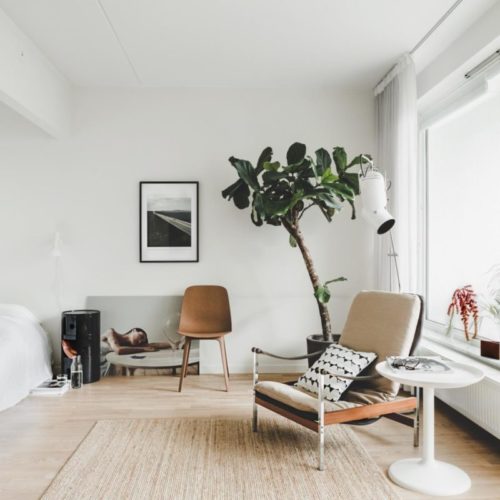
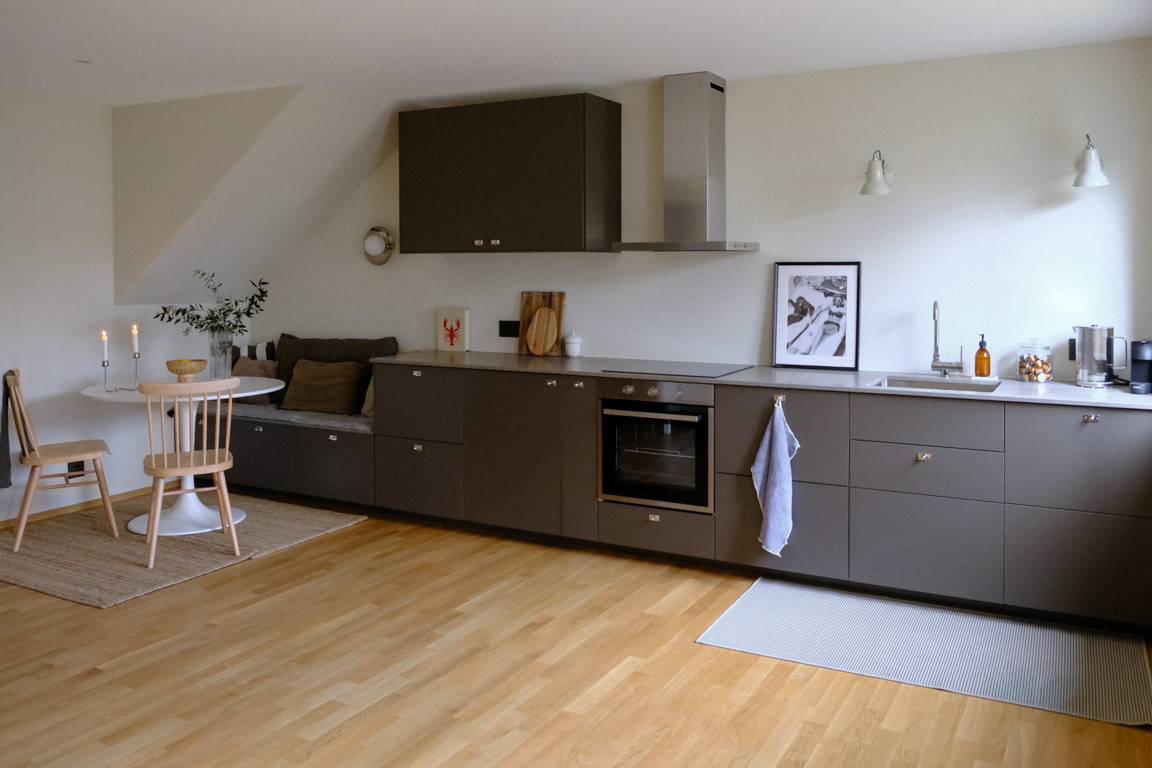
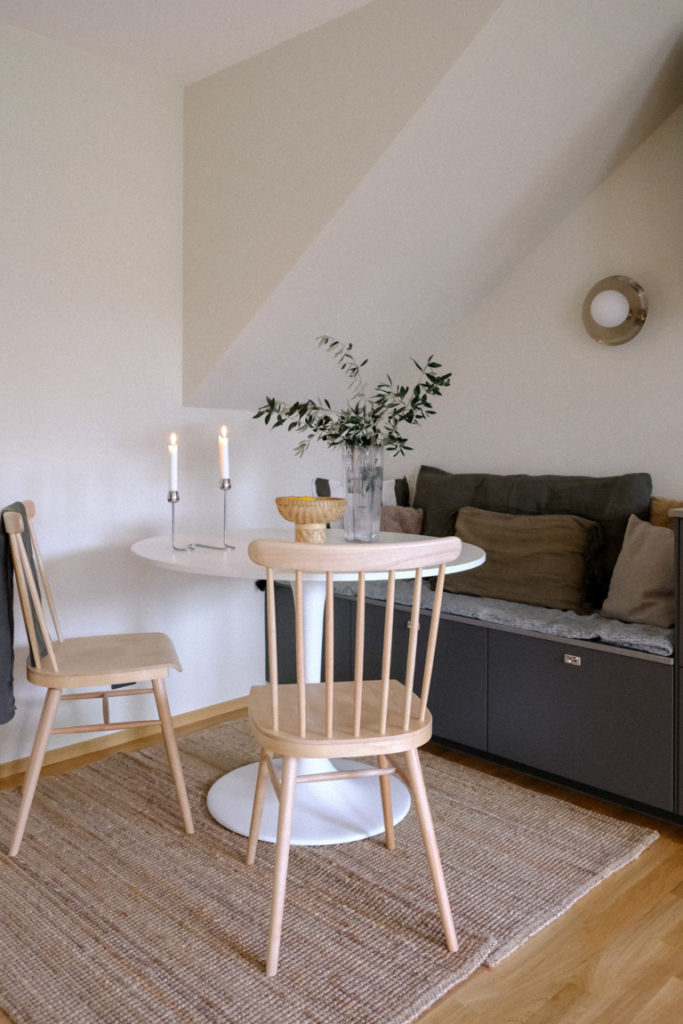
This kitchen lives inside our new 45m² studio space in Geneva. For now, it’s our office, where I work, my husband works sometimes, where we have coffee, small lunches, and occasional client meetings. But later, it might become a small apartment we rent out. So I needed it to be a real kitchen, not just a “workplace kitchenette”, while keeping the layout flexible, the budget in check, and the overall design soft enough to blend into a multi-use, open-plan room.
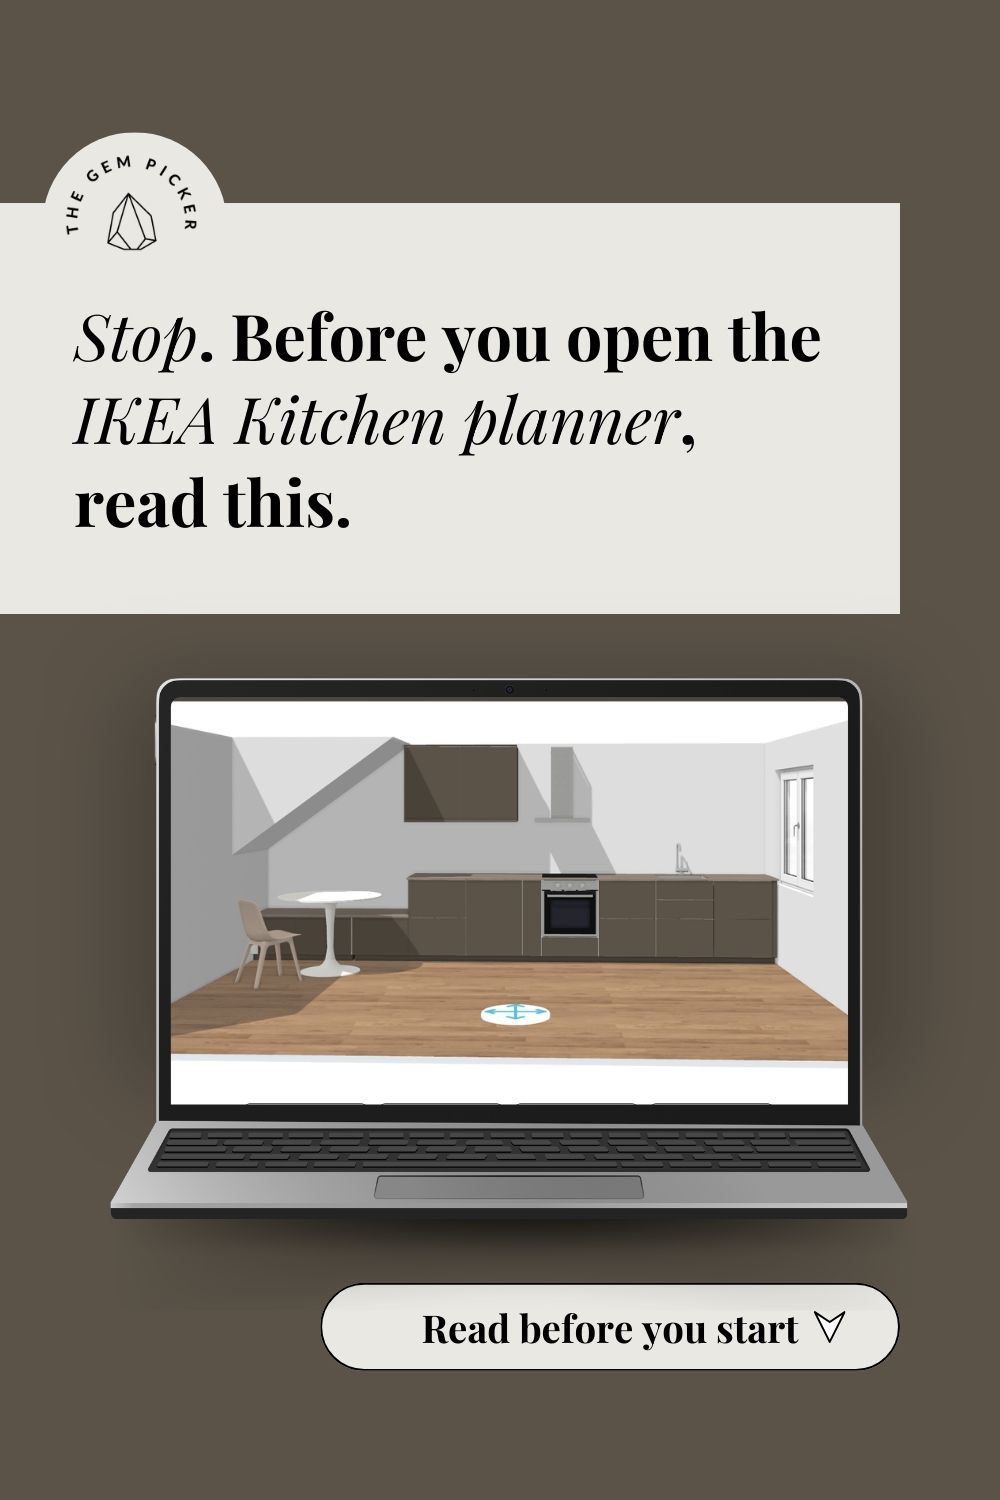
To move forward with clarity (and avoid spending days rearranging 3D cabinets), I wrote down the questions that would actually guide my decisions, not just in terms of layout, but in how I wanted the space to feel and function.

1.Ask Yourself the Right Questions Before beginning the process of designing your IKEA kitchen
This will help you get clarity before you get overwhelmed with planning tools, cabinet widths, or Pinterest board. These questions will help you structure the layout of kitchen and will help you uncover the sort of kitchen you are heading to.
In my case I was designing the kitchen of our studio office. And here are the questions I asked myself in order to get a better idea of what I was going to do:
1.What is this kitchen really going to be used for?
Is this for daily family cooking, casual office use, Airbnb guests, or light weekend prep?
Why it matters: Understanding the intensity of use will help you determine how much storage, prep space, and durability you actually need.
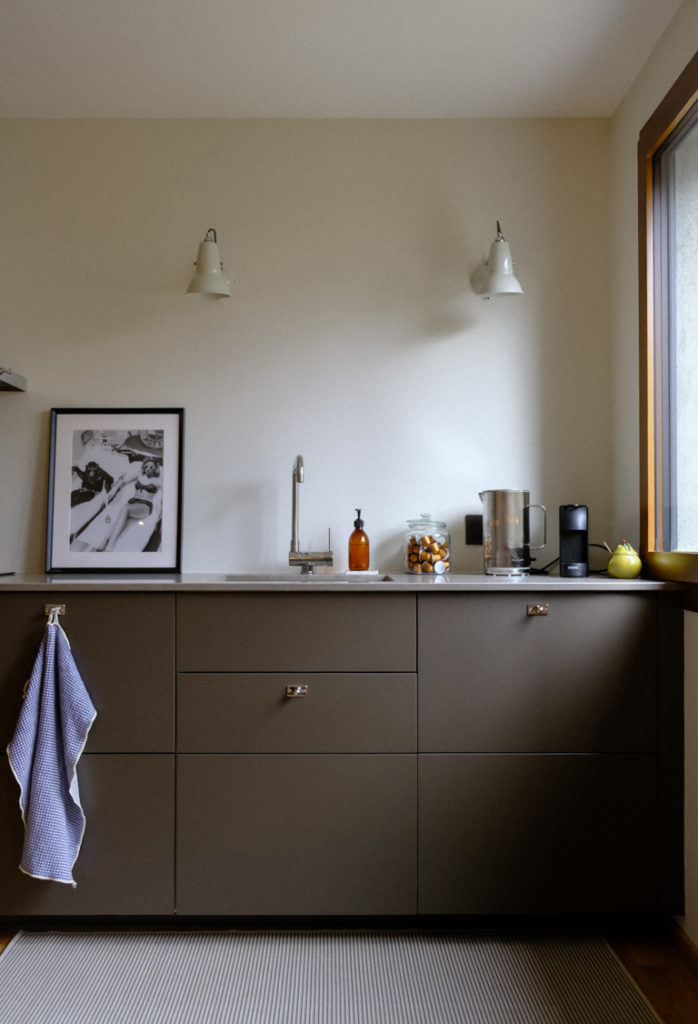
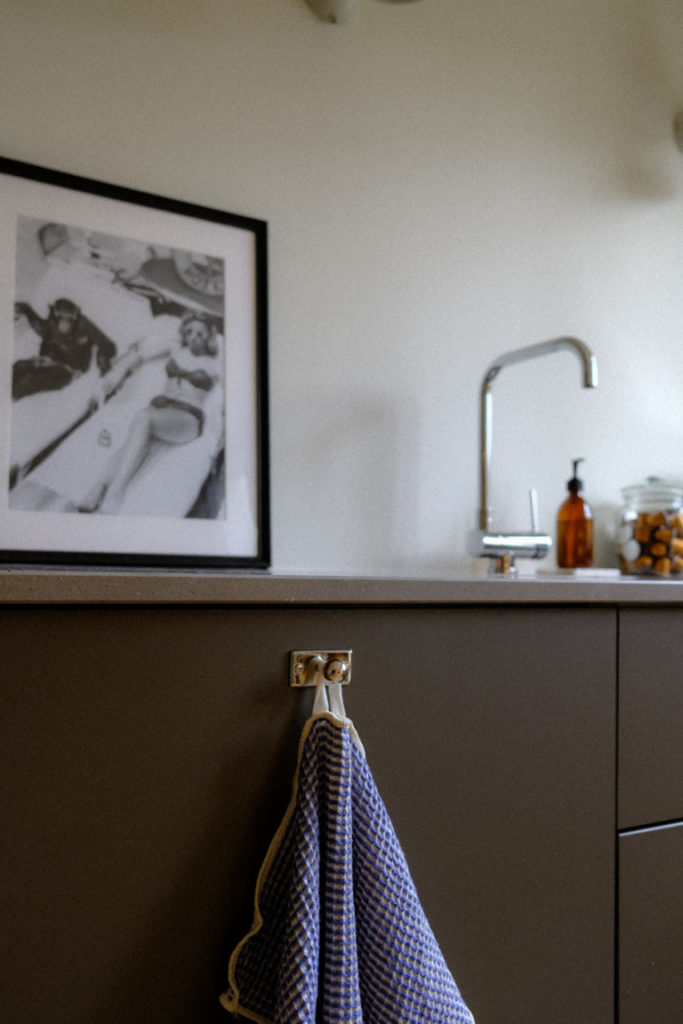
In my case, this IKEA kitchen was going to be used for coffee, tea, light lunch prep, and occasional small gatherings. So no heavy cooking, just space for a coffee machine, a kettle, and fresh beverages. But since this office may become a rental one day, it also had to be a fully equipped, functional kitchen.
2.How many people will actually use this kitchen — at the same time?
Will you be prepping solo? Cooking with a partner? Navigating kids or colleagues around you?
Why it matters: This affects the flow. It can determine how much open space you leave between the sink, stove, and counters.
Solo cook: Galley or linear layouts often work well. Space efficiency matters more than openness.
Two or more: Avoid tight corners when possible or layouts that force overlap (like sink and oven too close together). Consider separating prep and cleaning zones.
For us, the idea was to keep the space flexible and the layout simple. We knew that there would rarely be more than one person using the kitchen simultaneously, so our options were really open.
3.How fixed or flexible does this space need to be?
Is this a stable, daily-use kitchen? Or is the function likely to shift over time (office → rental, solo → family)?
Why it matters:
If the room is meant to evolve, go for a kitchen layout that allows for movement or change later. If the function is fixed and daily, you can anchor the space with heavier or more permanent features, like an island or custom built-ins.
If the function is stable and daily:
Ground the kitchen visually. Add bold elements like an island, pendant lights, or tile — it won’t limit the room’s future.
If the space may evolve:
Stay flexible. Avoid fixed islands or built-ins you might regret. Focus on clean lines and easy-to-adapt elements.
Since this kitchen might serve a future tenant I didn’t want to commit to fixed elements like an island. The layout had to feel intentional now, but adaptable later.
4.How much closed storage do I need and how much open space do I want?
Are you someone who loves clean lines and minimal clutter? Or do you want easy access to tools and dishes?
Why it matters:
This influences cabinet choice, shelving, and how much visual openness your kitchen will have.
If you like everything hidden:
Use full-height cabinets, drawers instead of shelves and avoid too many open shelves.
If you’re more visual:
Consider a few open shelves or glass fronts.
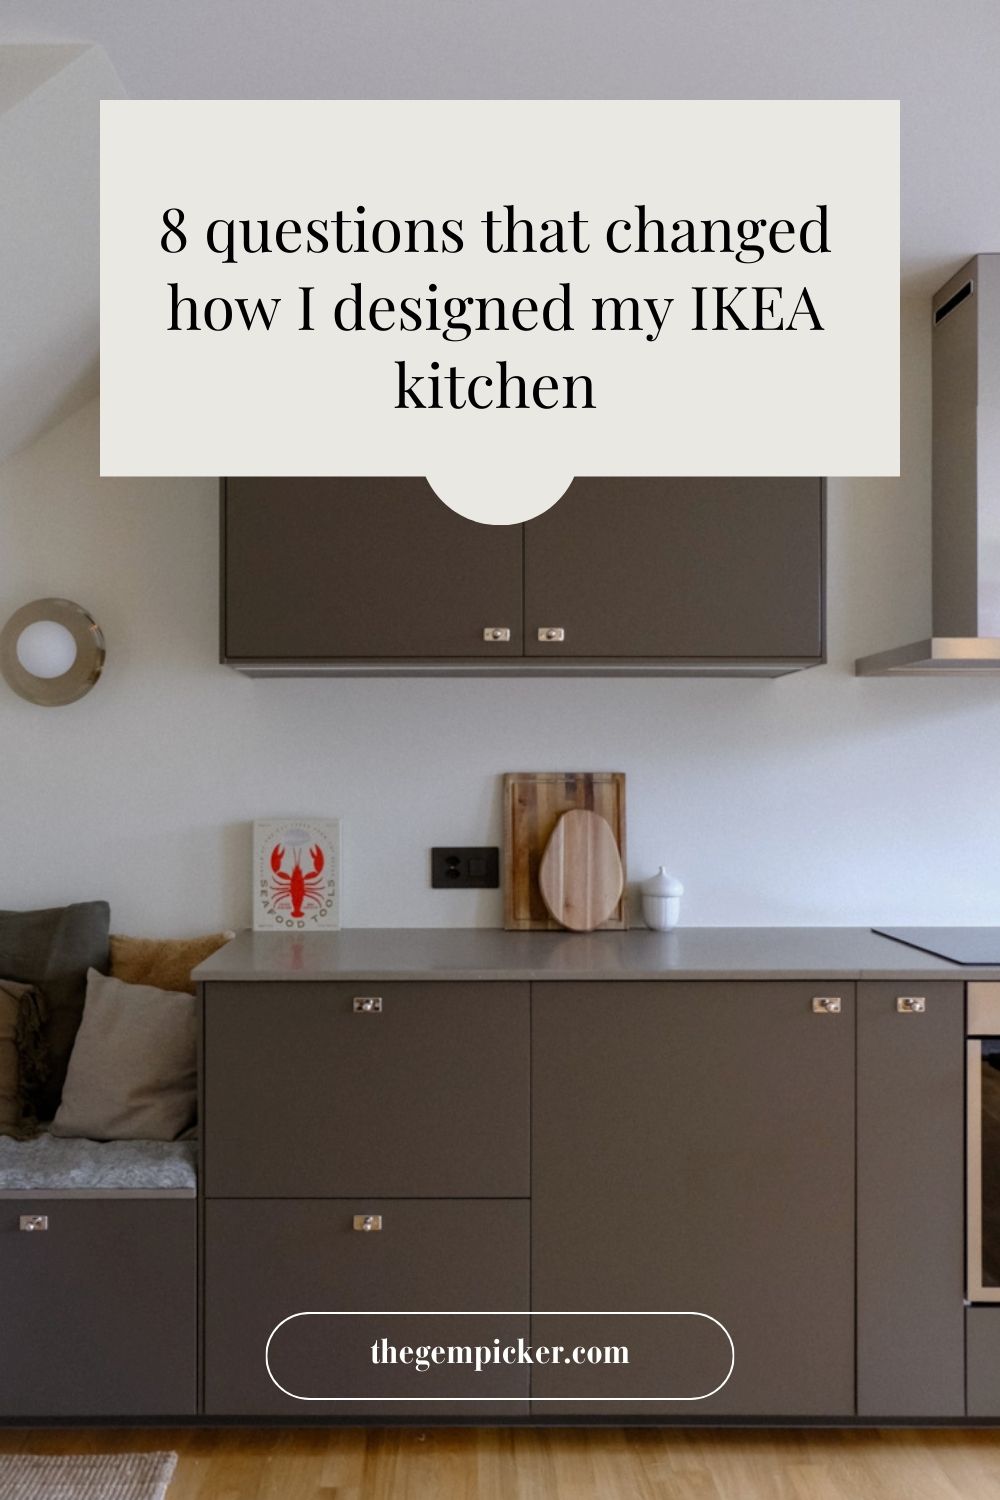
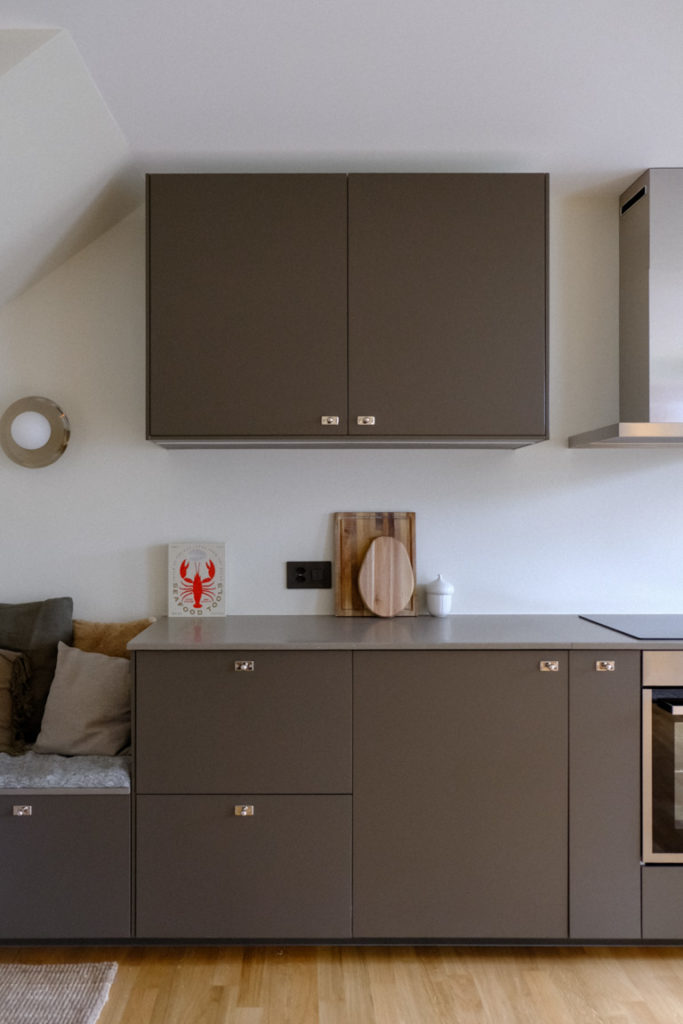
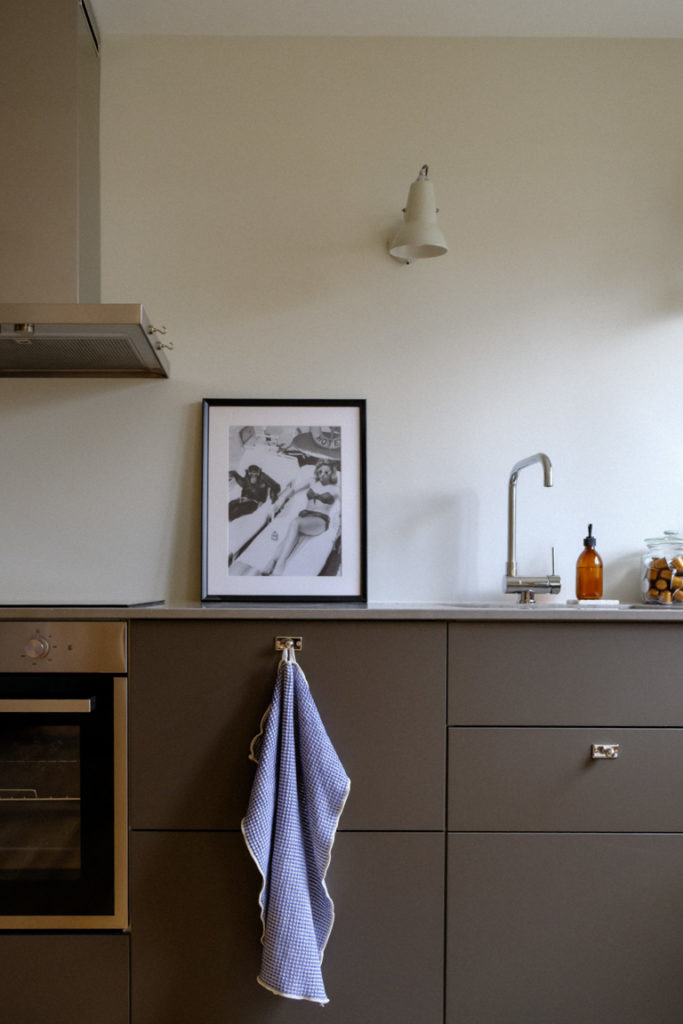
I knew from the beginning I wanted a calm space that feel sleek and quiet since we are in an office first. I have hesitated to add the upper cabinet wouldn’t have if it was only meant as an office kitchen. But I do reserve the right to add some features such as floating shelves or tiles in the future.
5.Where does the natural light fall, and how do I want to use it?
Is there a window I want to cook near? Will upper cabinets block the light?
Why it matters:
Natural light influences both layout and ambiance. It also affects where you’ll enjoy spending time.
If you love light while prepping or cleaning:
Position the sink or prep area near the window, and avoid upper cabinets there.
If light is limited:
Use open space wisely, avoid blocking windows, and consider soft lighting under cabinets to create warmth.
Since the space is semi-buried, we only have two windows. I was mindful to keep the area around them open and unobstructed. We did include one upper cabinet, but it’s placed far from the window, so it doesn’t interfere with the light too much.
6.What’s my relationship to cooking right now and is it changing?
Do you enjoy cooking more than you used to? Do you want to cook more? Or is it just about convenience?
Why it matters:
A growing interest in cooking might justify more thoughtful tools, a better stovetop, or extra counter space. If it’s just functional, keep it minimal and low-maintenance.
If cooking is evolving:
Build in space for change, like leaving a spot for a future appliance or adding a drawer system that can adapt.
If you’re mostly reheating:
Keep layout compact and simple. Save your budget for finishes or styling.
I wasn’t designing this space for daily cooking, it’s about convenience. I still wanted quality appliances for the future, but not a complex setup.
7.What is one thing that annoys me in kitchens I’ve used before?
Too many drawers? Not enough drawers? Always bumping into things? Hard-to-reach cabinets?
Why it matters:
Designing for what you don’t want can be even more helpful than designing for what you do.
If you hate cluttered countertops:
Plan storage with countertop appliances in mind, maybe even a closed pantry or appliance garage.
If corner cabinets frustrate you:
Avoid them if possible, or plan for internal fittings like lazy susans or pull-outs.
8.If my budget is limited, which design elements can I postpone without sacrificing function?
What needs to be in place for the kitchen to work well from day one, and what can I thoughtfully add over time, once I’ve lived in the space a little?
Why it matters:
Trying to finish everything at once can be overwhelming and expensive. Smart kitchen design often happens in phases. Focus first on layout, storage, and appliances, the bones, and leave room for future layering.
Core elements to prioritize first:
- Cabinet layout and workflow
- Sink, tap, and appliances
- Electrical and plumbing points
- Storage you’ll actually use
- Backsplash (if you are not using the kitchen daily, you can delay it)
Elements you can absolutely delay:
- Decorative lighting
- Paint, wallpaper, styling
- Freestanding elements (like an island or vintage piece)
When you do get to the color decisions, starting with a defined palette before touching the planner will save you from going in circles. Here’s the method I use.
We skipped the credence (backsplash) and I’m still sourcing the right vintage island. I wanted to leave a bit of breathing room, to live with the space before layering more into it.
The IKEA planner is brilliant, but it won’t ask you these questions. That’s your job, and it’s where confident design begins.
Still, designing a kitchen (IKEA or not) is not a simple task. Many things have to be taken into account and while some grand rules might work for everybody we all have different constraints and different habits when it comes to the way we use our kitchens.
This project was made possible through a partnership with IKEA Switzerland, who provided the kitchen in exchange for this content. All opinions, decisions, and design choices are entirely my own.